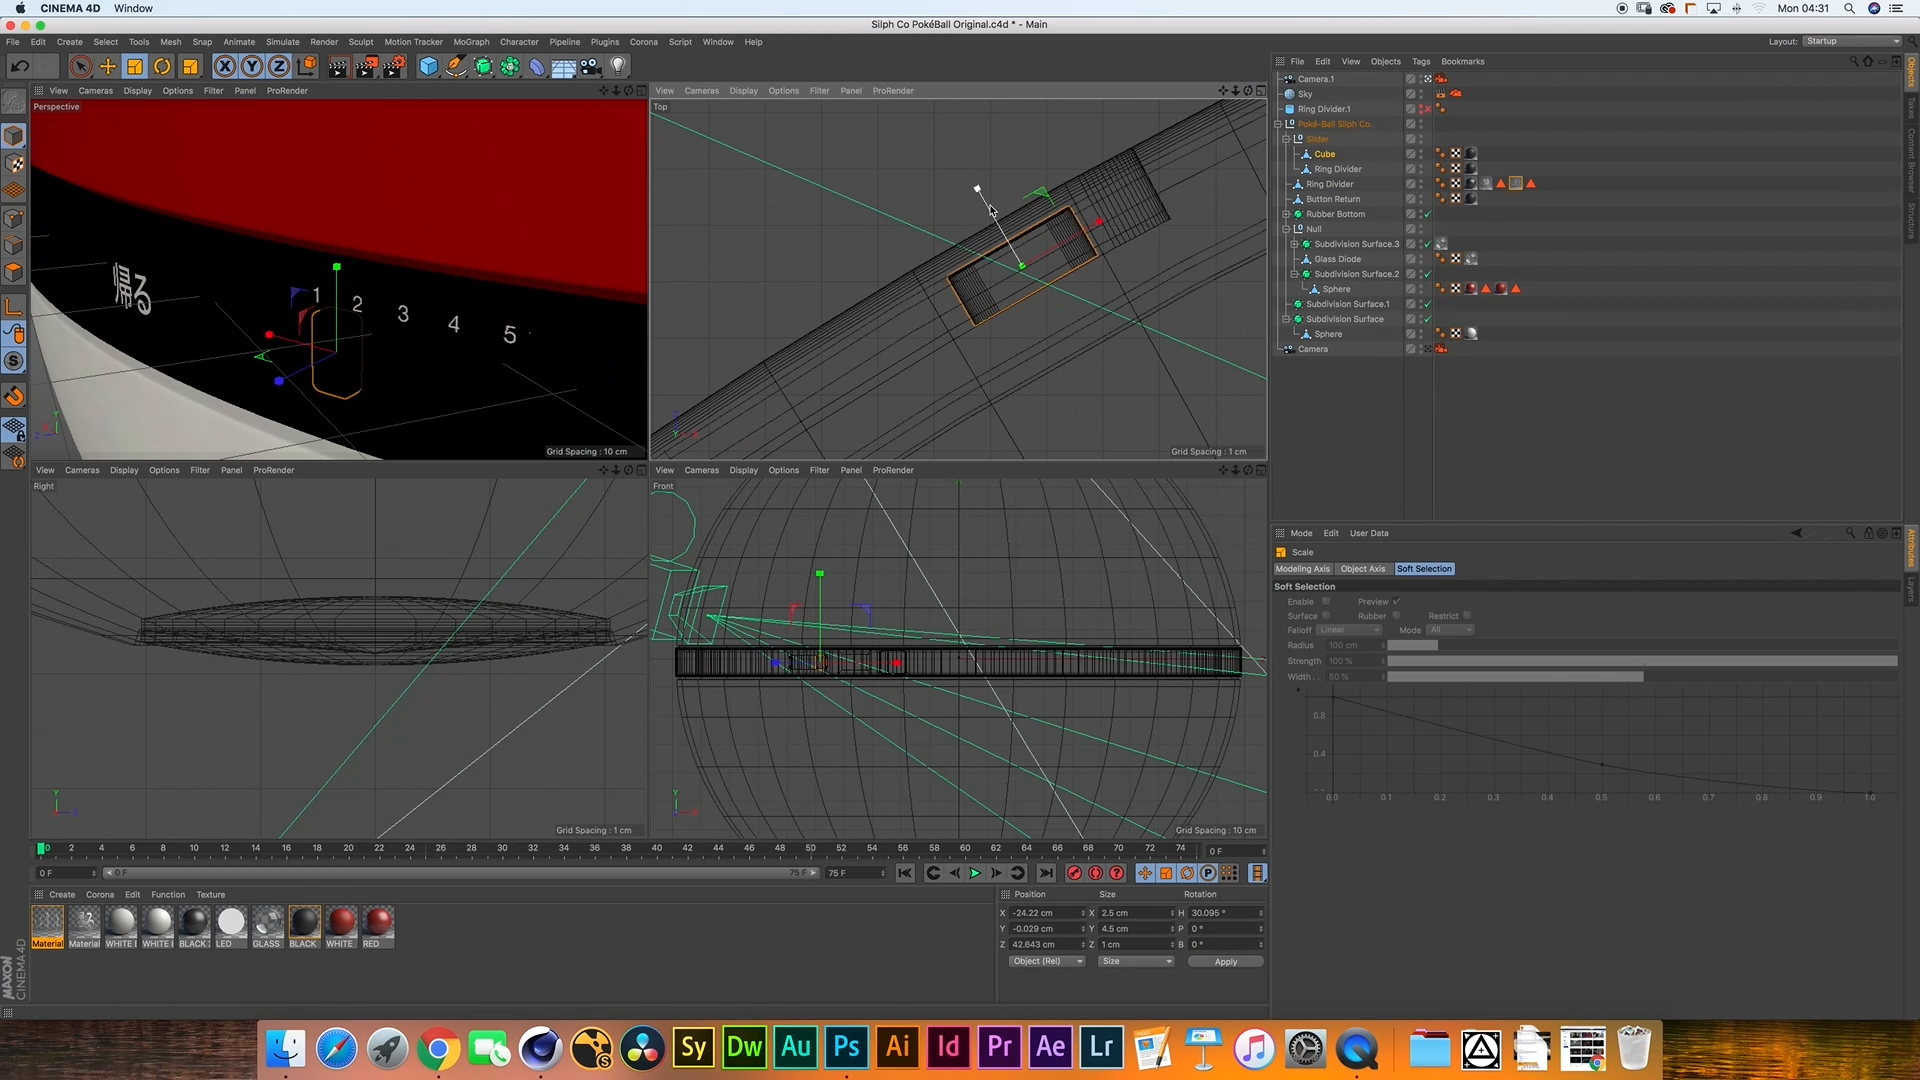
Welcome to our comprehensive tutorial on creating a 3D Poké-ball from scratch using Cinema 4D. In this step-by-step guide, we will walk you through the entire process of modeling a Poké-ball, from adjusting the size and shape to adding materials, decals, and even setting up a scene for the final render. Let's dive right in!
Adding a New Sphere Primitive
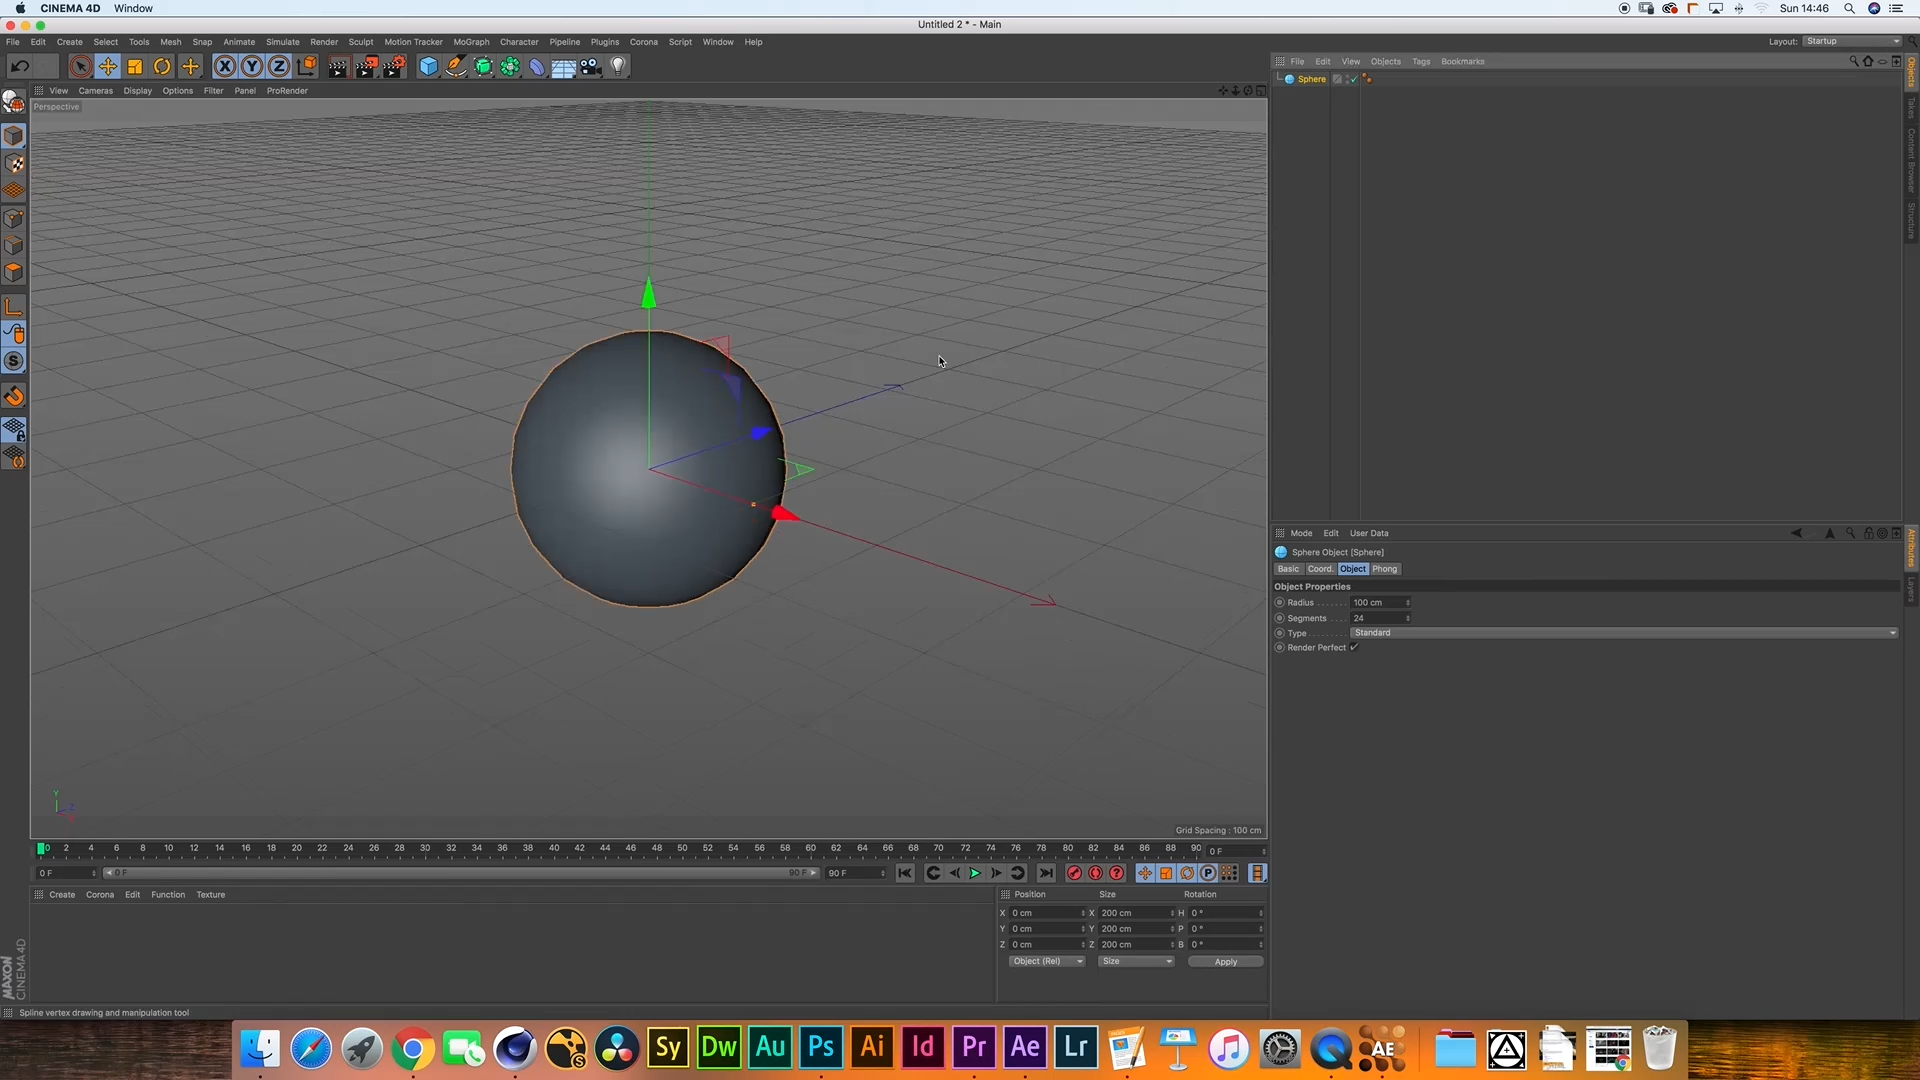
To start, launch Cinema 4D and create a new project.
In the main toolbar, click on the "Create" menu and select "Primitives."
Choose "Sphere" to add a new sphere primitive to the scene.
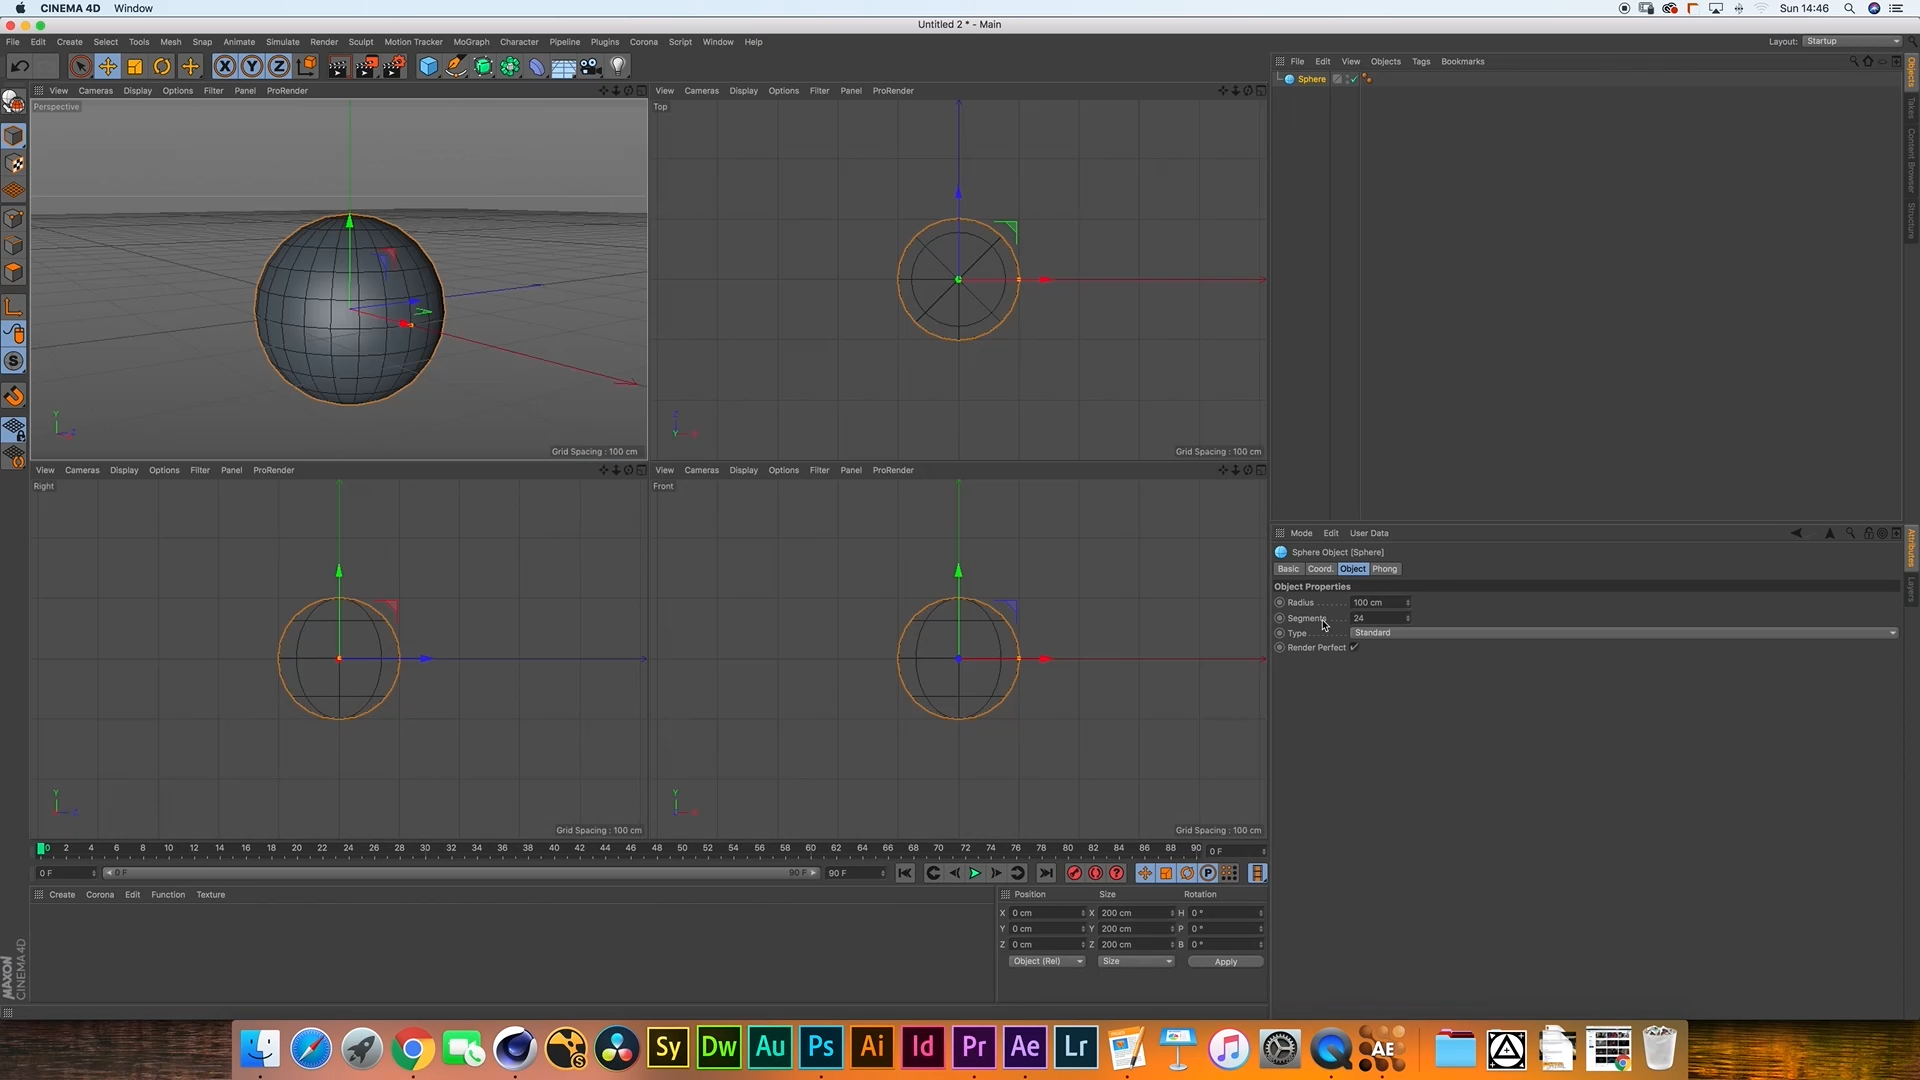
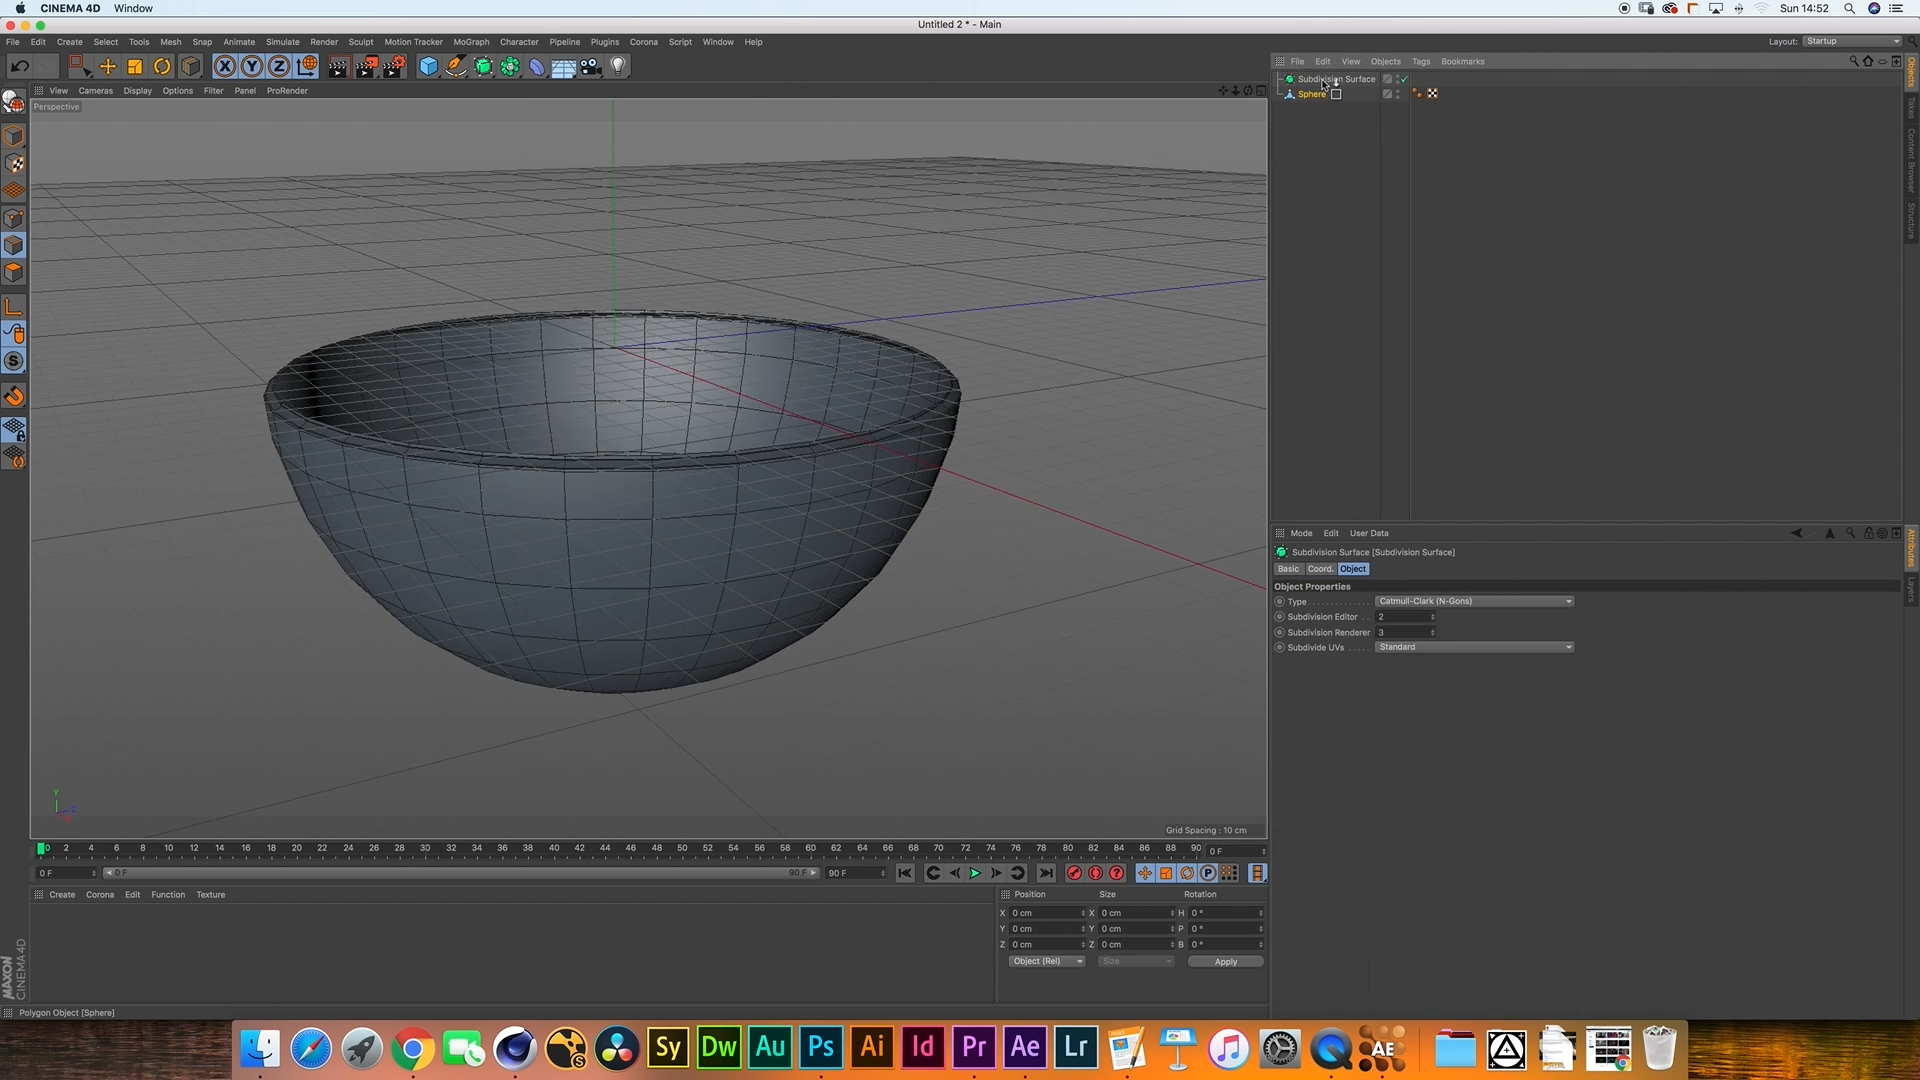
Adjusting the Size
Resize the sphere by selecting it in the Object Manager and modifying its size parameters in the Attribute Manager.
Ensure the dimensions match the desired proportions of a Poké-ball.
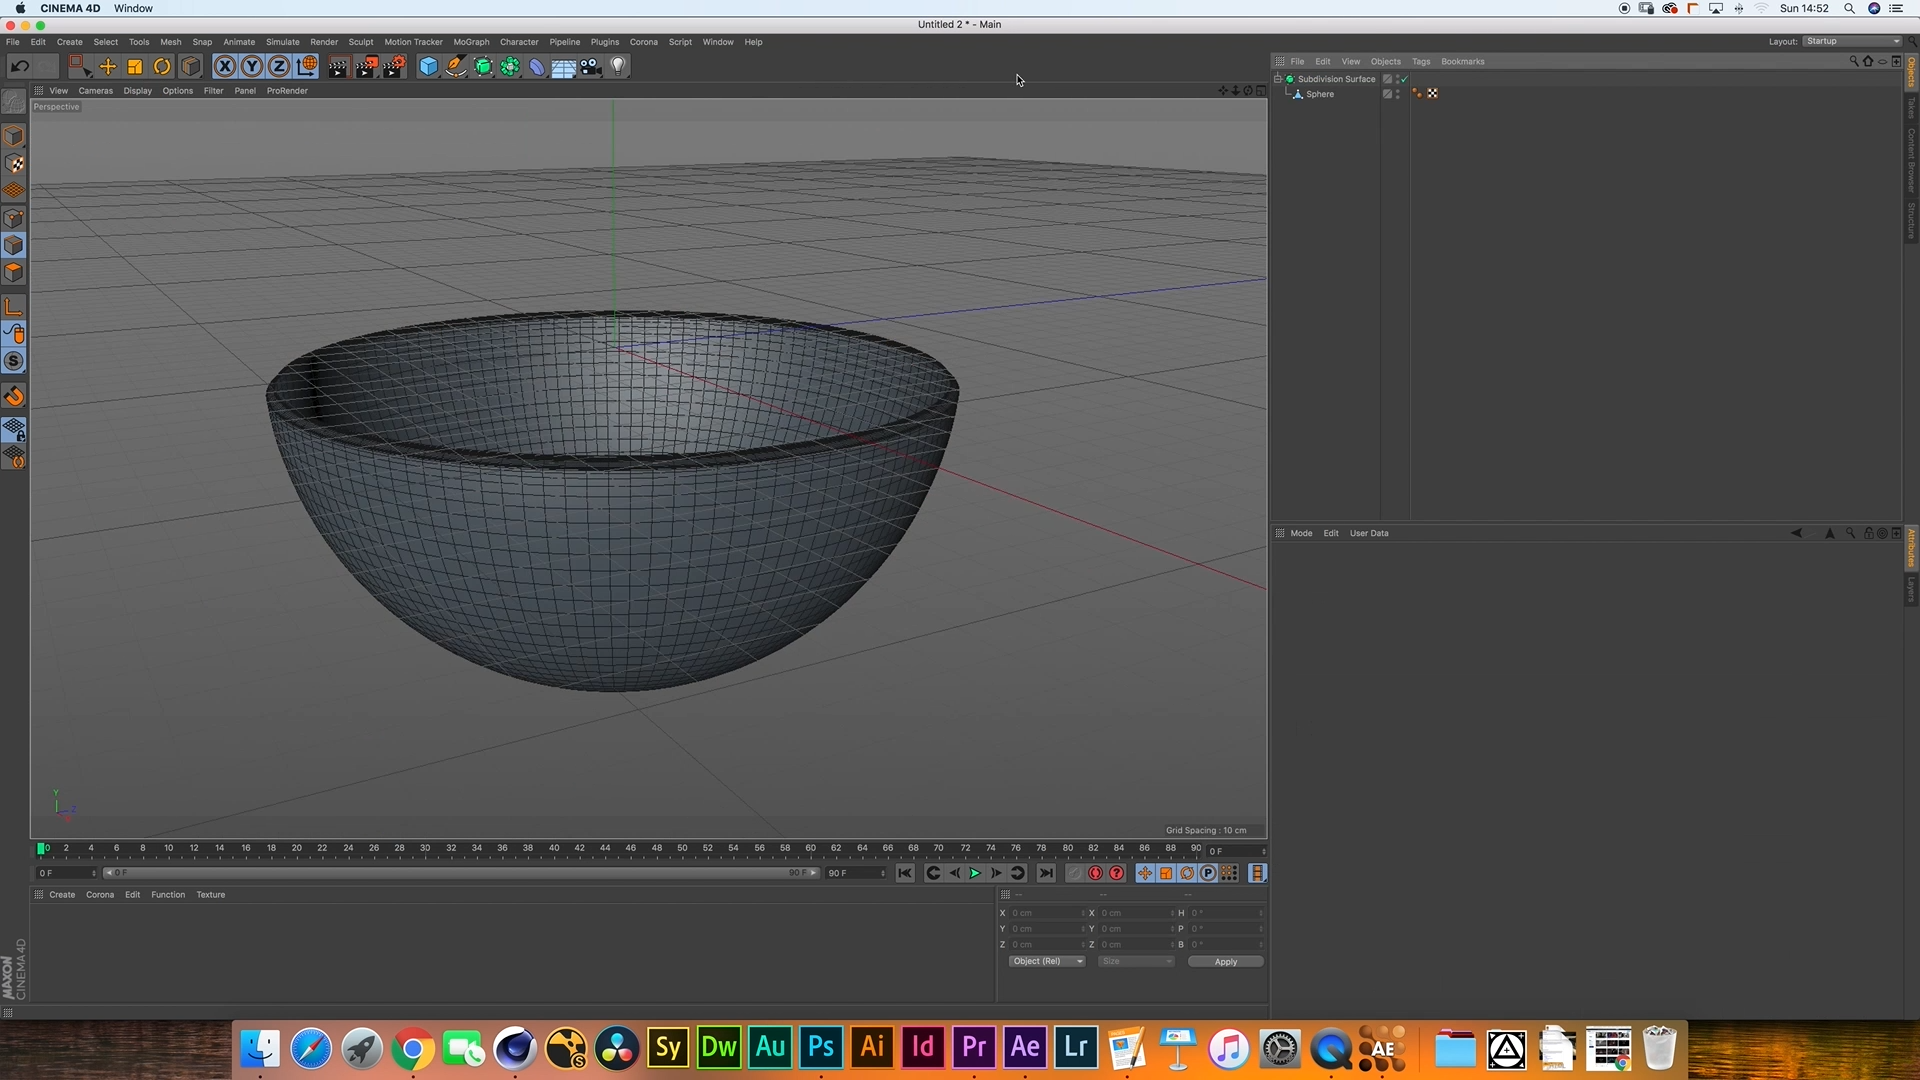
Making the Sphere Editable
To gain more control over the sphere, right-click on it in the Object Manager and choose "Make Editable."
This action converts the primitive into an editable object, allowing for further manipulation.

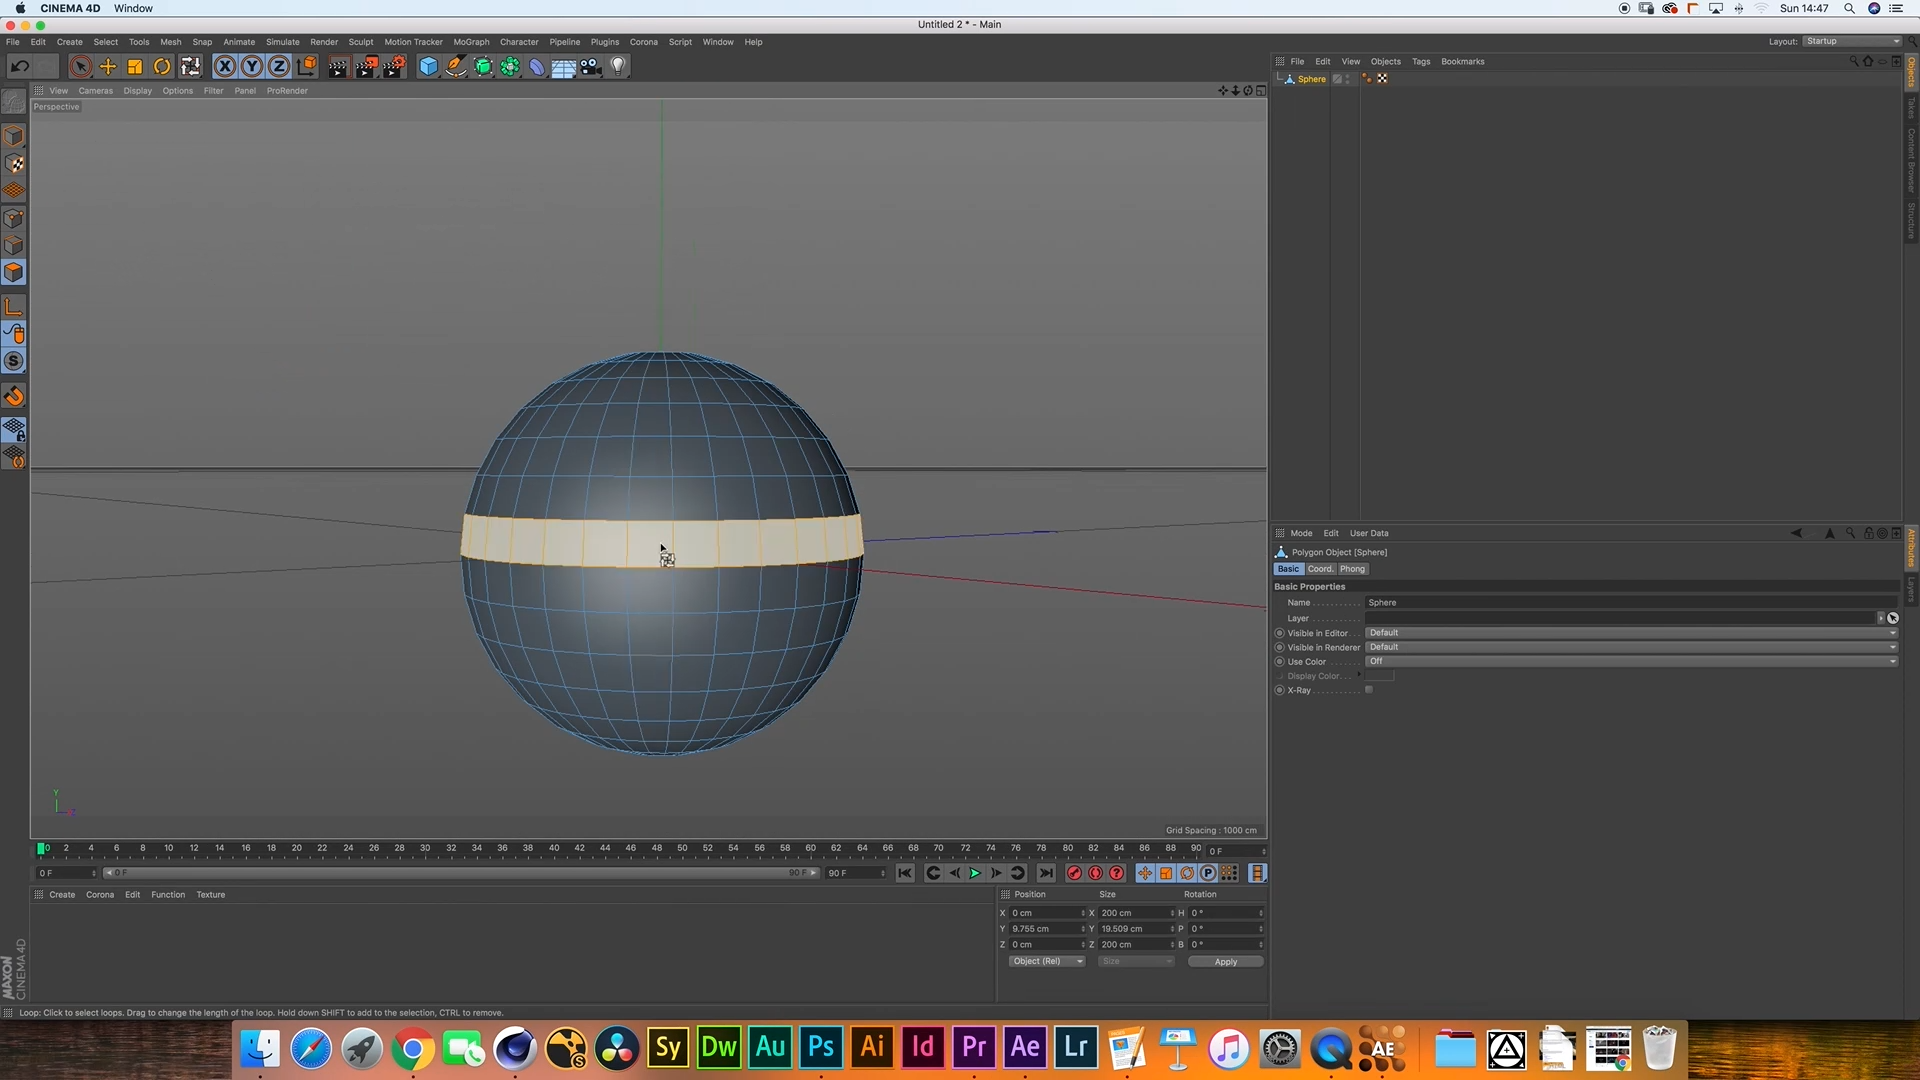
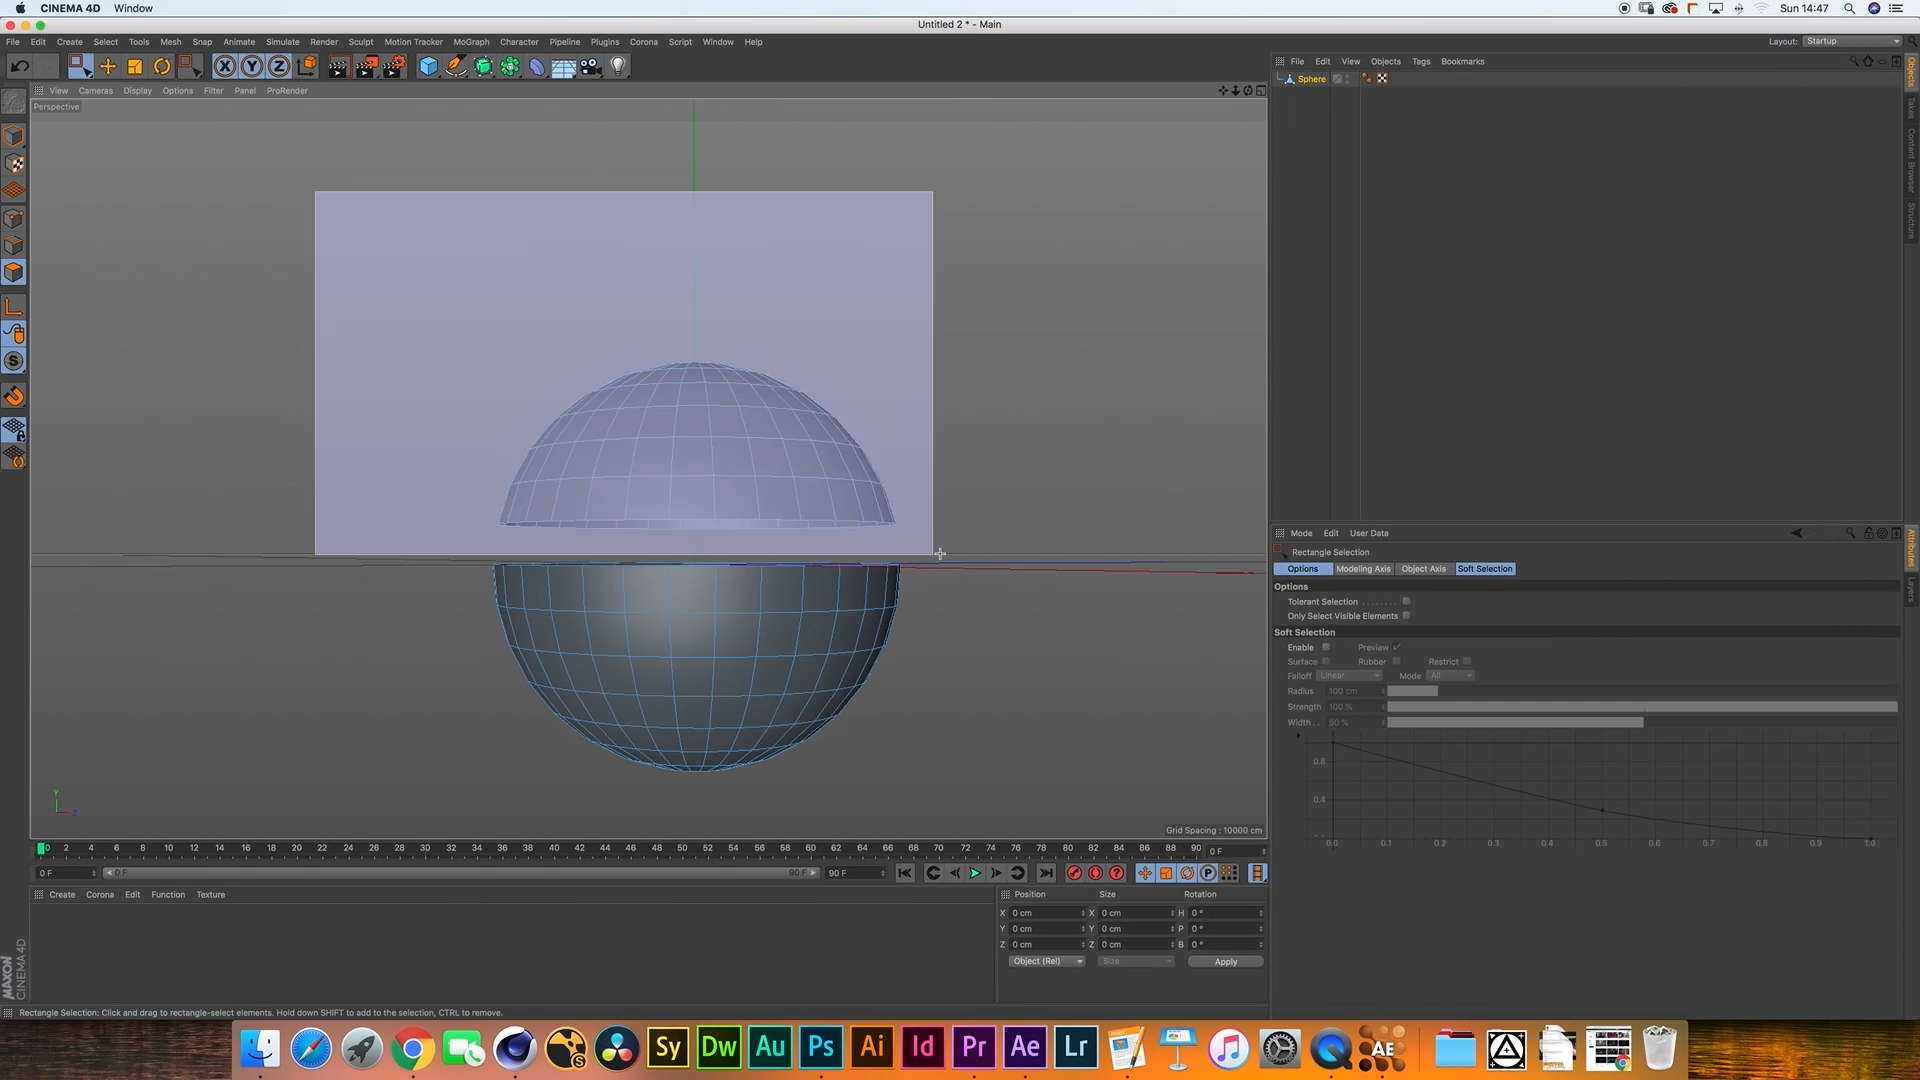
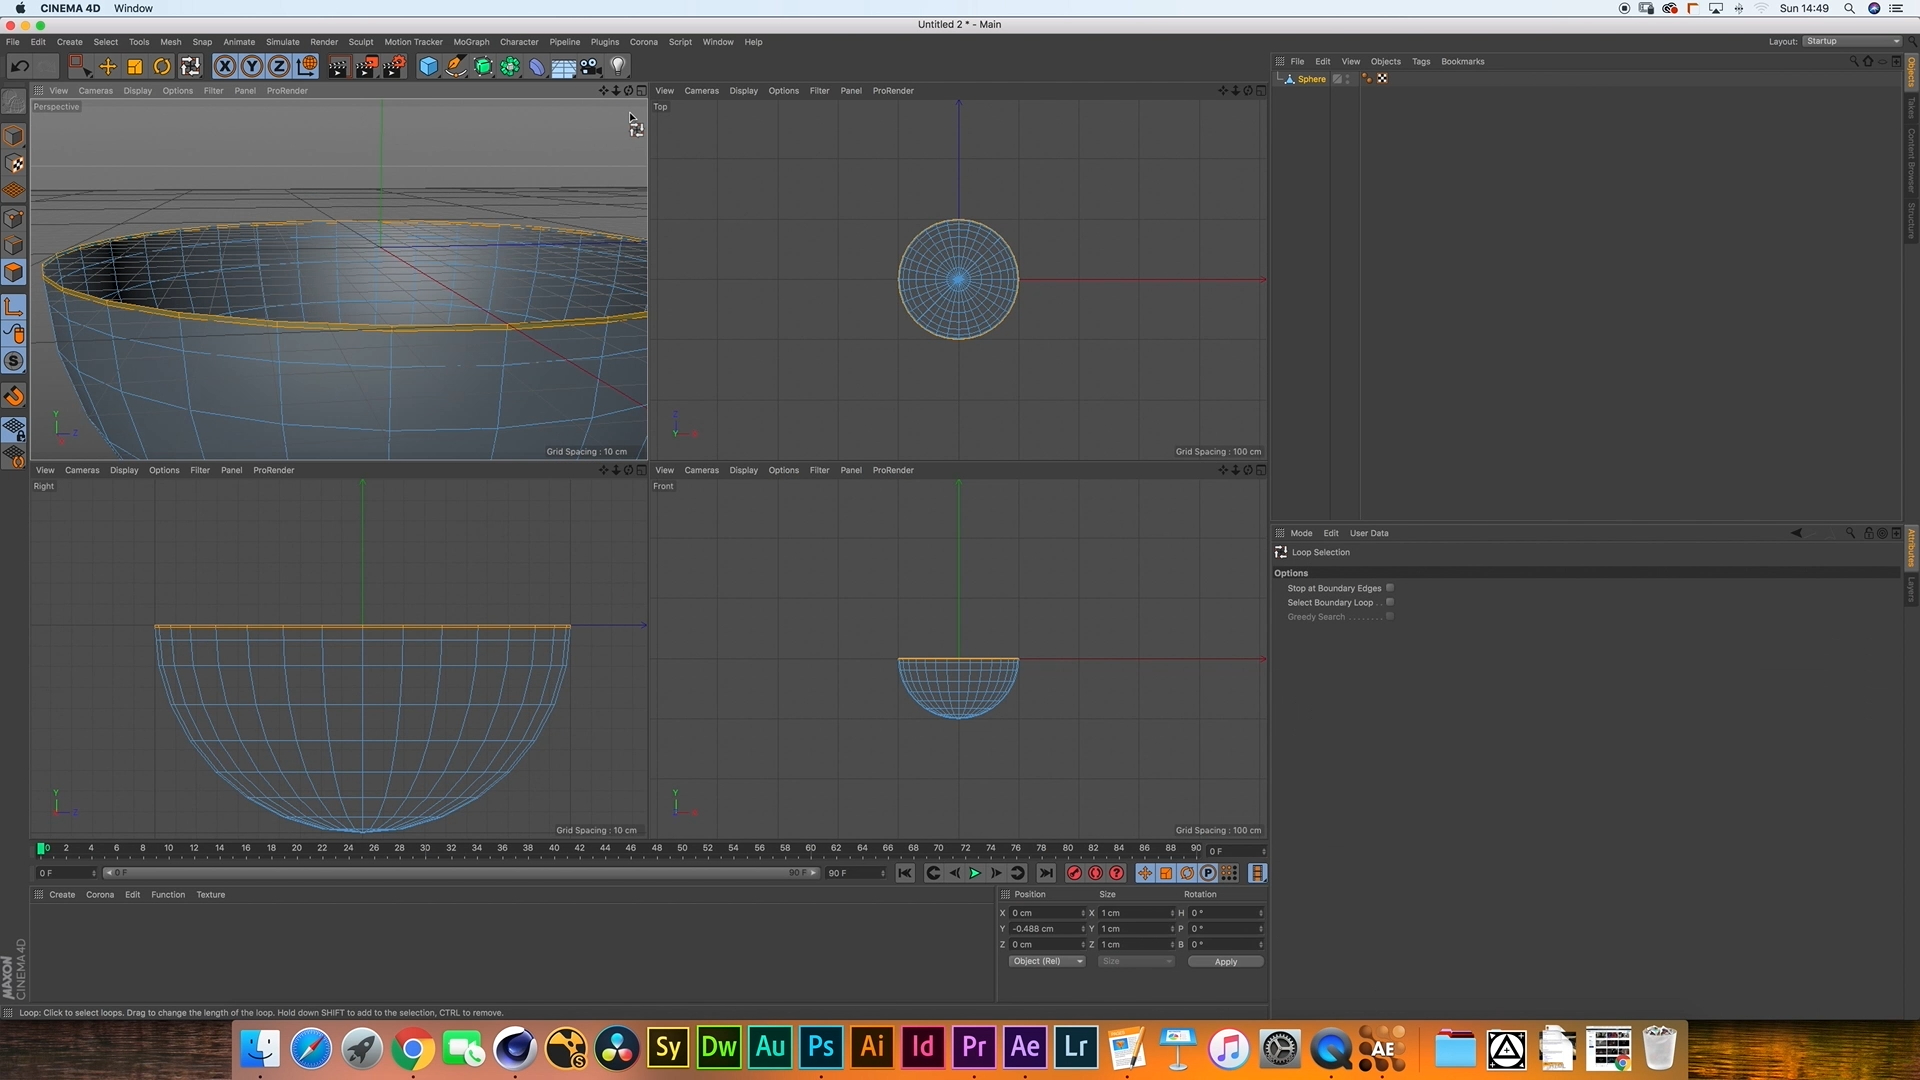
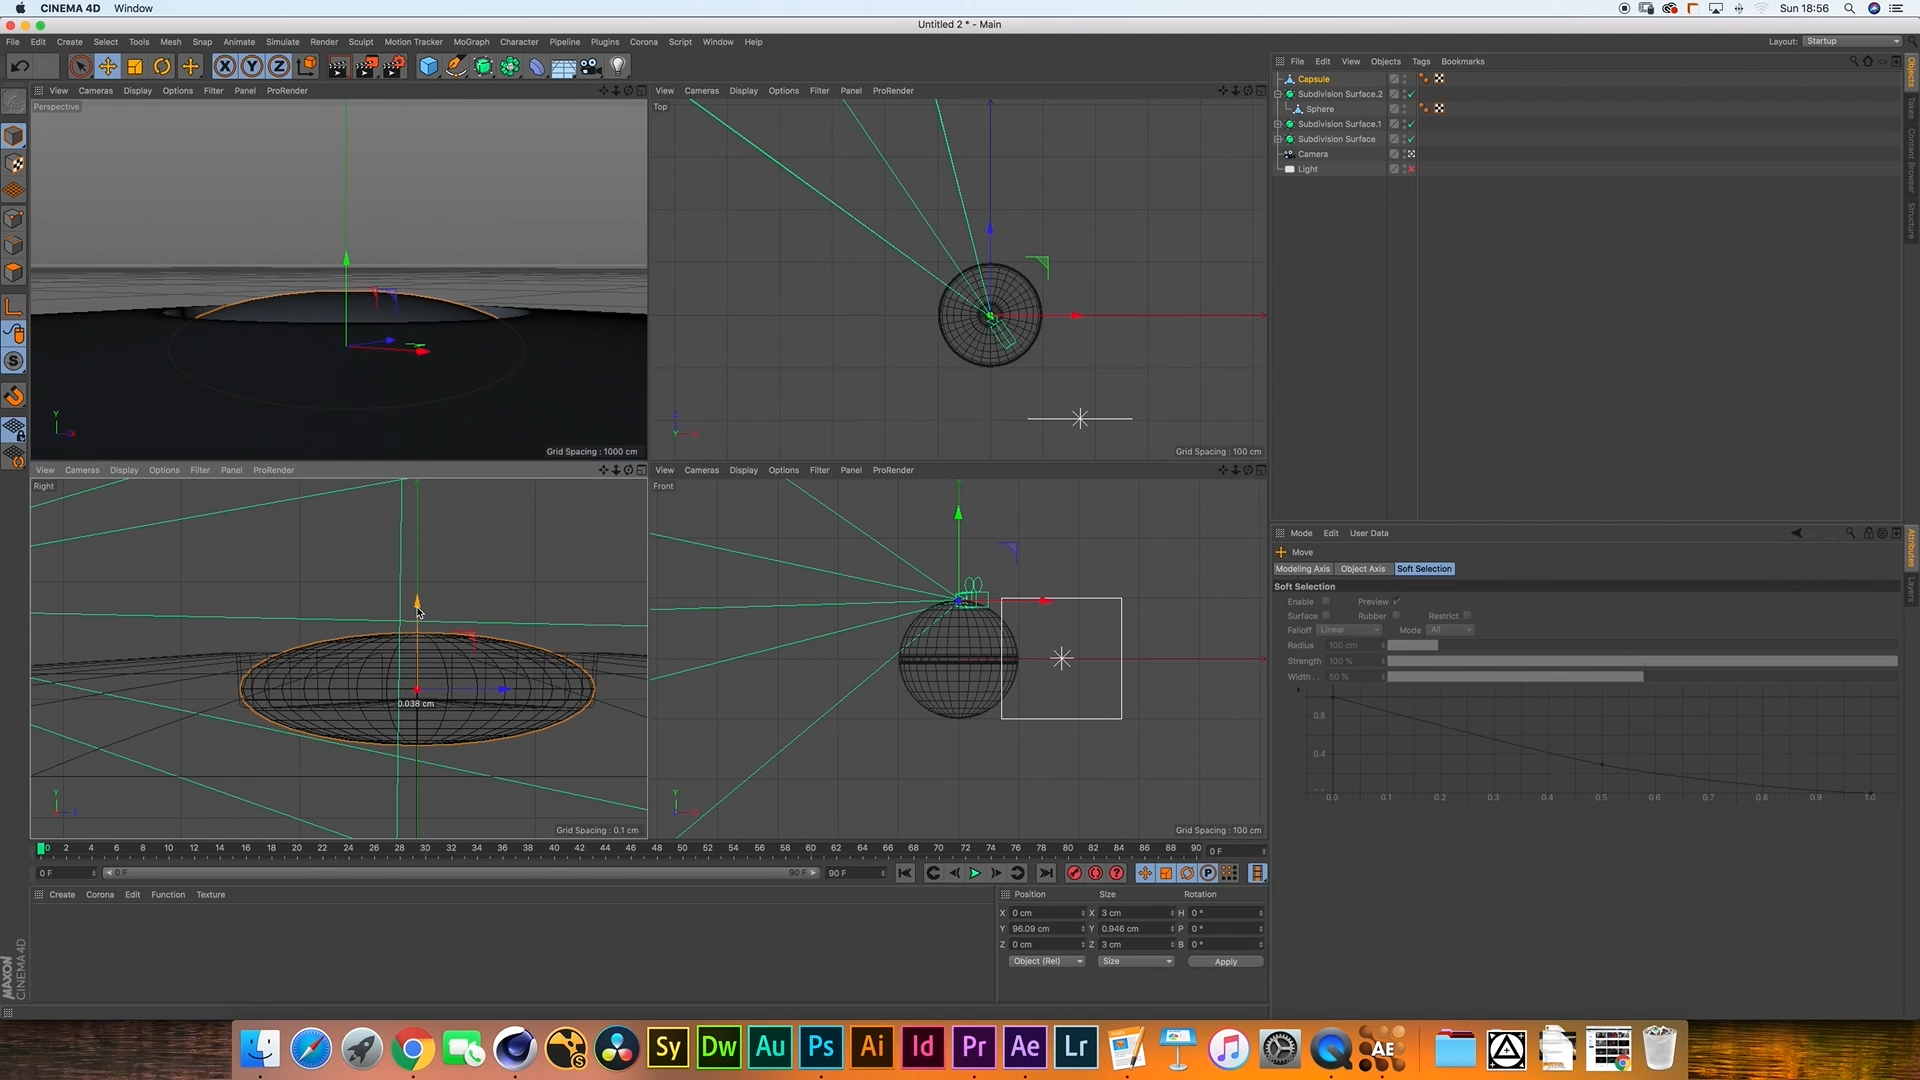
Cutting the Sphere in Half
Using the "Live Selection" tool from the toolbar, select the polygons along the equator of the sphere.
In the top menu, go to "Mesh" -> "Commands" -> "Split" to cut the sphere in half cleanly.


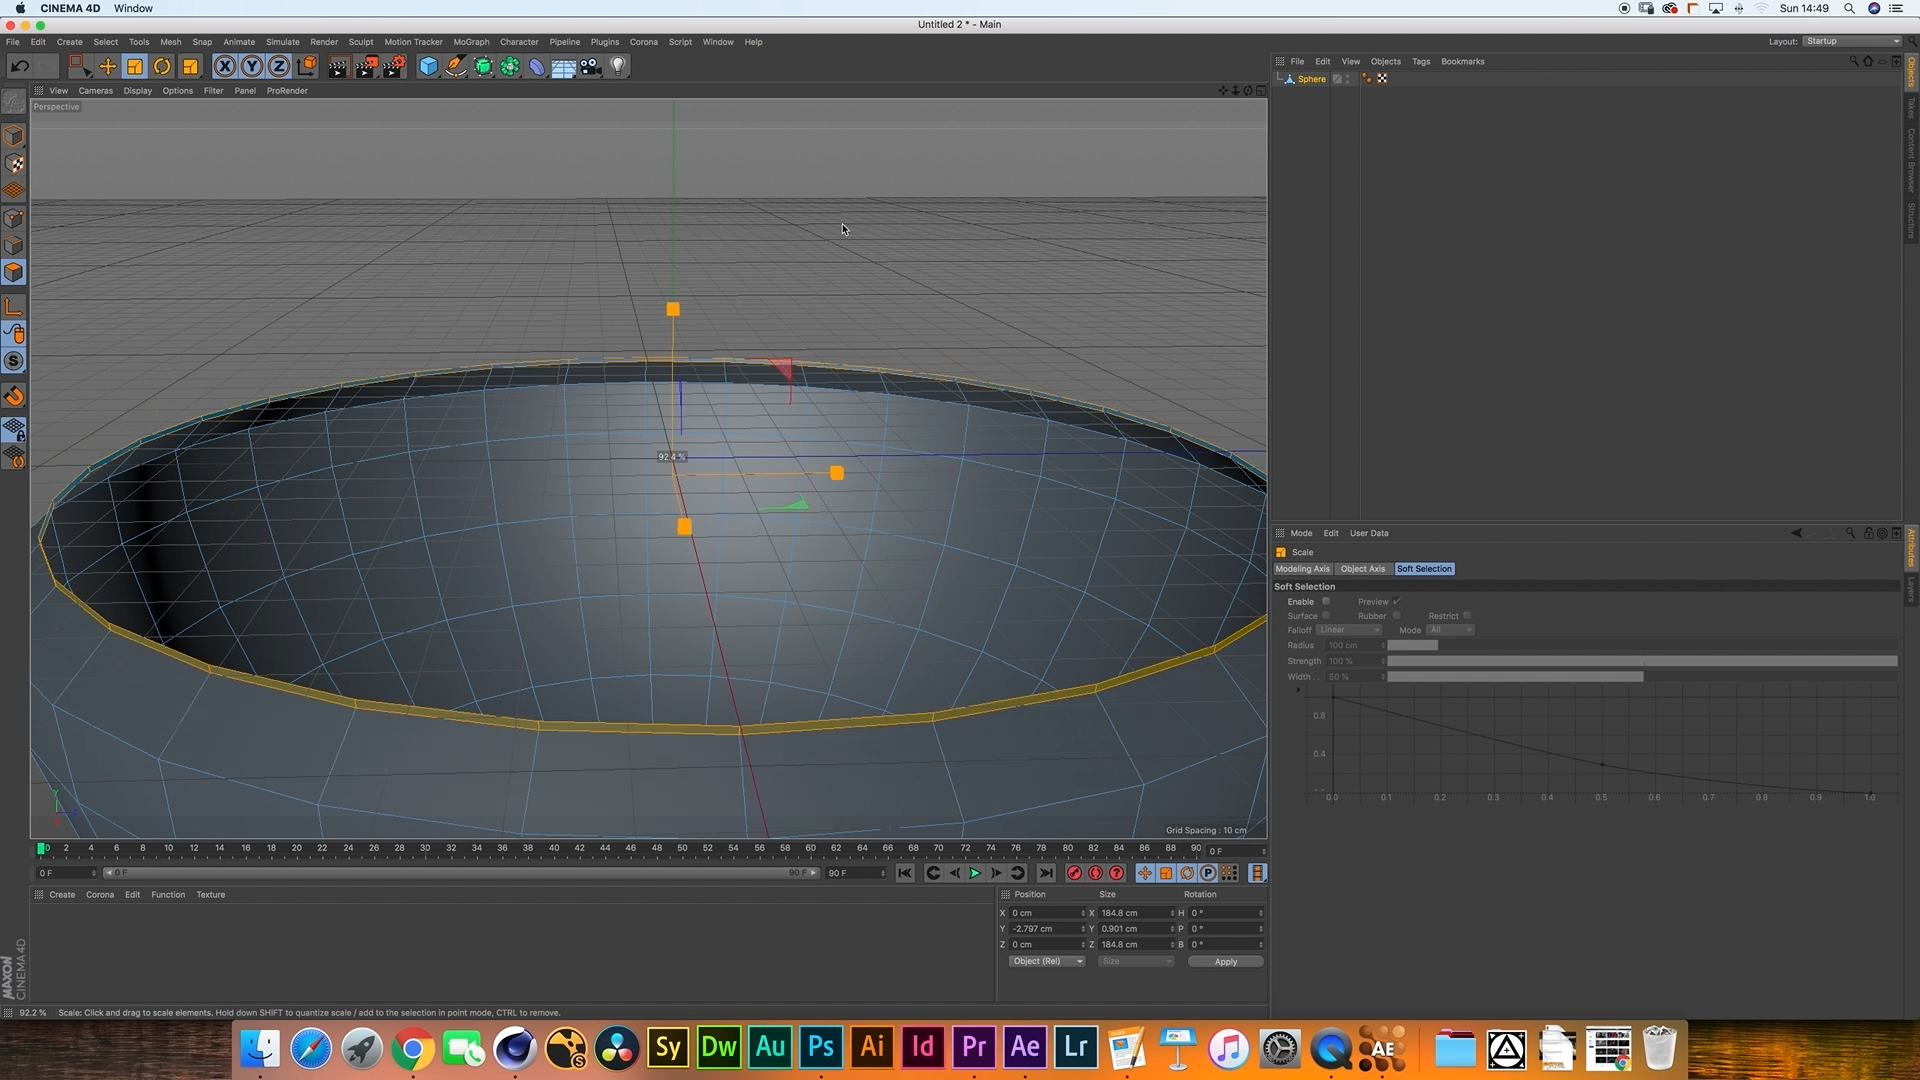
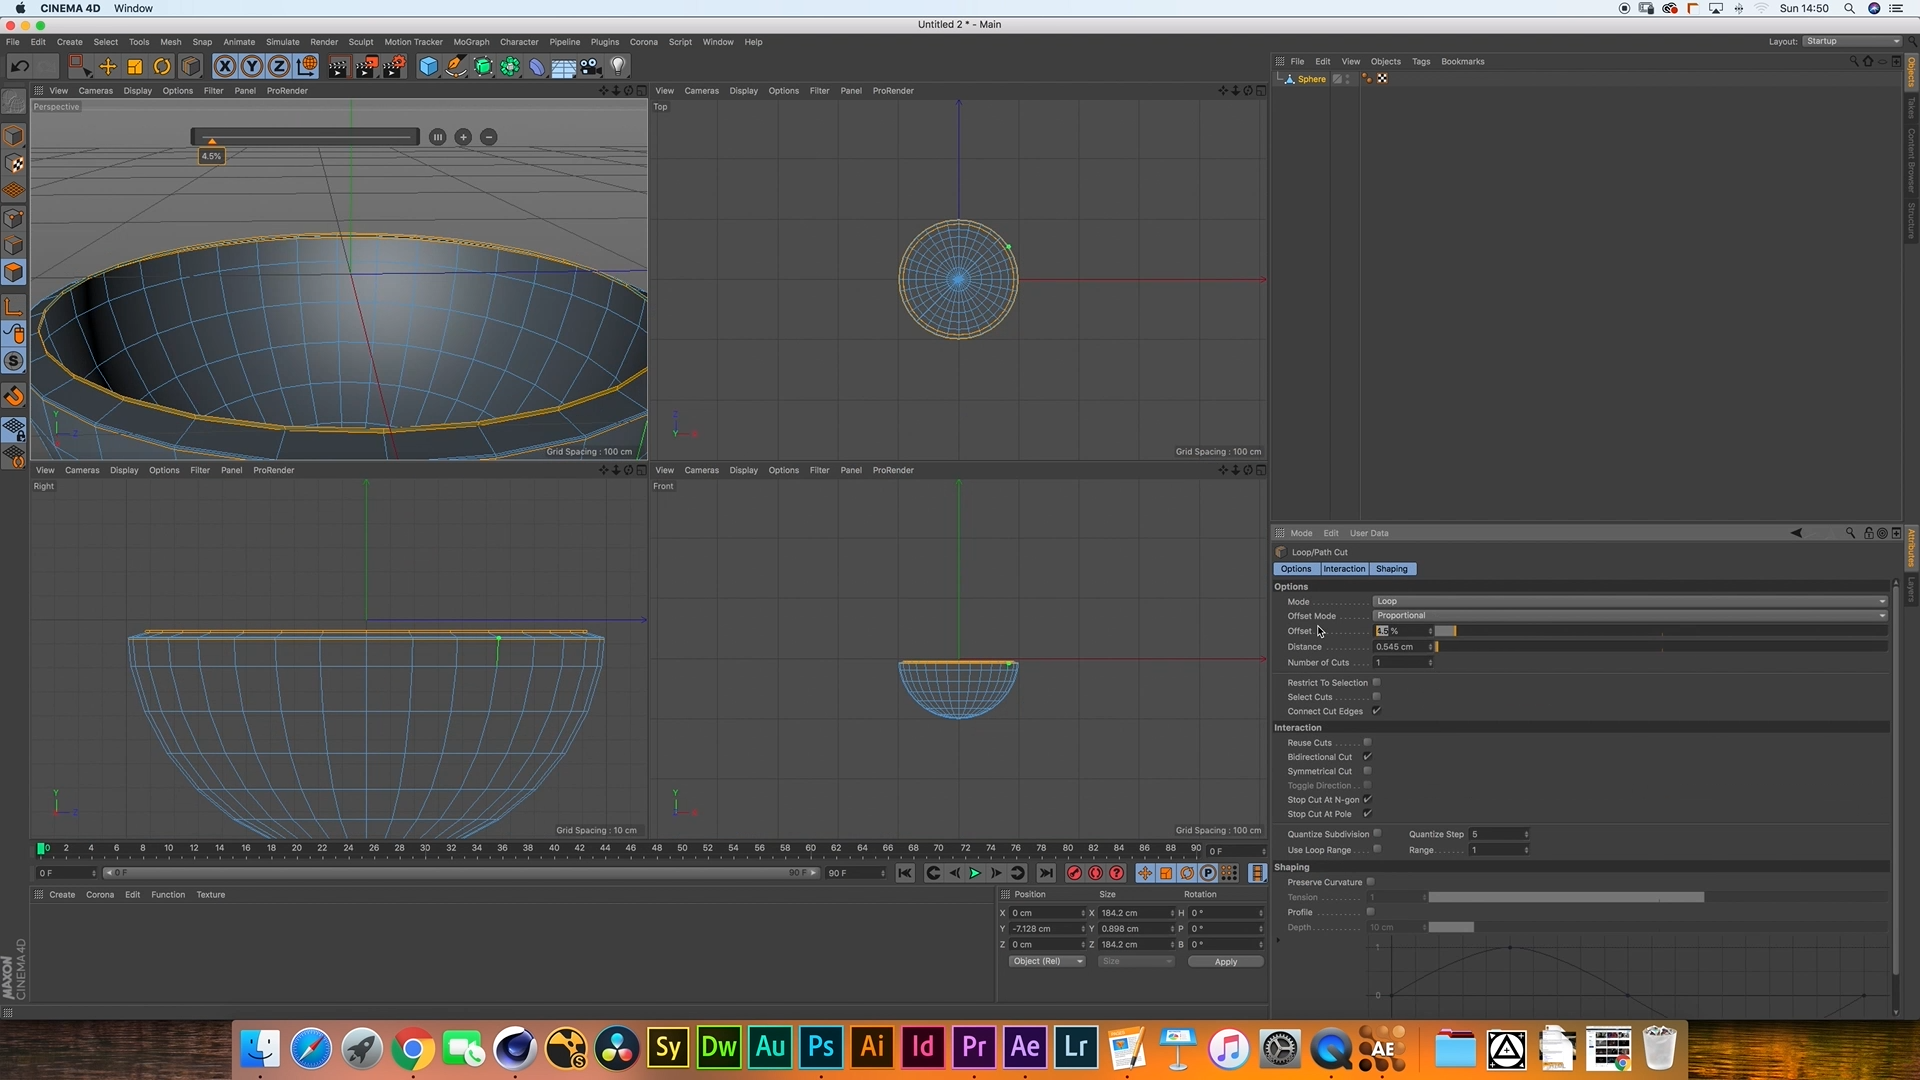
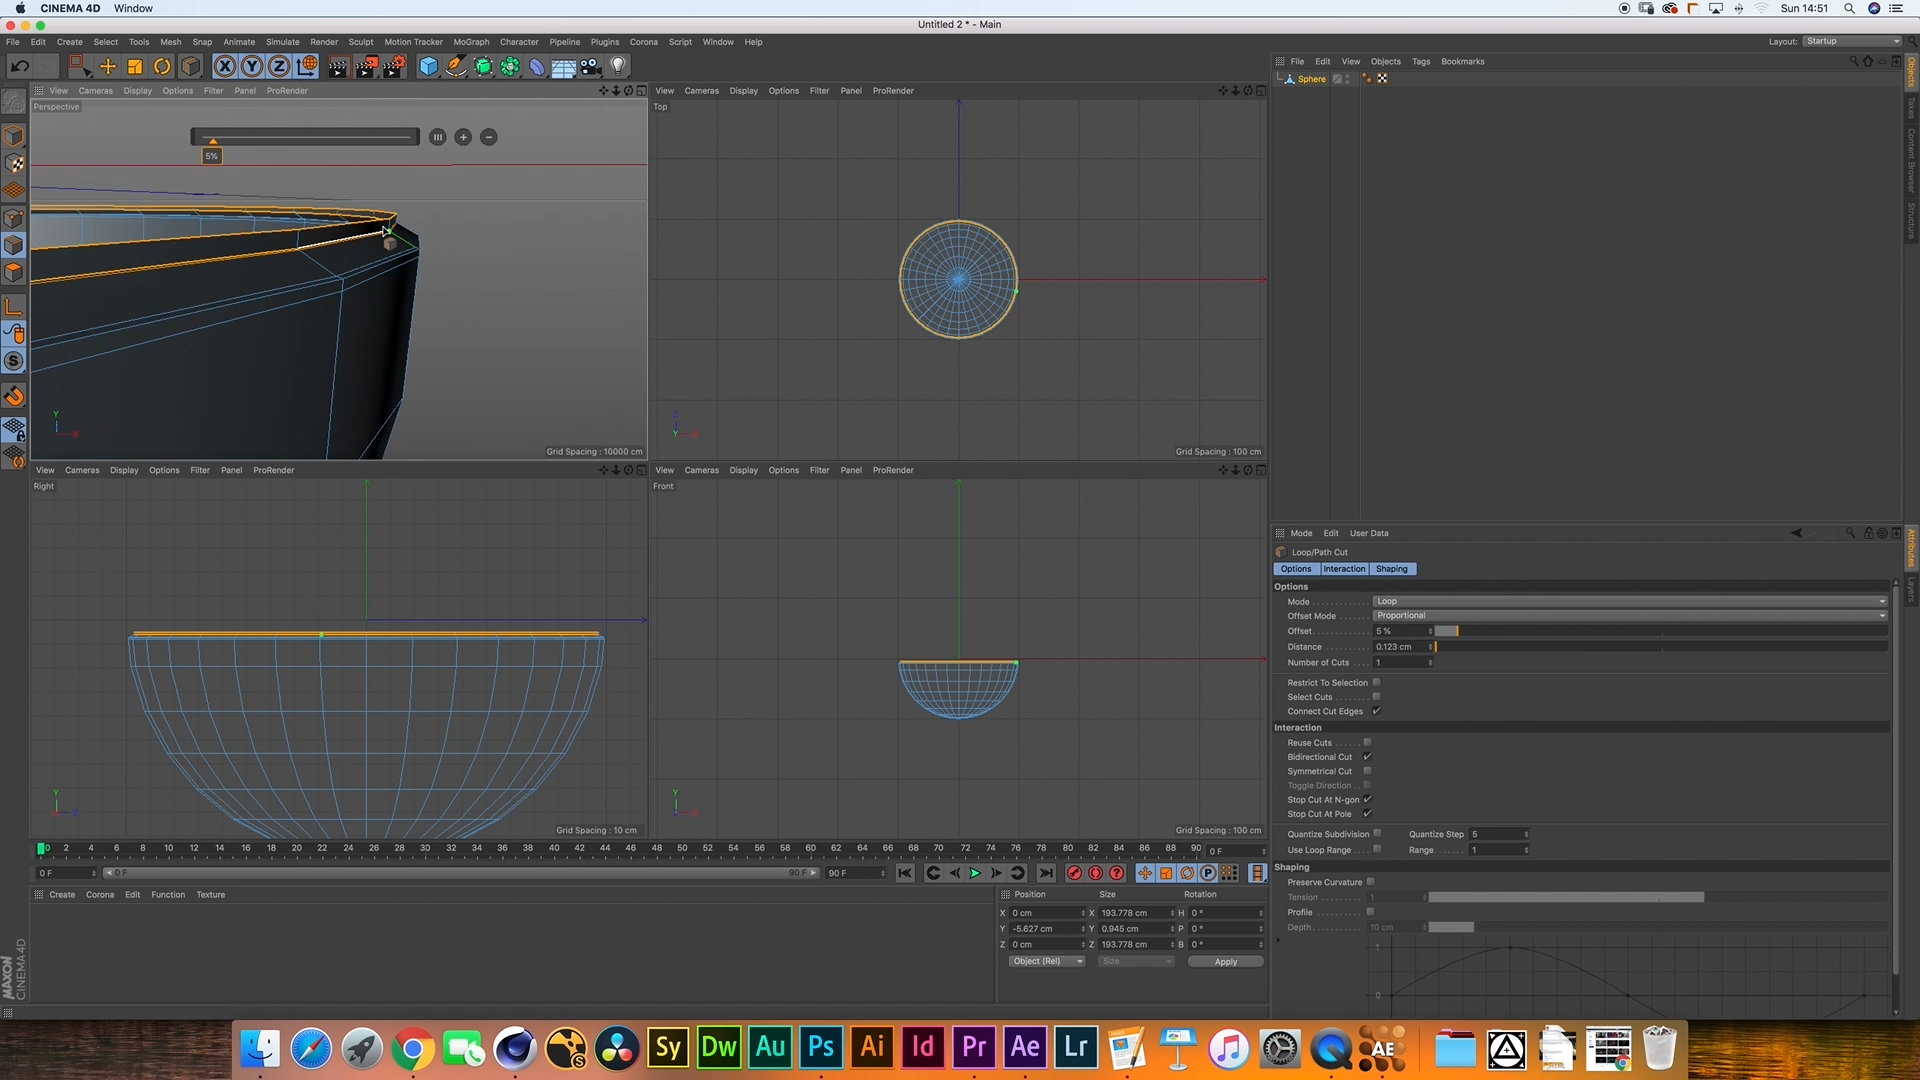
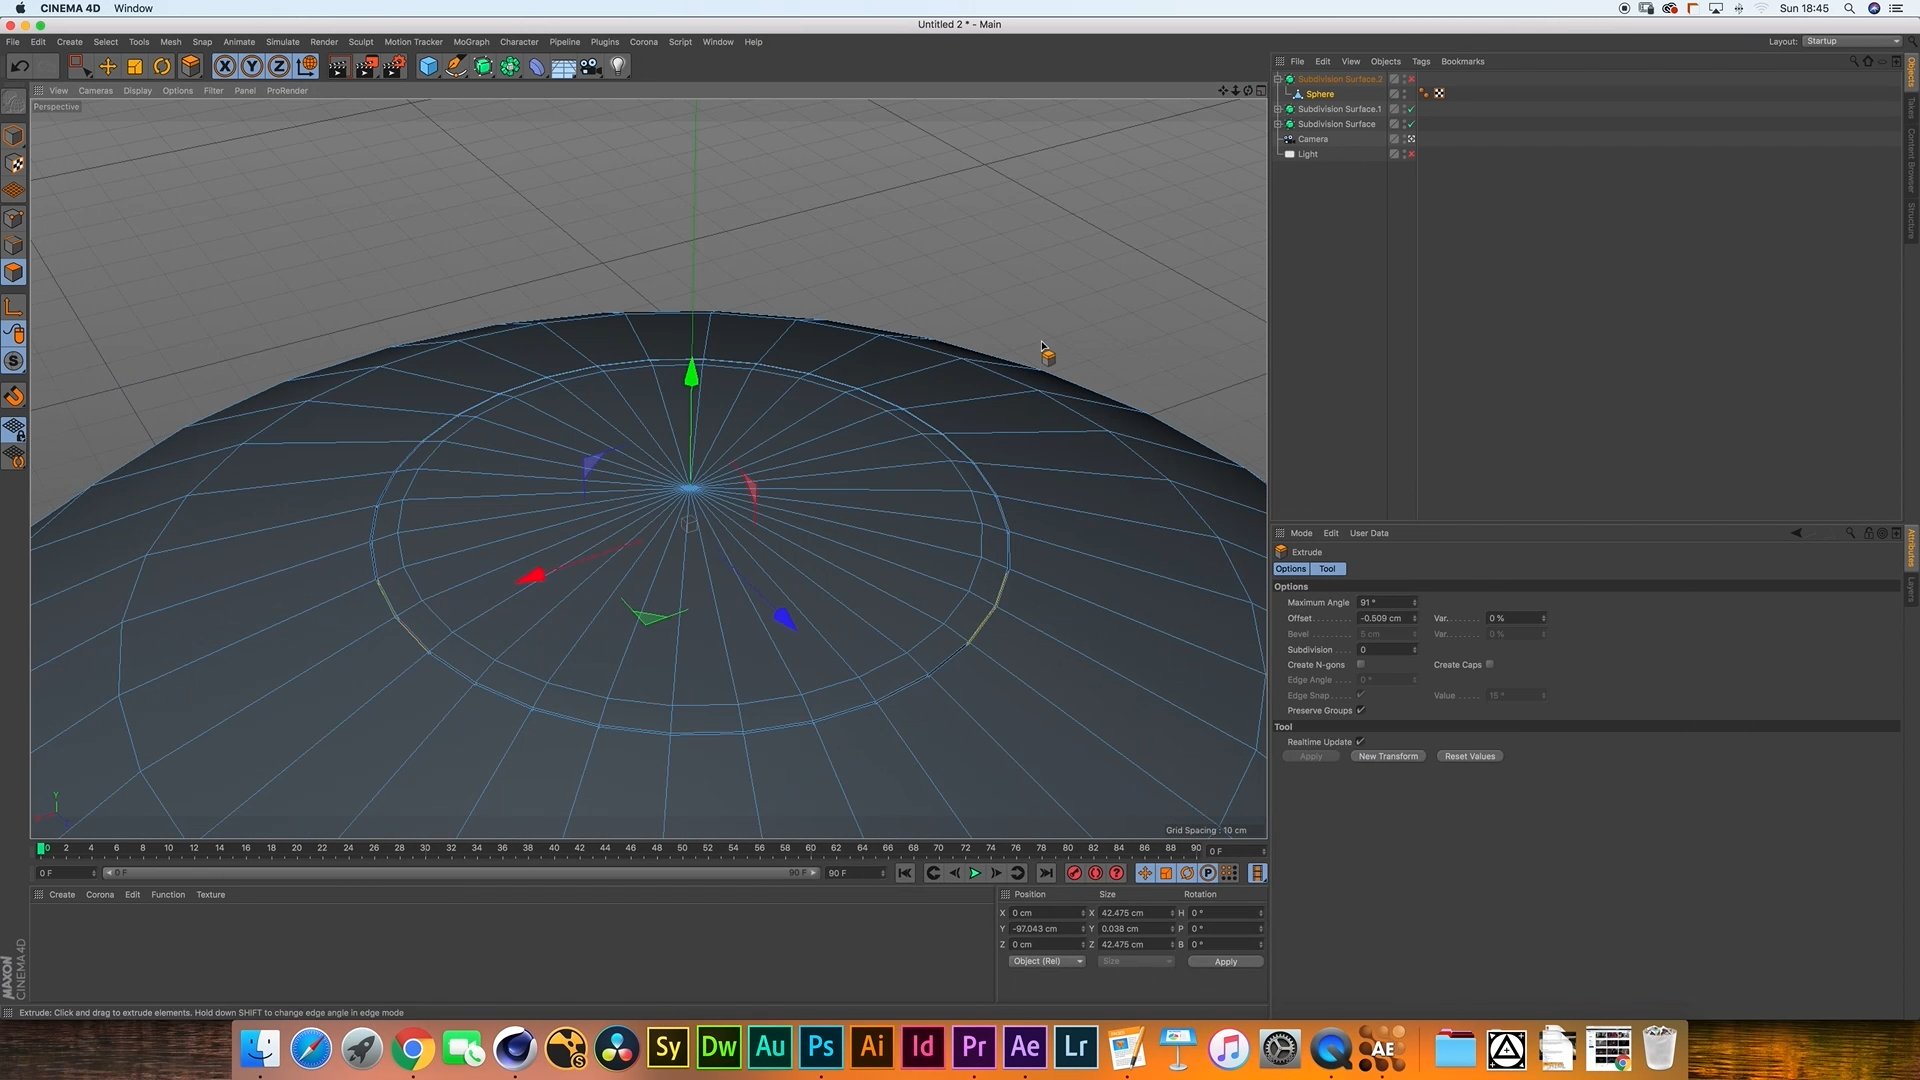
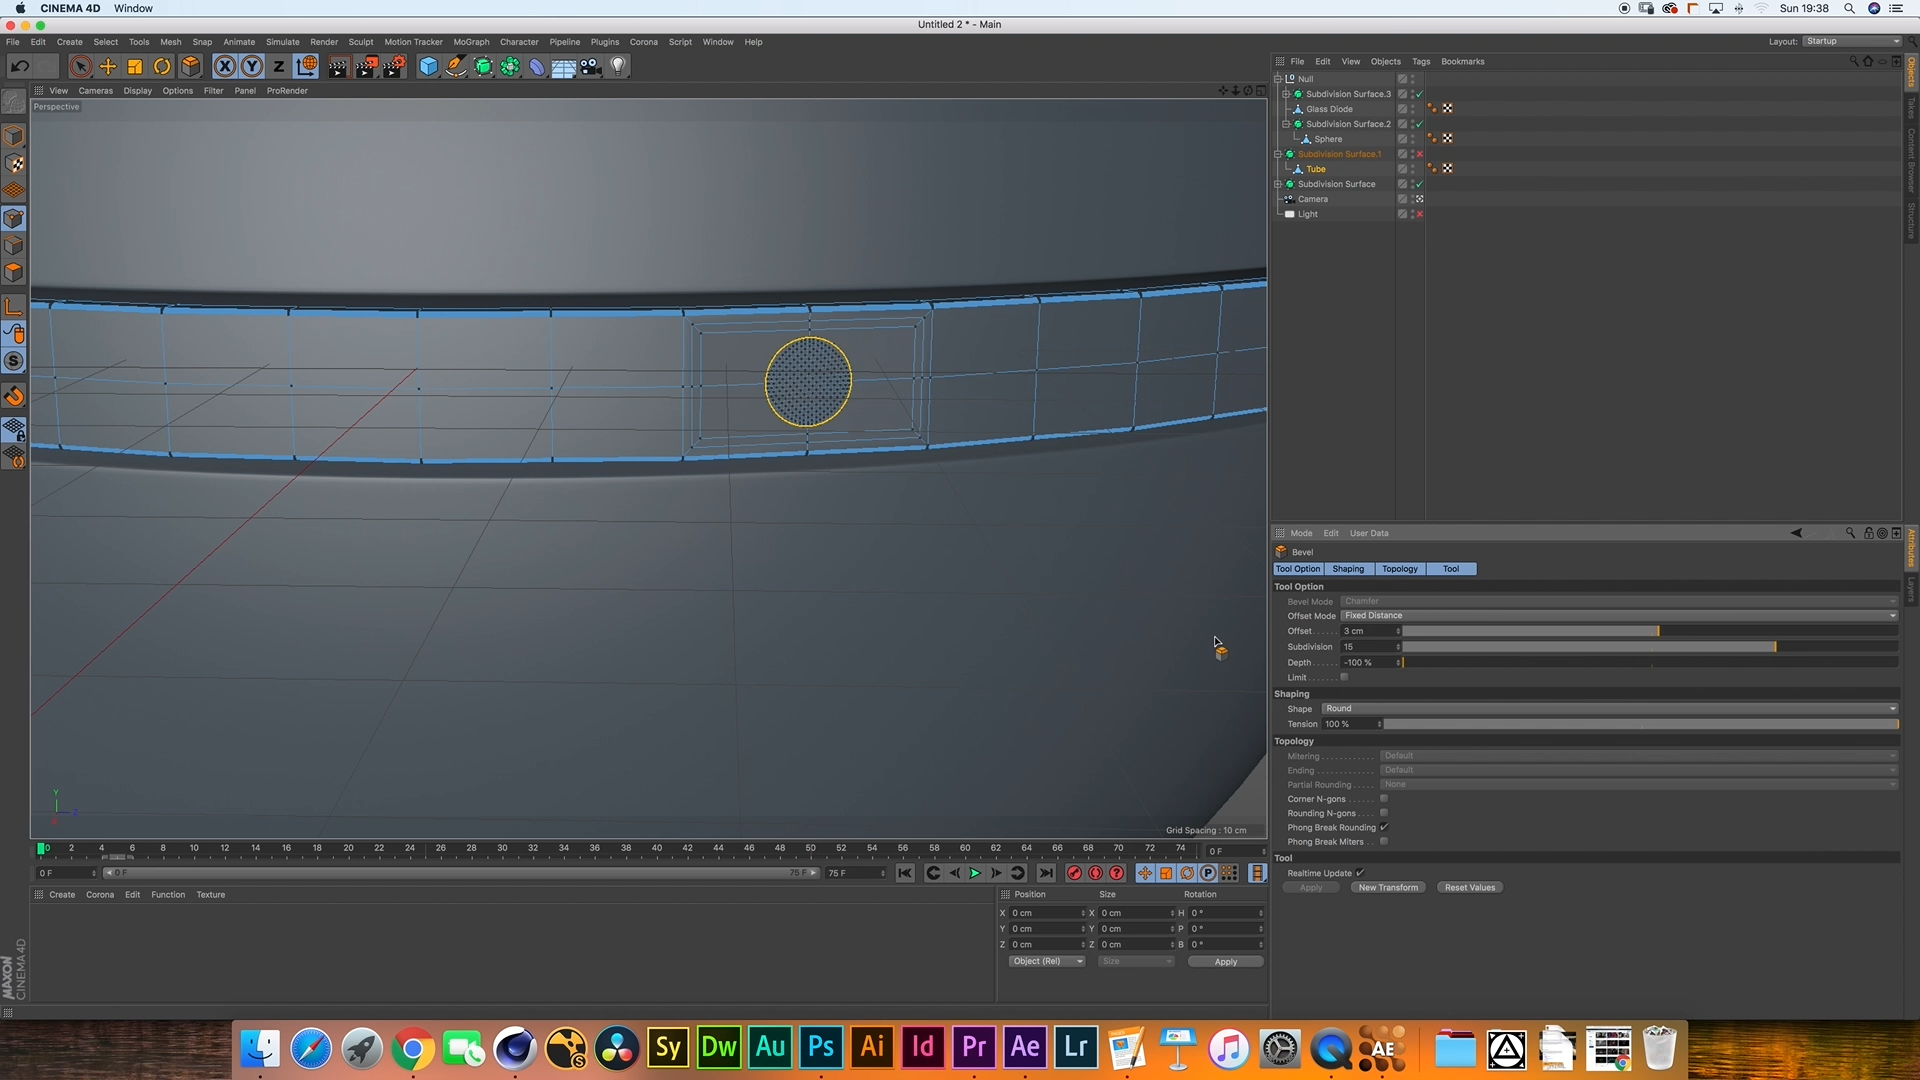
Creating a Bevel on the Inside
With the cut halves still selected, navigate to "Mesh" -> "Modeling" -> "Bevel" in the top menu.
Adjust the bevel settings in the Attribute Manager to create a smooth and polished bevel on the inside edge of the sphere.
Make sure your subdivision level at the edges doesn't include too many subdivisions to avoid heavy edge topology.
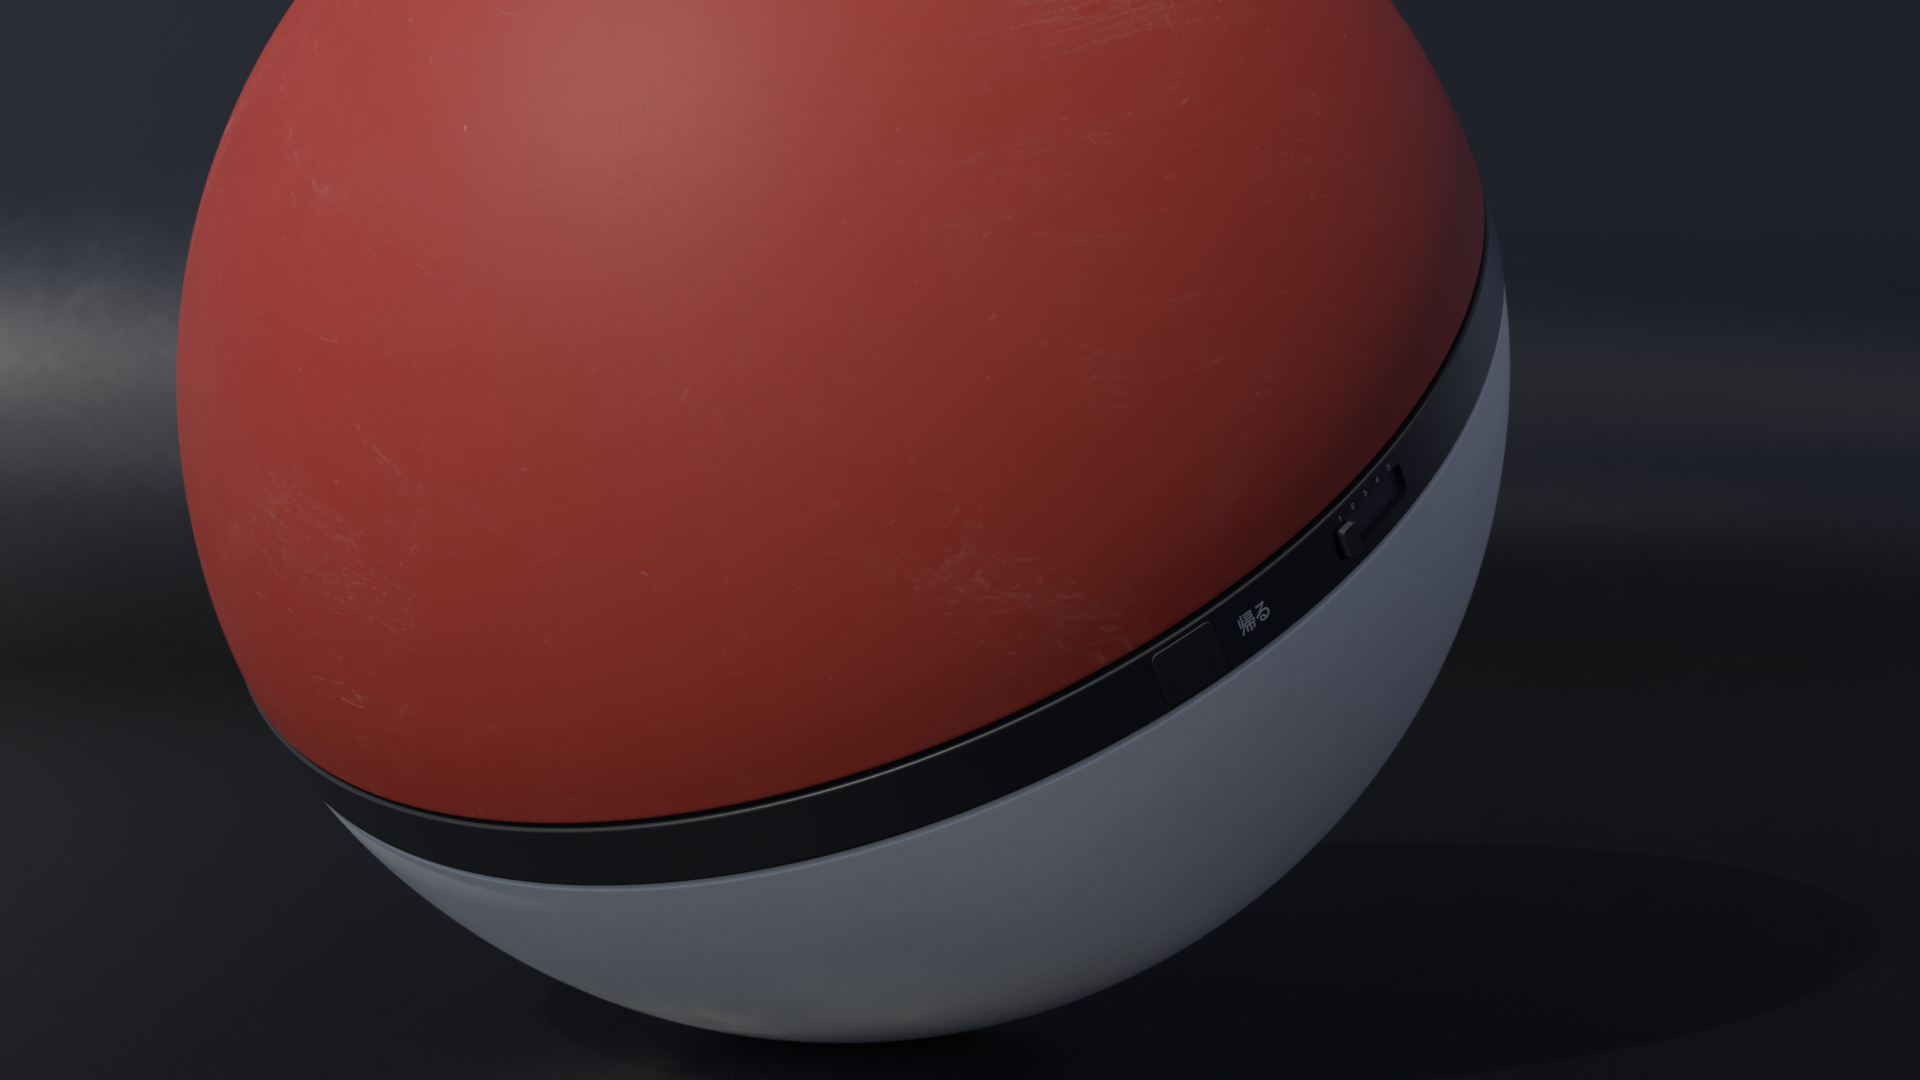
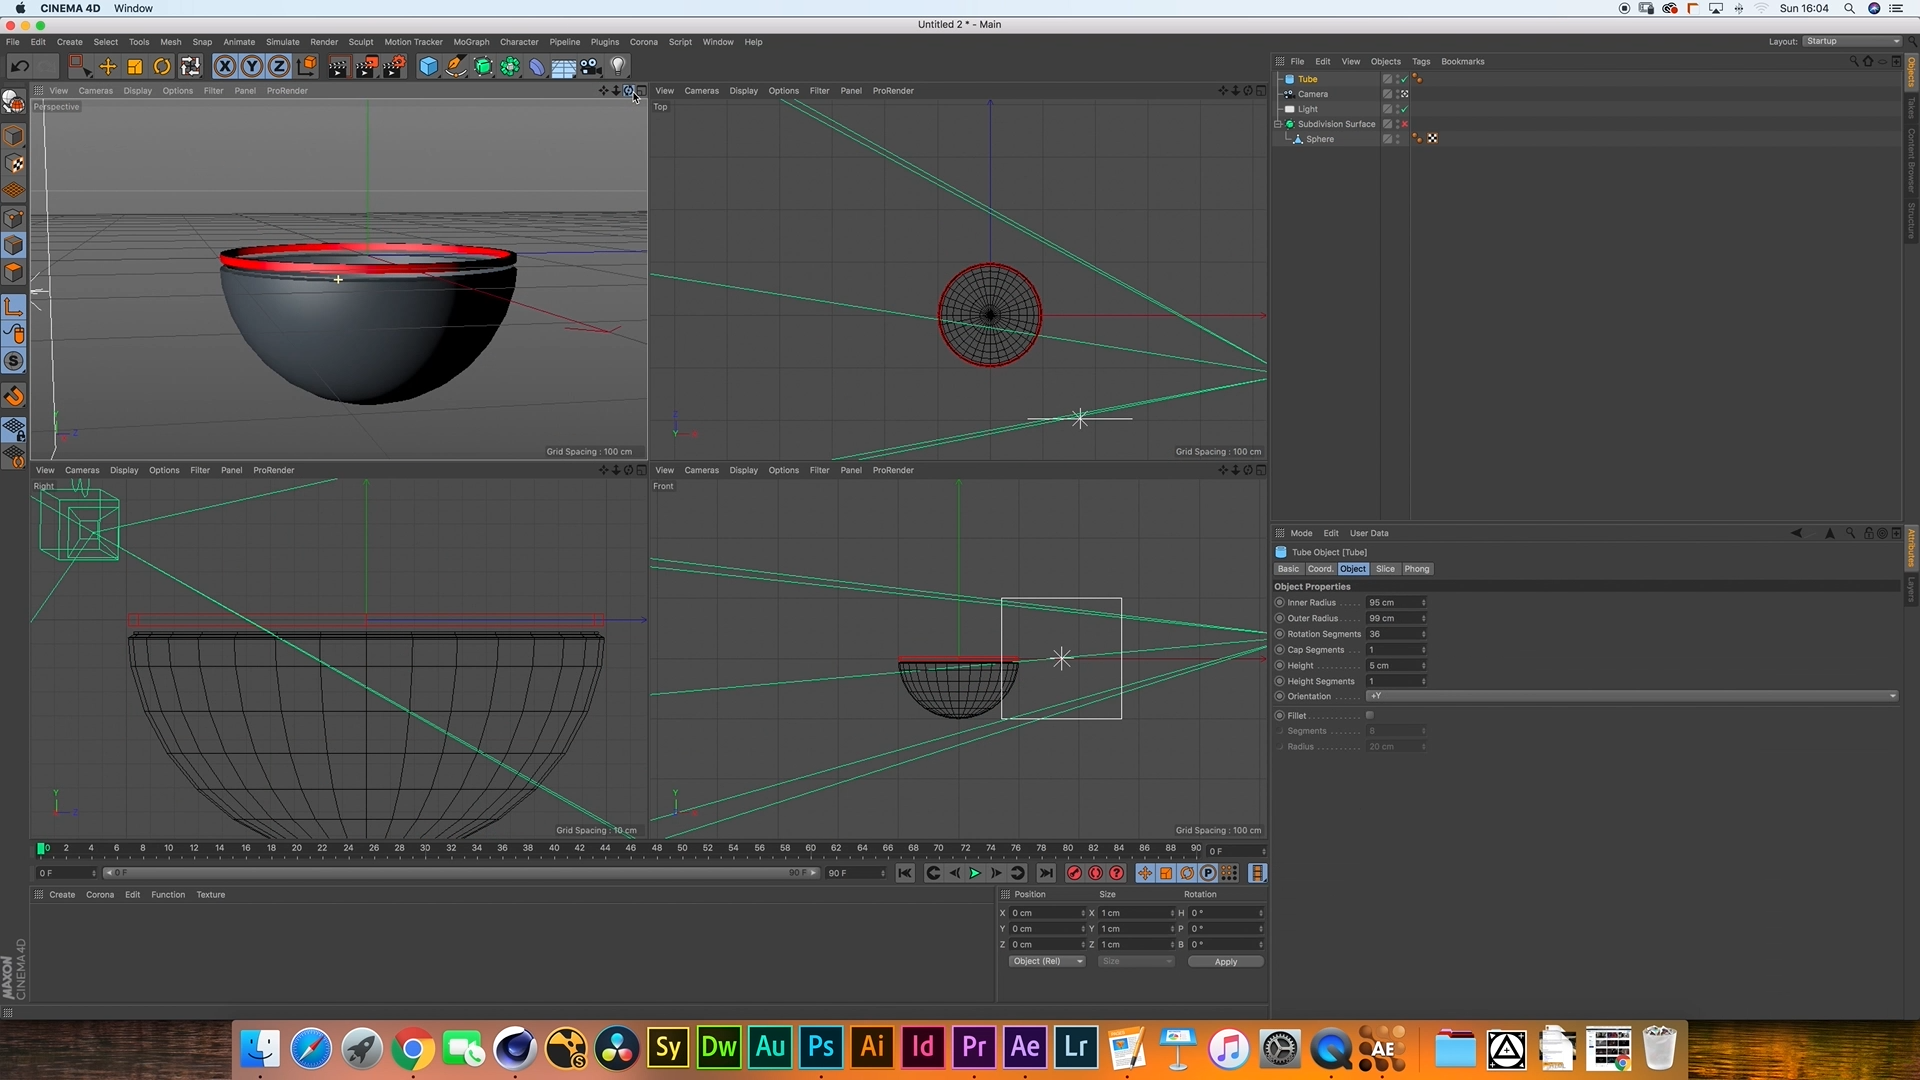
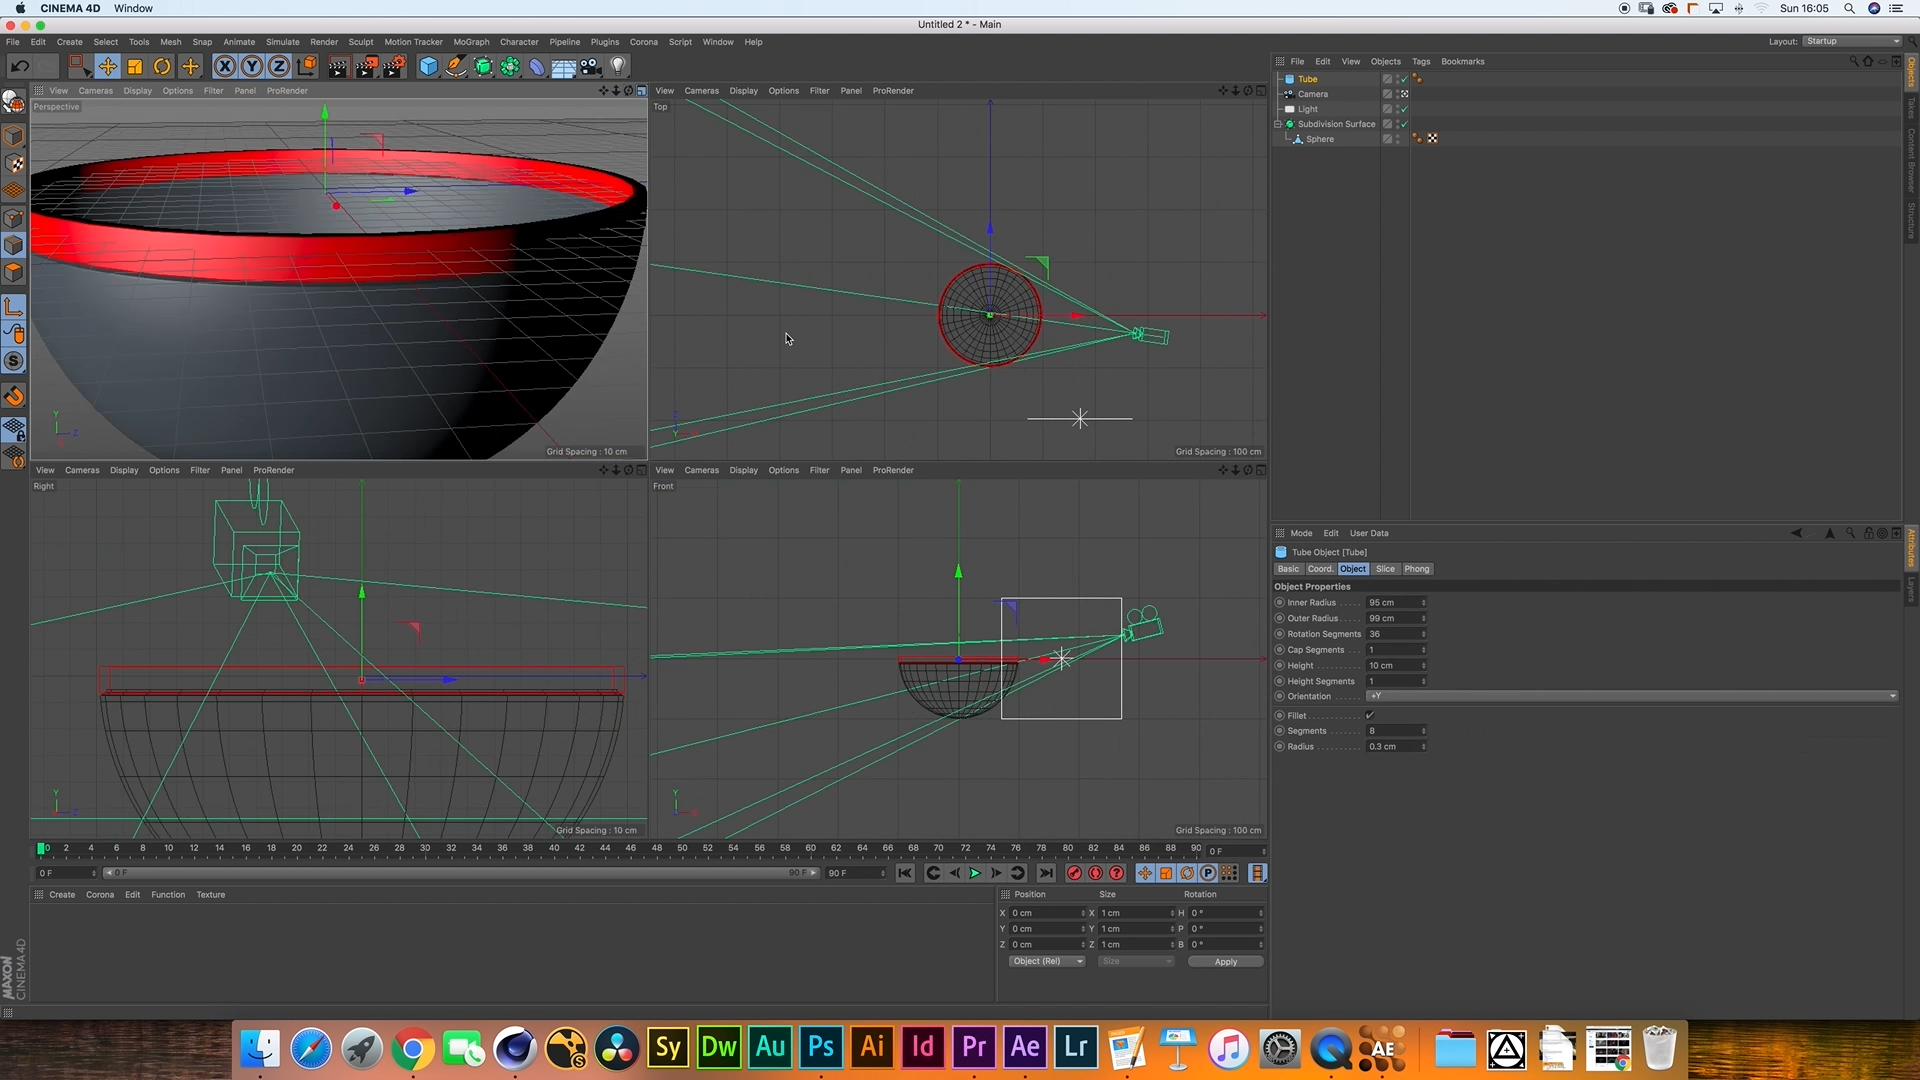
Adding a Cylinder for the Middle Ring
From the "Create" menu in the main toolbar, select "Primitives" and choose "Cylinder."
Position the cylinder to align with the middle ring of the Pokéball.
Adjust its dimensions in the Attribute Manager to match your design.
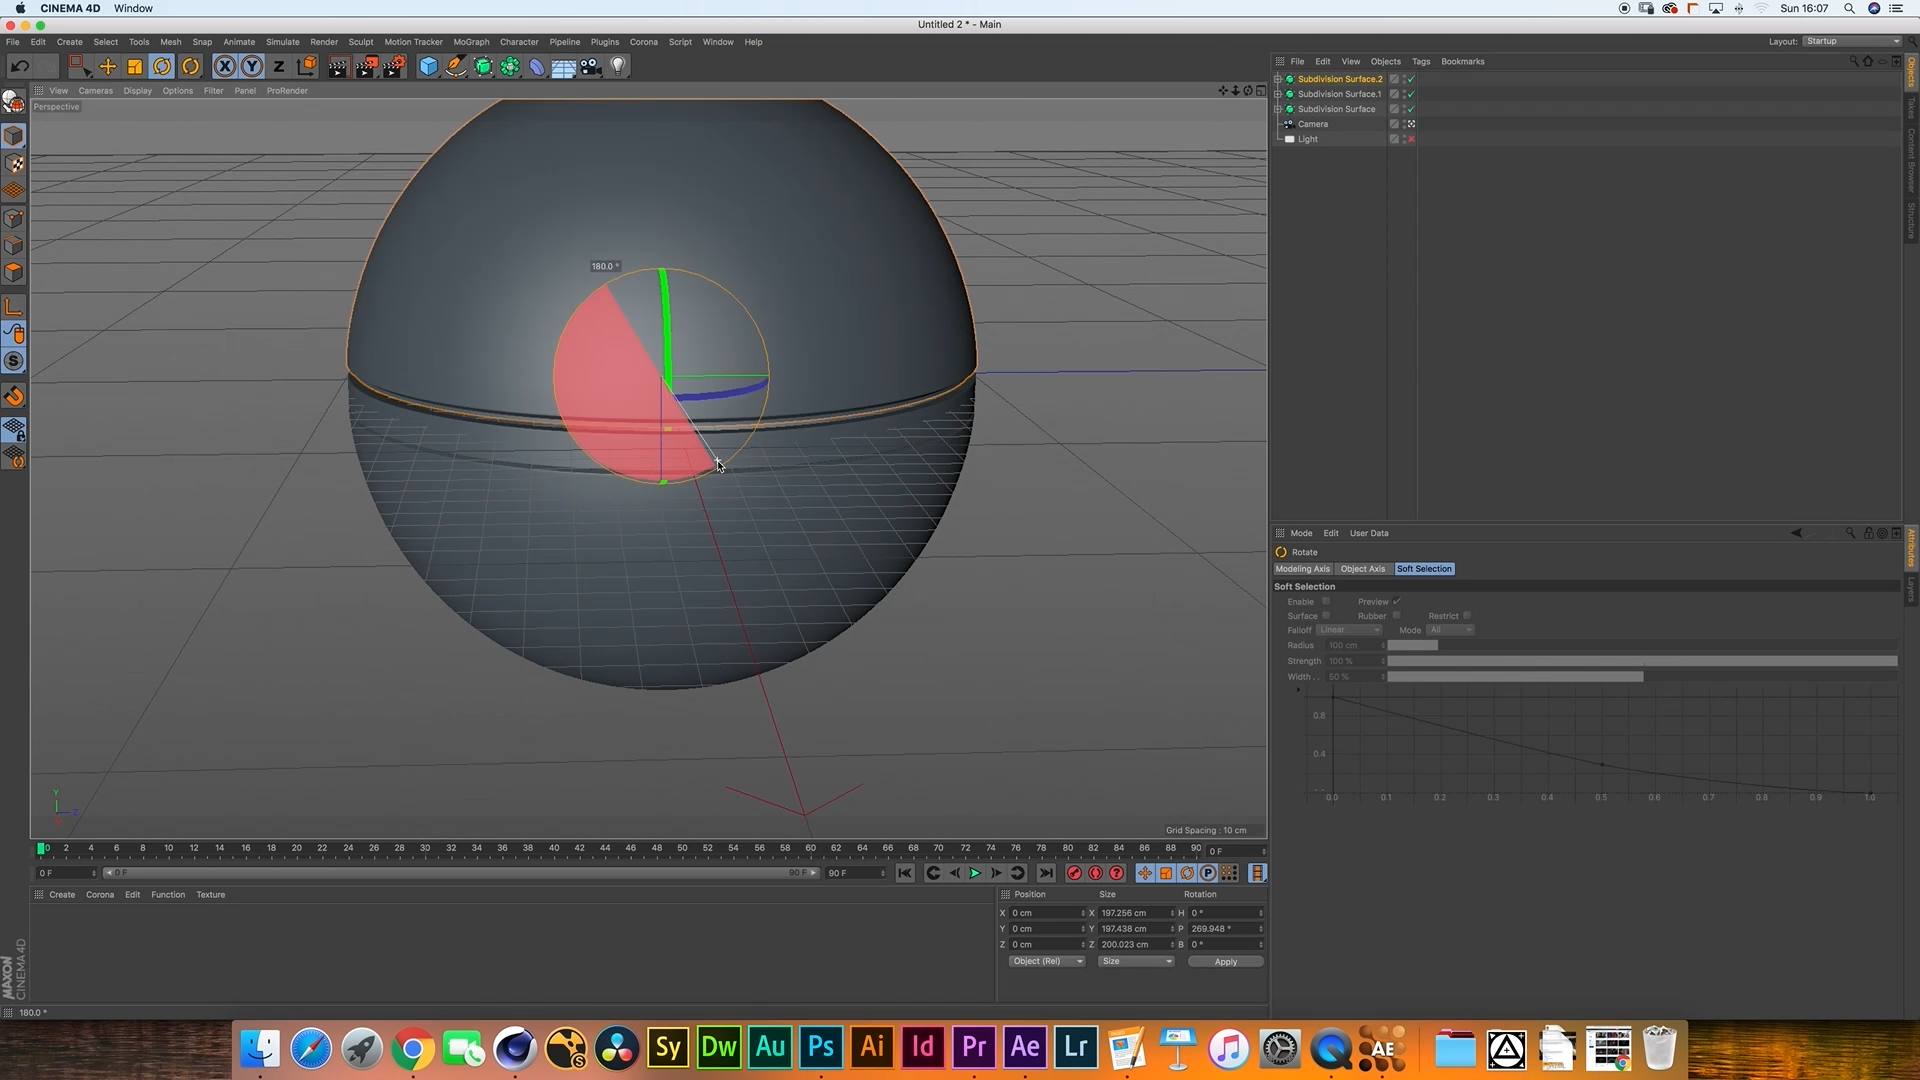
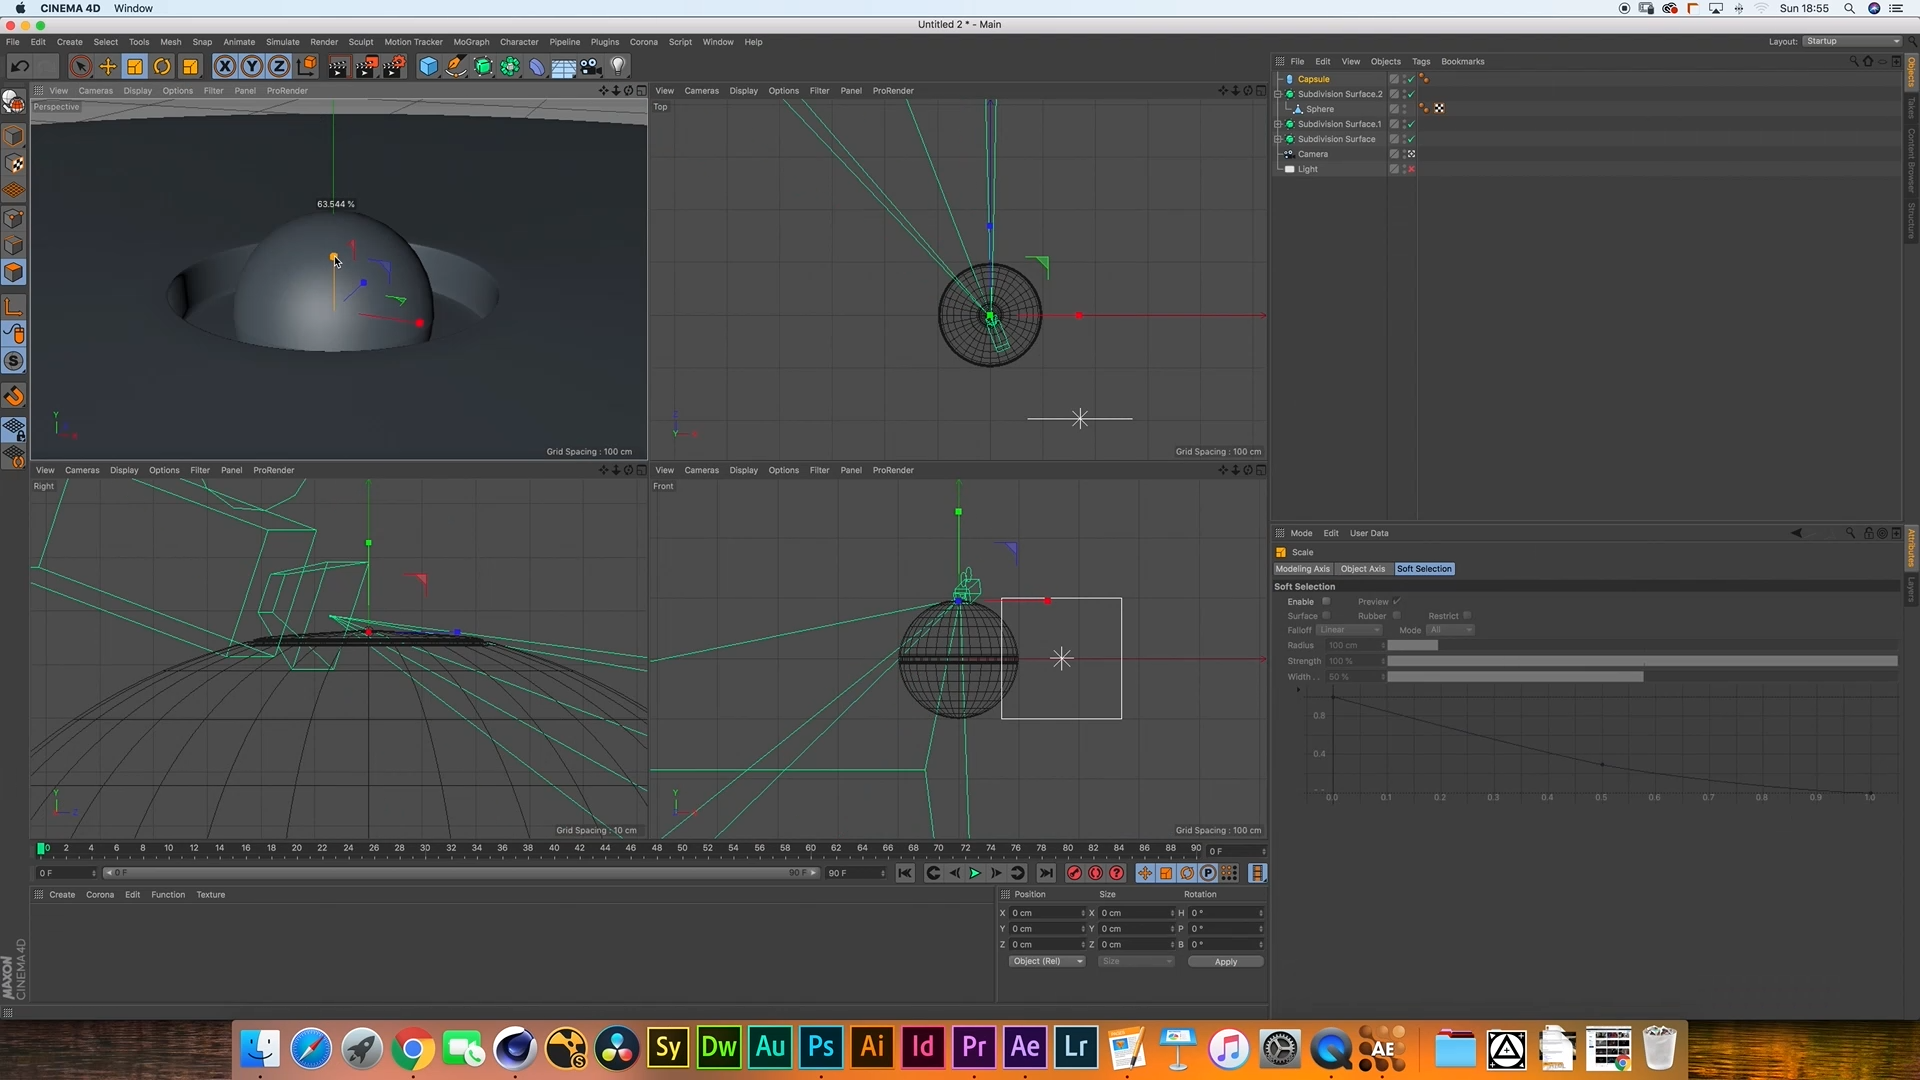
Duplicating and Rotating for Top Half
Duplicate the bottom half of the sphere by selecting it in the Object Manager, right-clicking, and choosing "Duplicate."
Rotate the duplicated half 180 degrees along the desired axis to create the top half of the Pokéball.
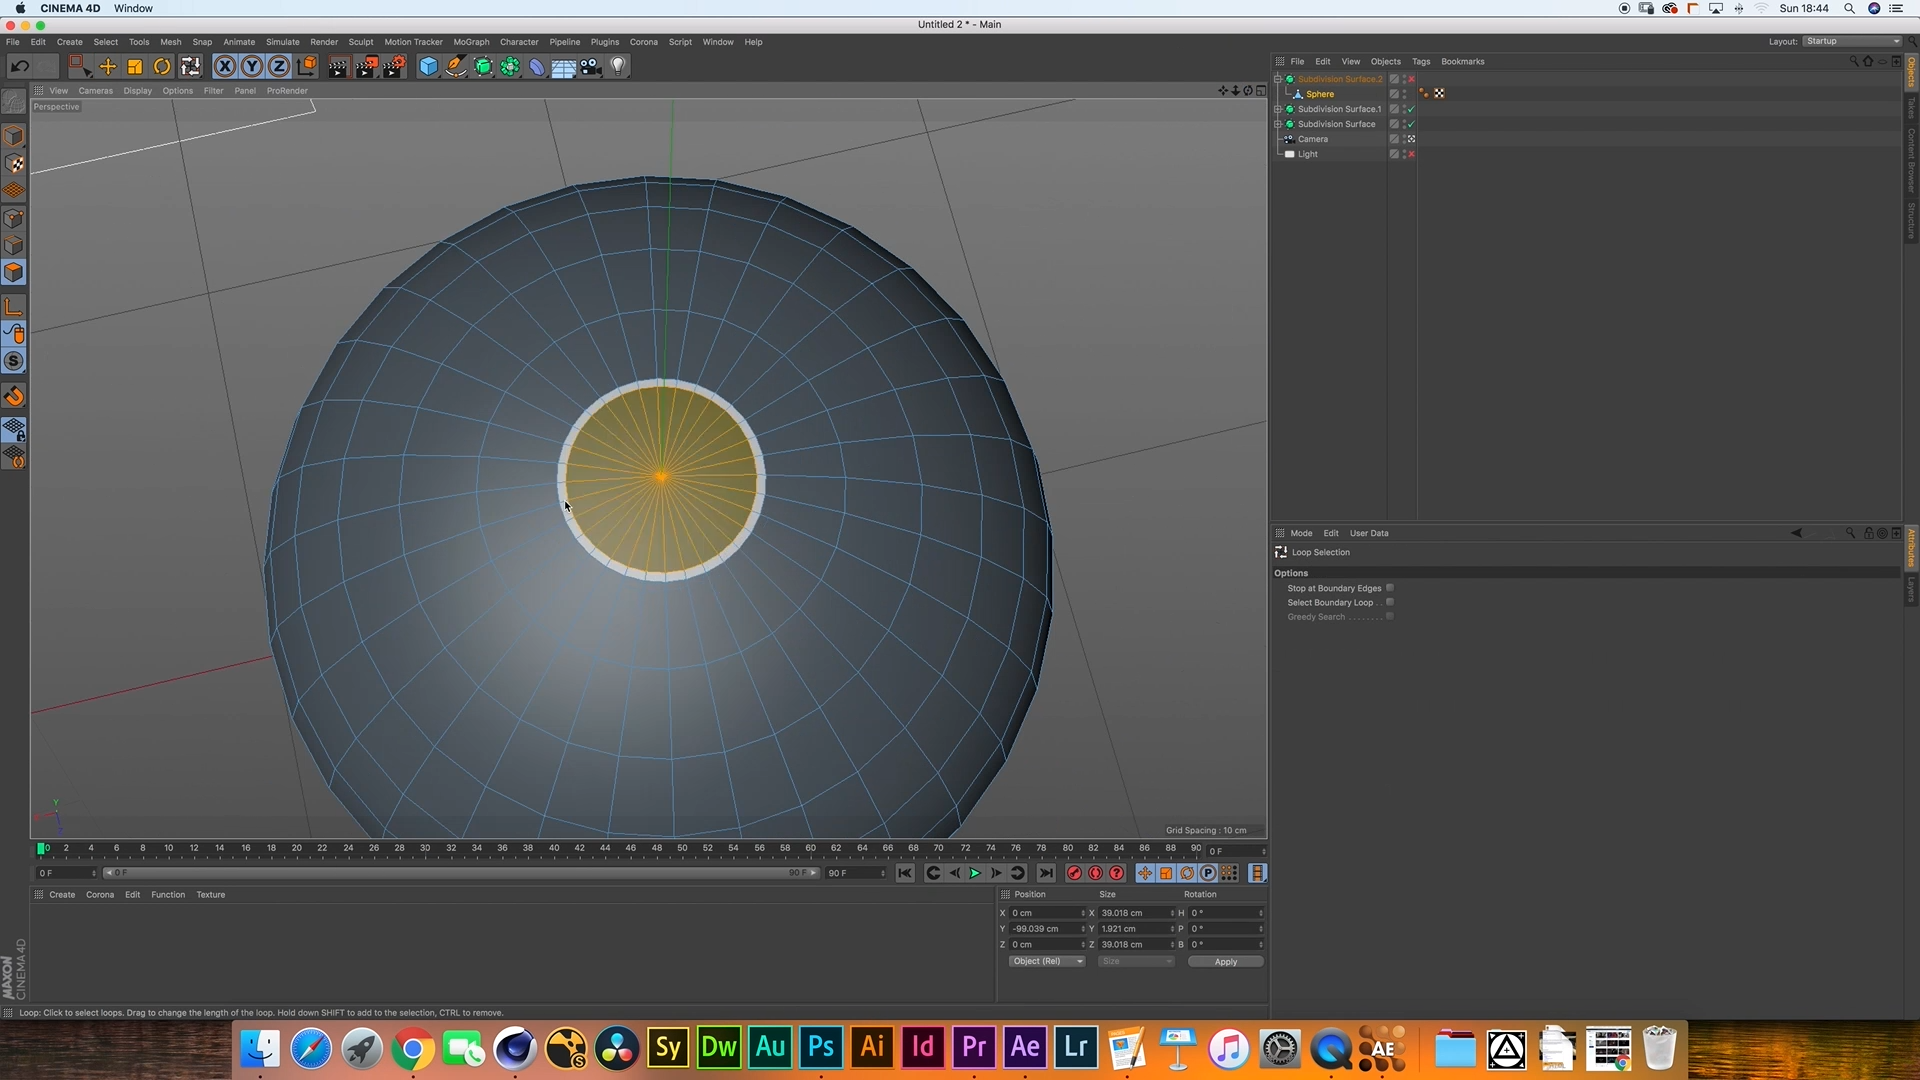
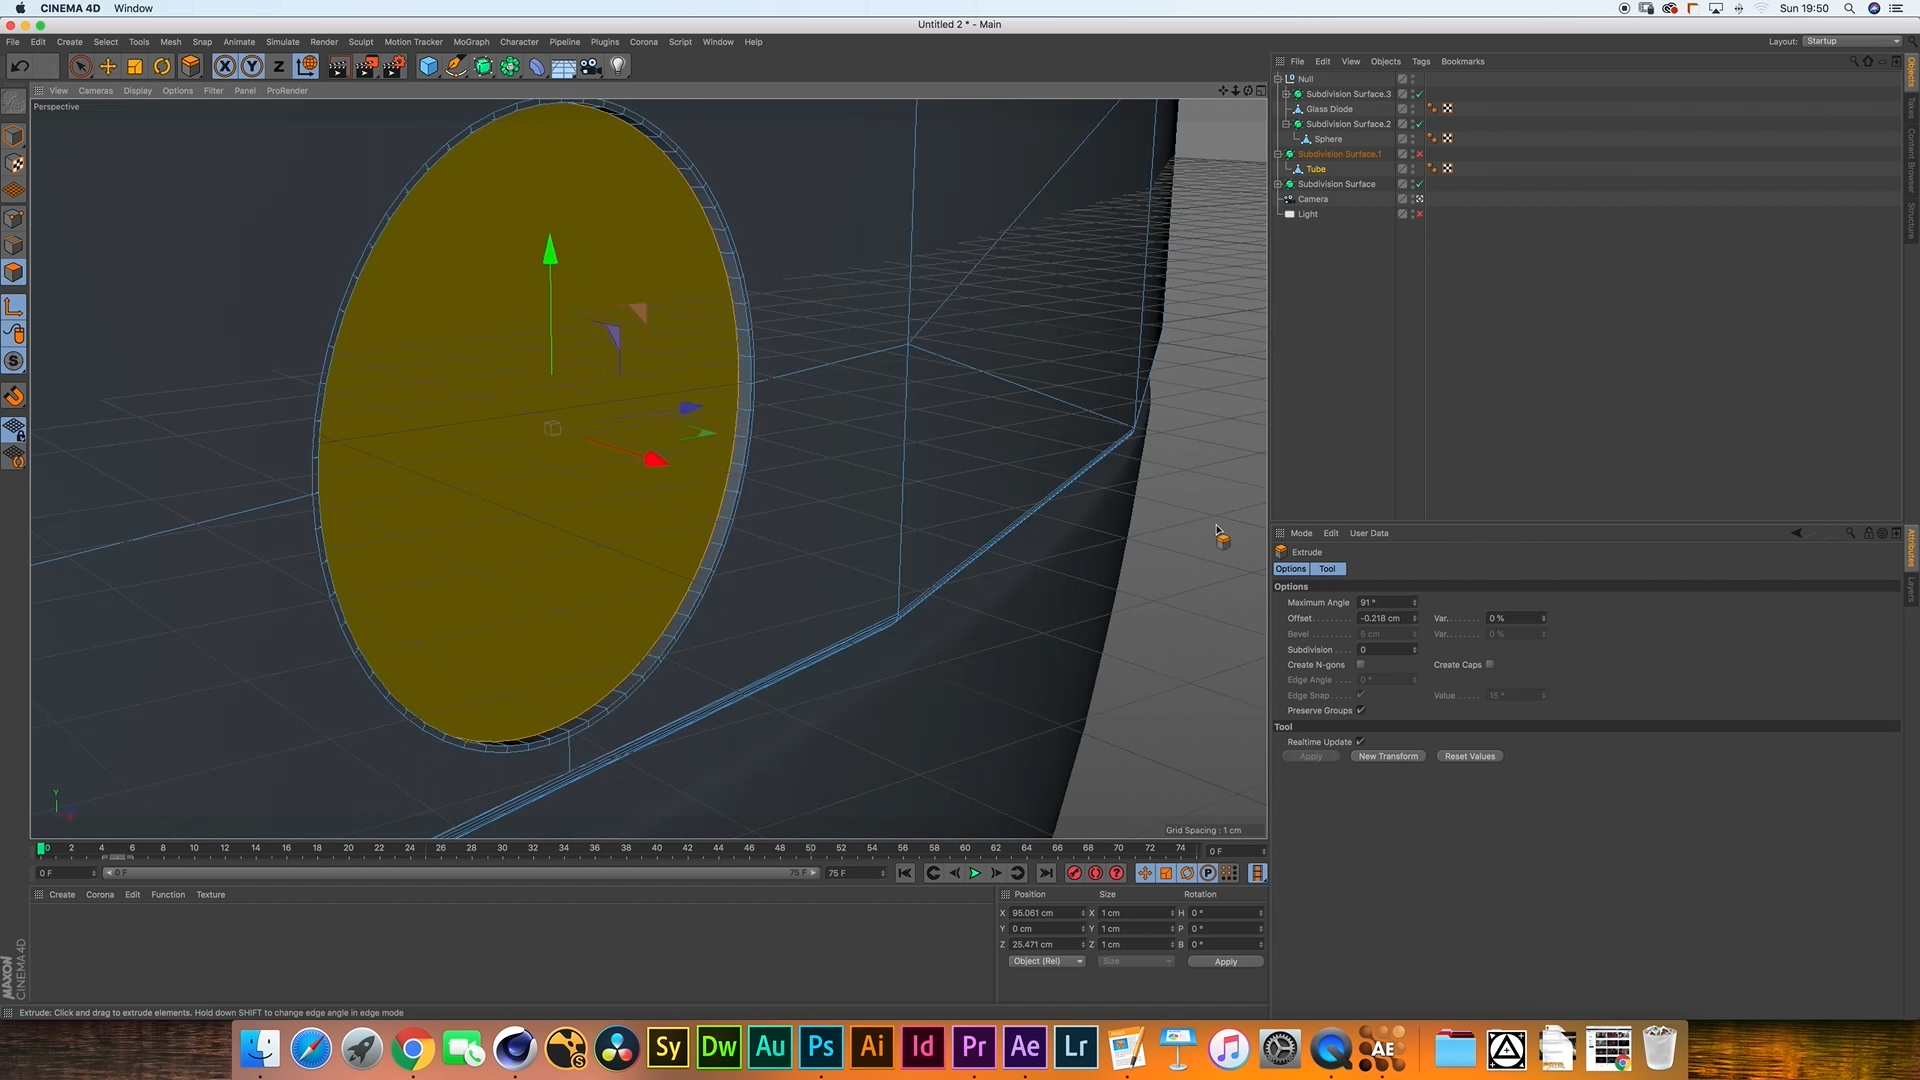
Extruding the Top Polygons Inwards
Select the top circle of polygons on the Pokéball's inner half.
Enter "Point" mode and choose the "Extrude" tool from the toolbar.
In the Attribute Manager, set the desired inward extrusion distance to give depth to the inner part of the Pokéball.
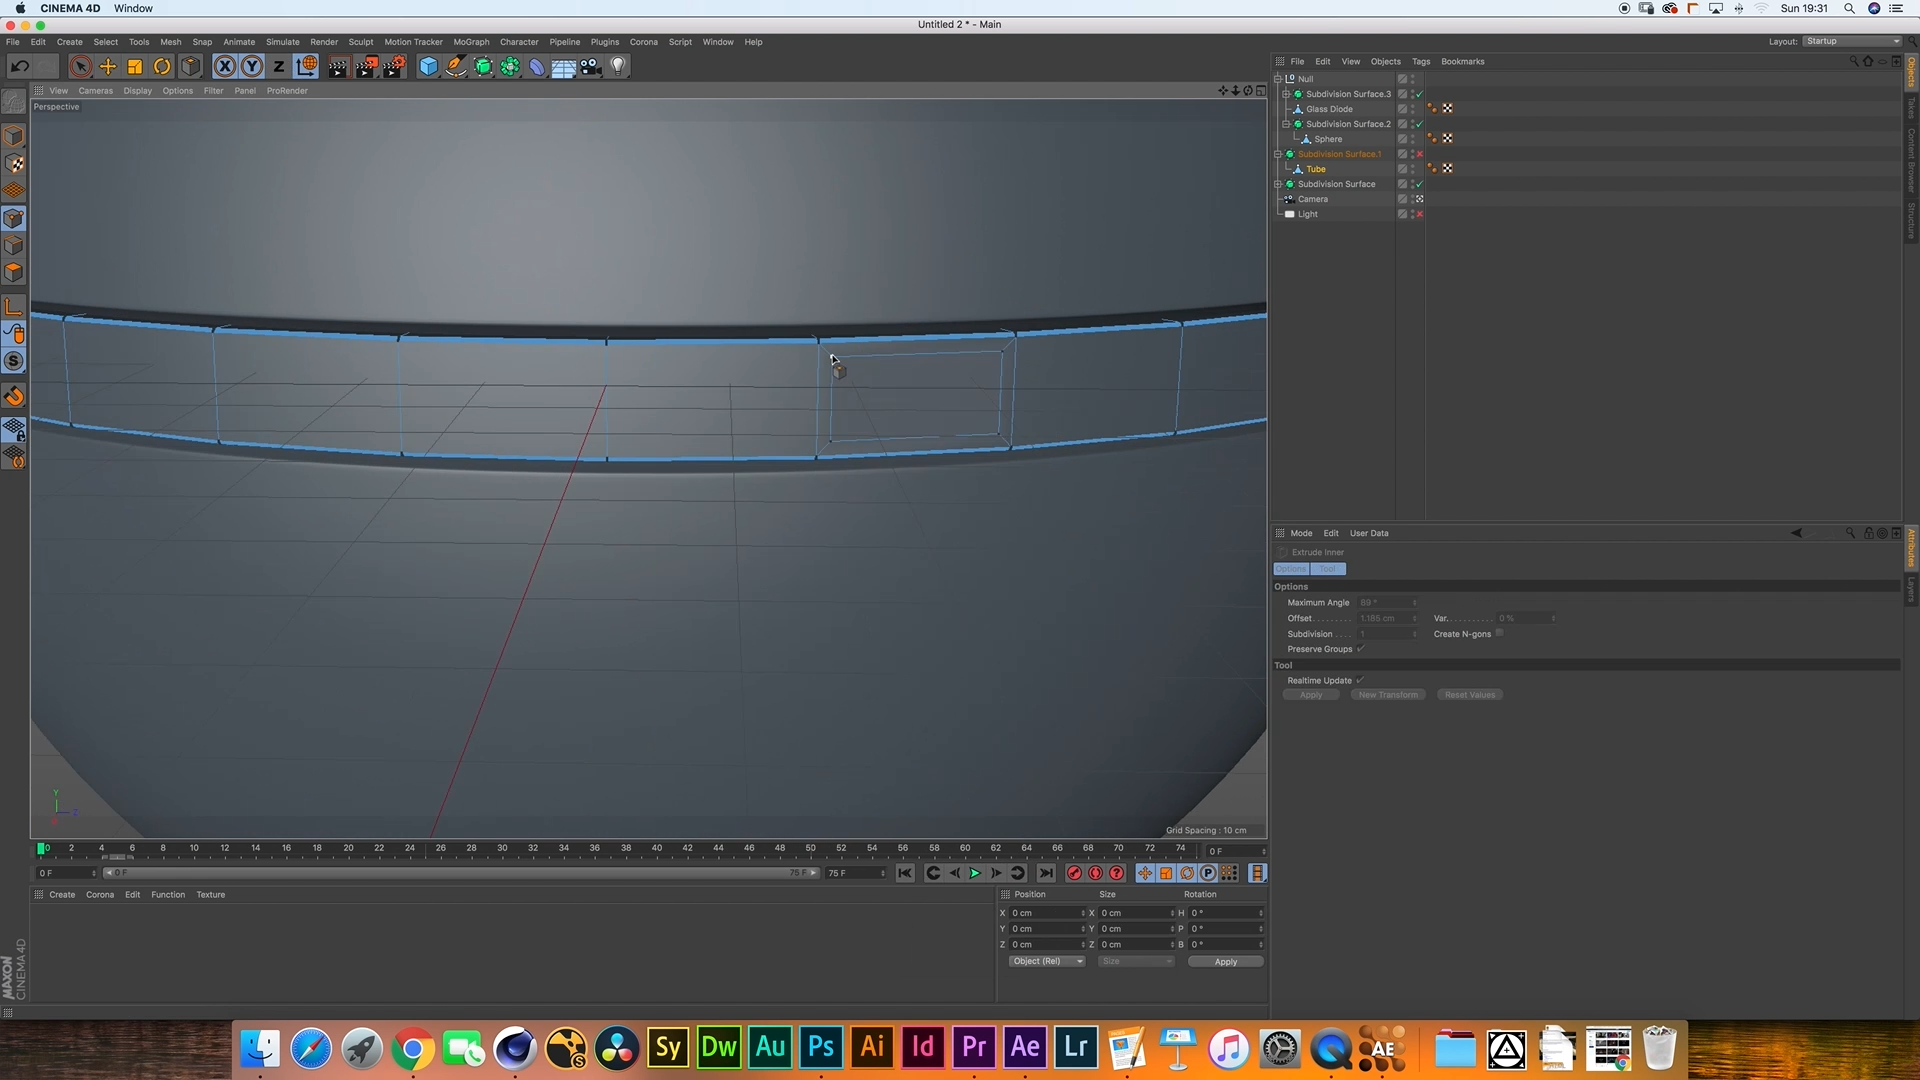
Extruding Inner Polygons while Maintaining Groups
Continue from the previous step by selecting the newly extruded polygons.
With the "Extrude" tool still active, enable the "Maintain Groups" option in the Attribute Manager.
Extrude the inner polygons to create a organised and clean model.
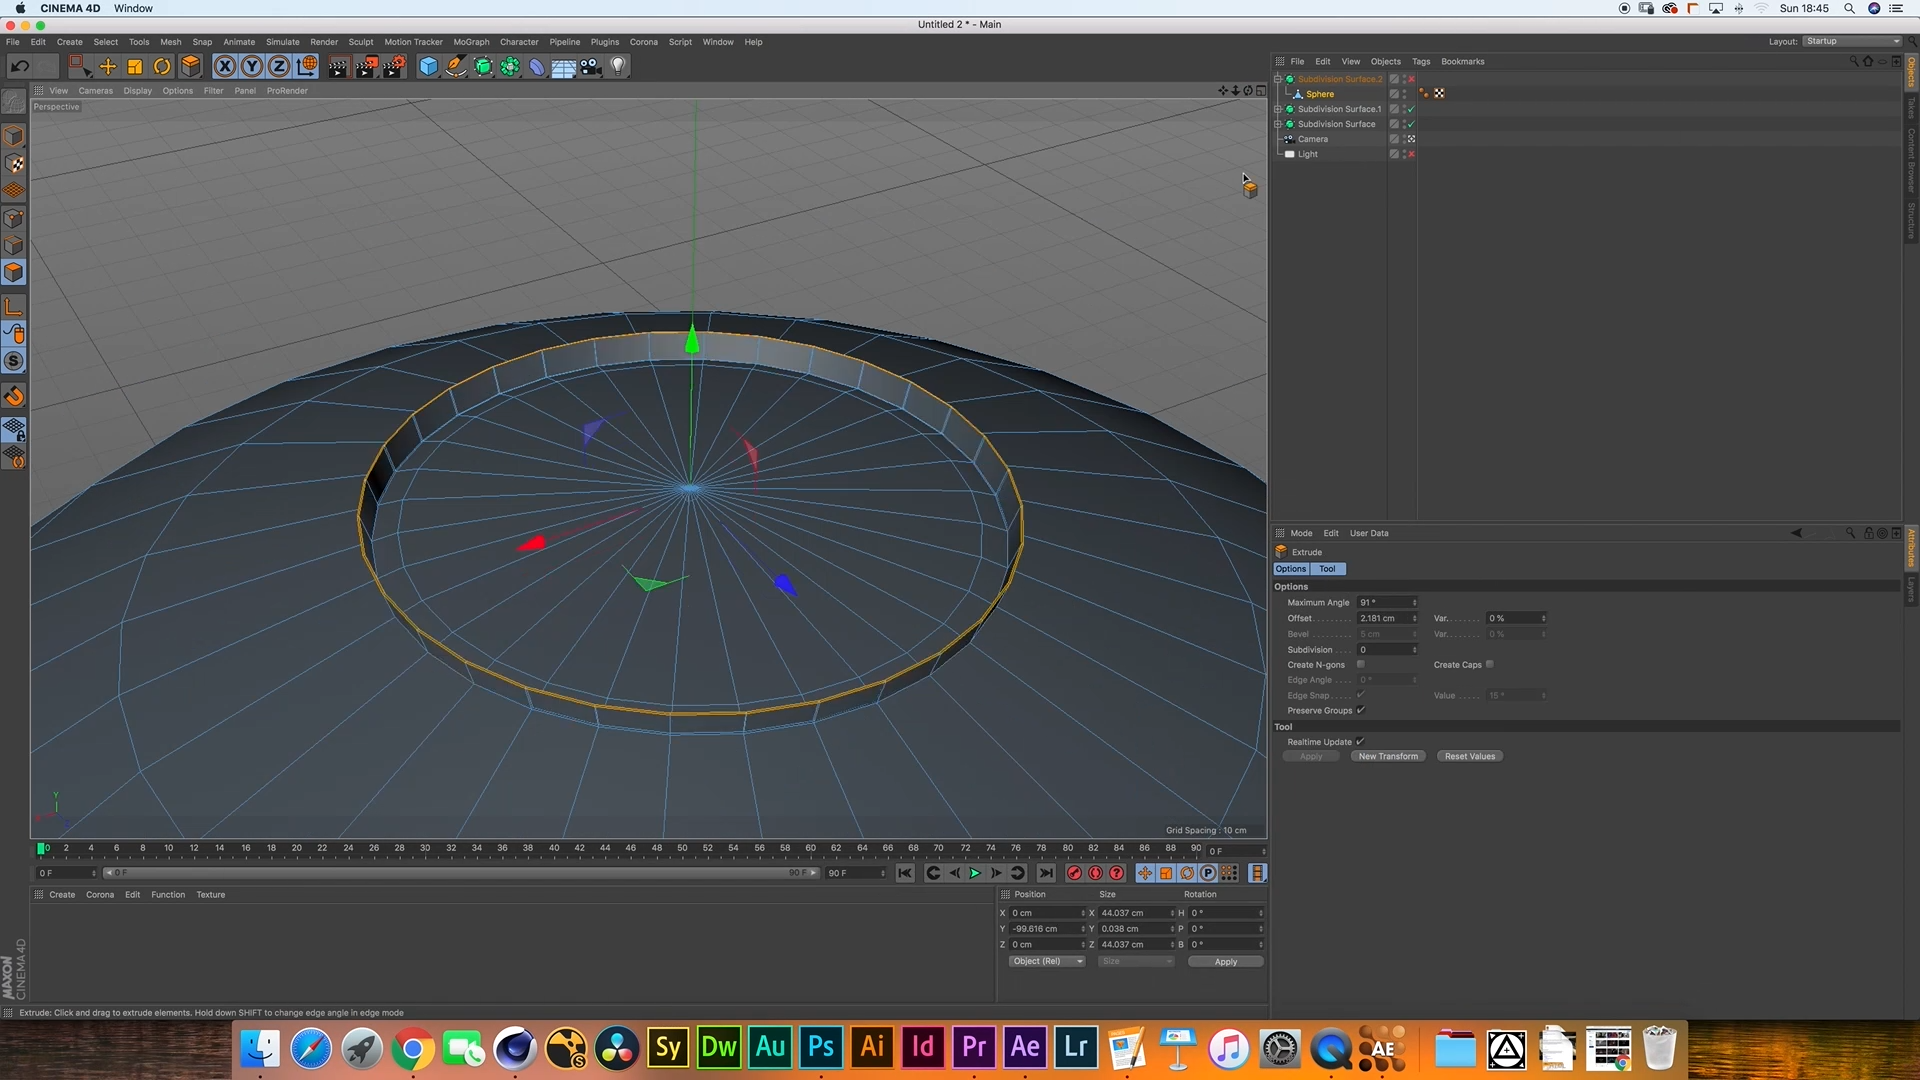
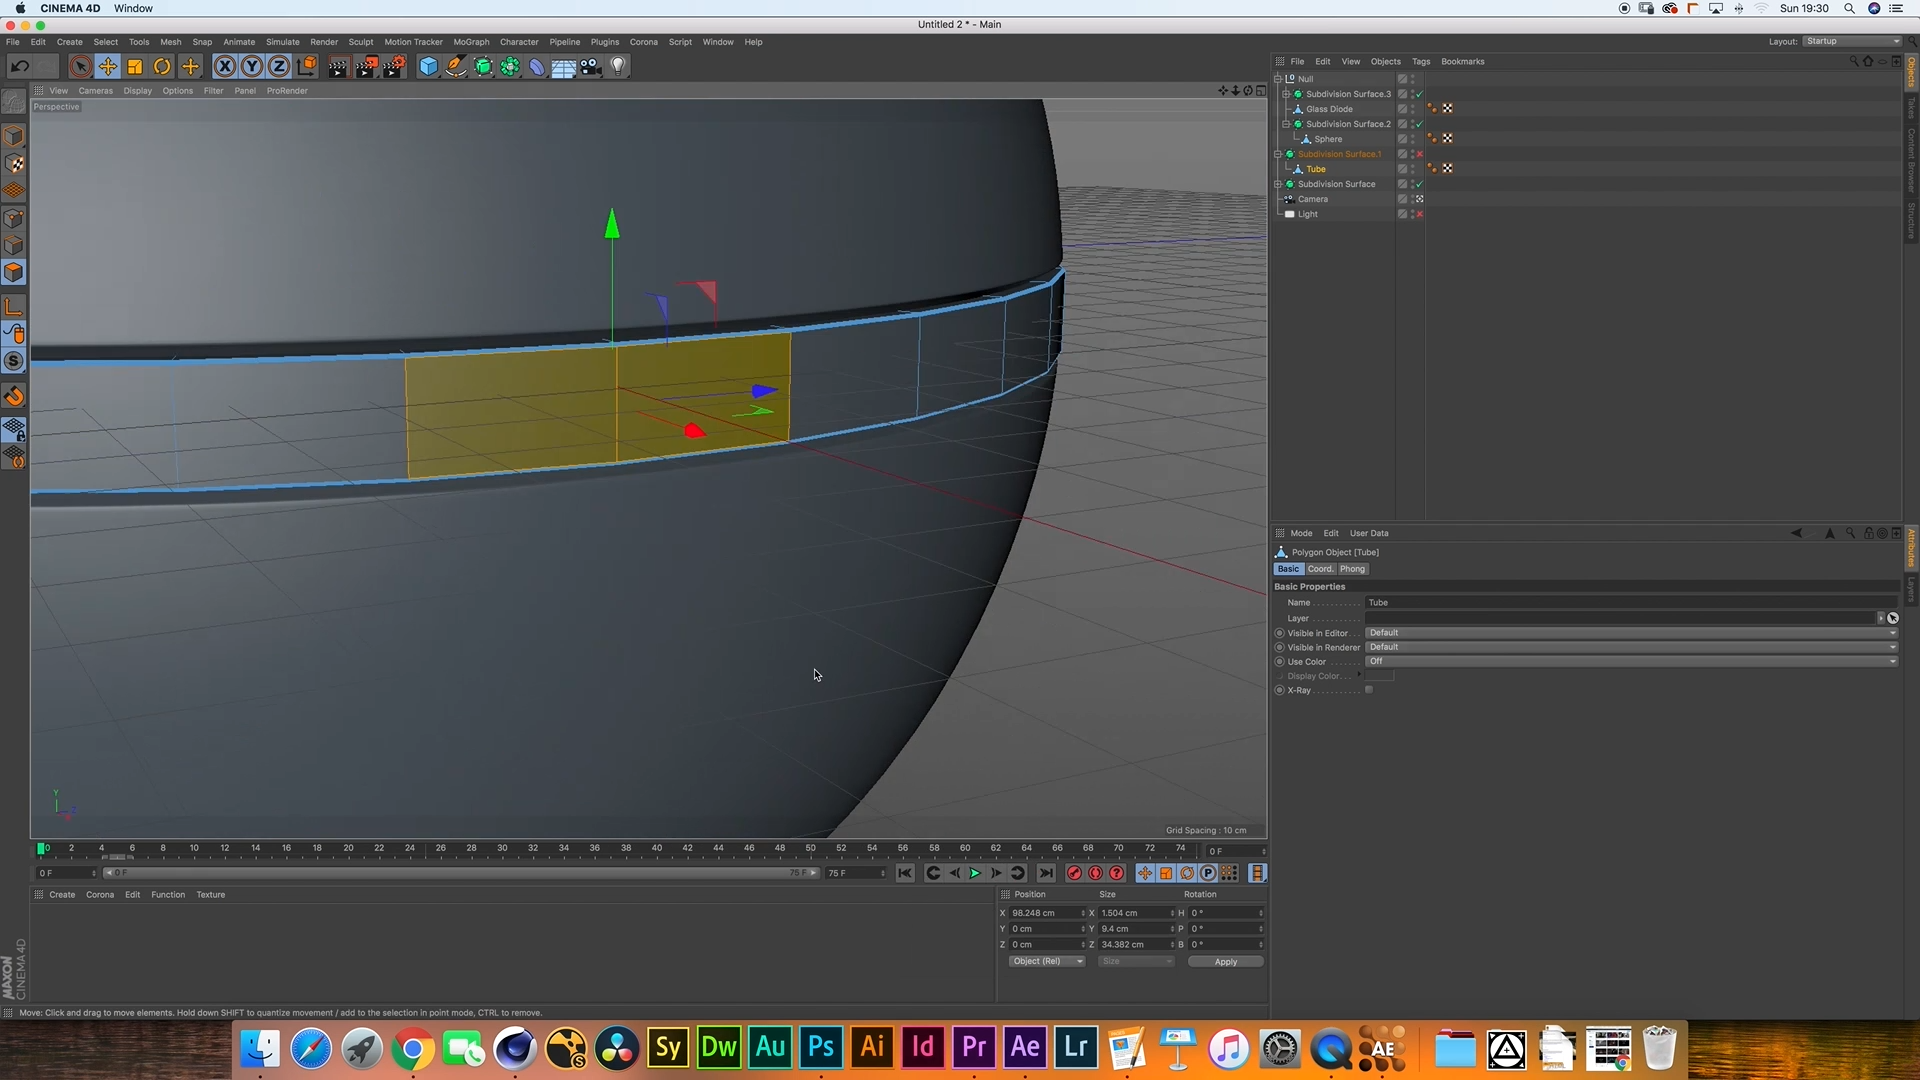
Extruding the Polygons Upwards
To form the outer shell of the Pokéball, select the remaining polygons on the inner half.
Use the "Extrude" tool to extrude them upwards, aligning their height with the original sphere's height.
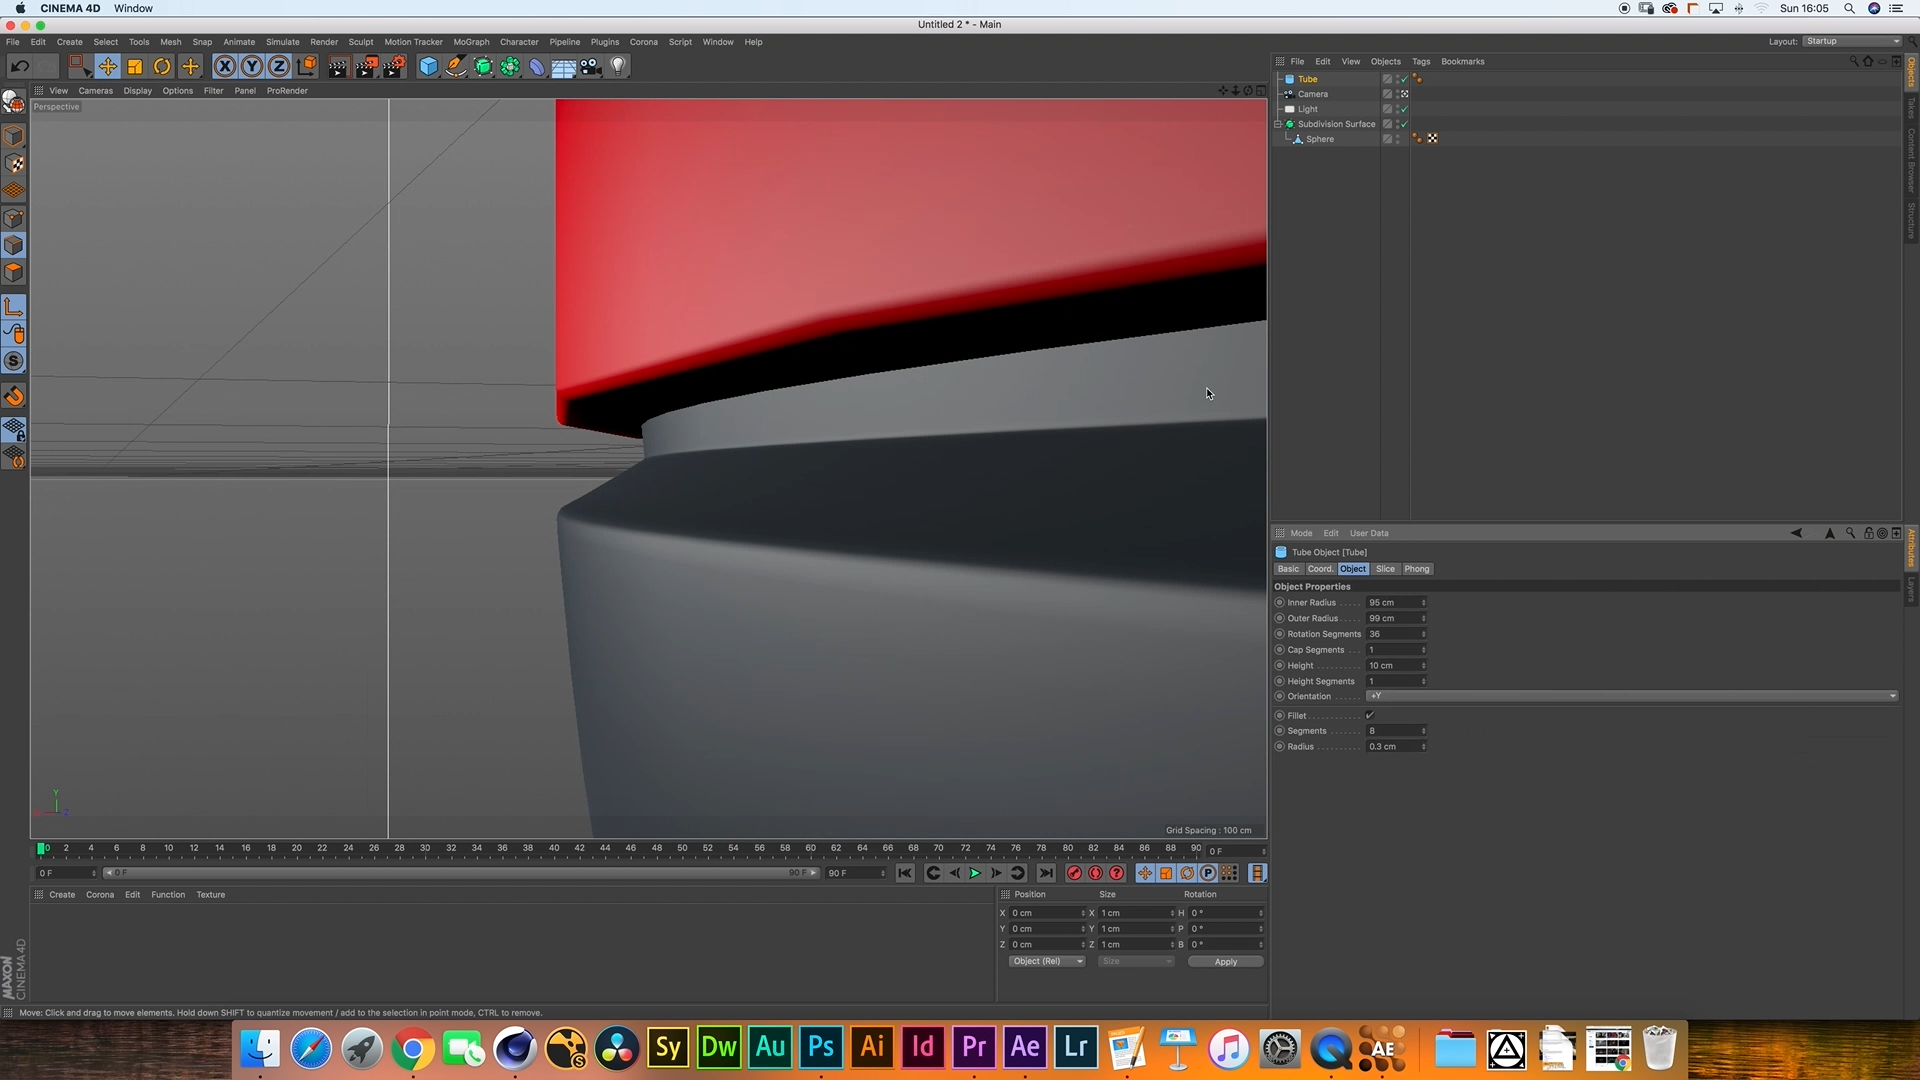
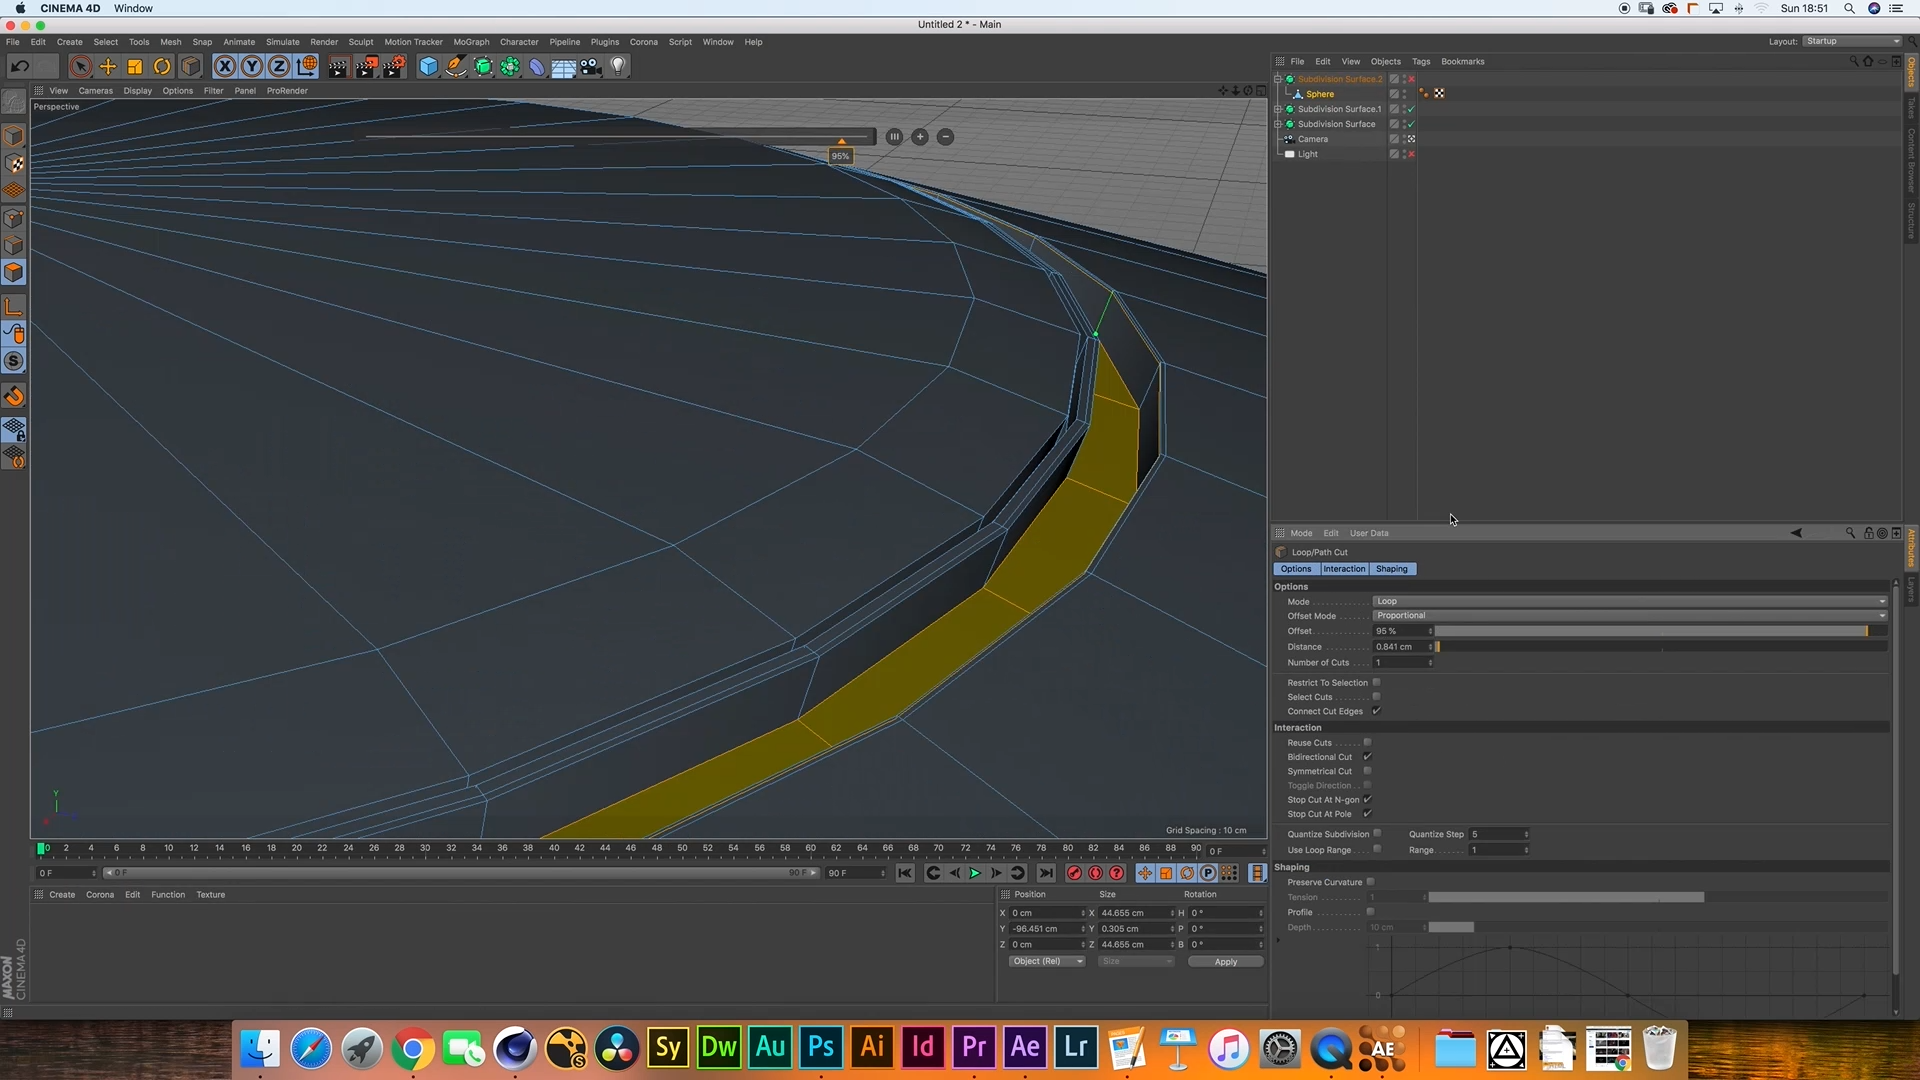
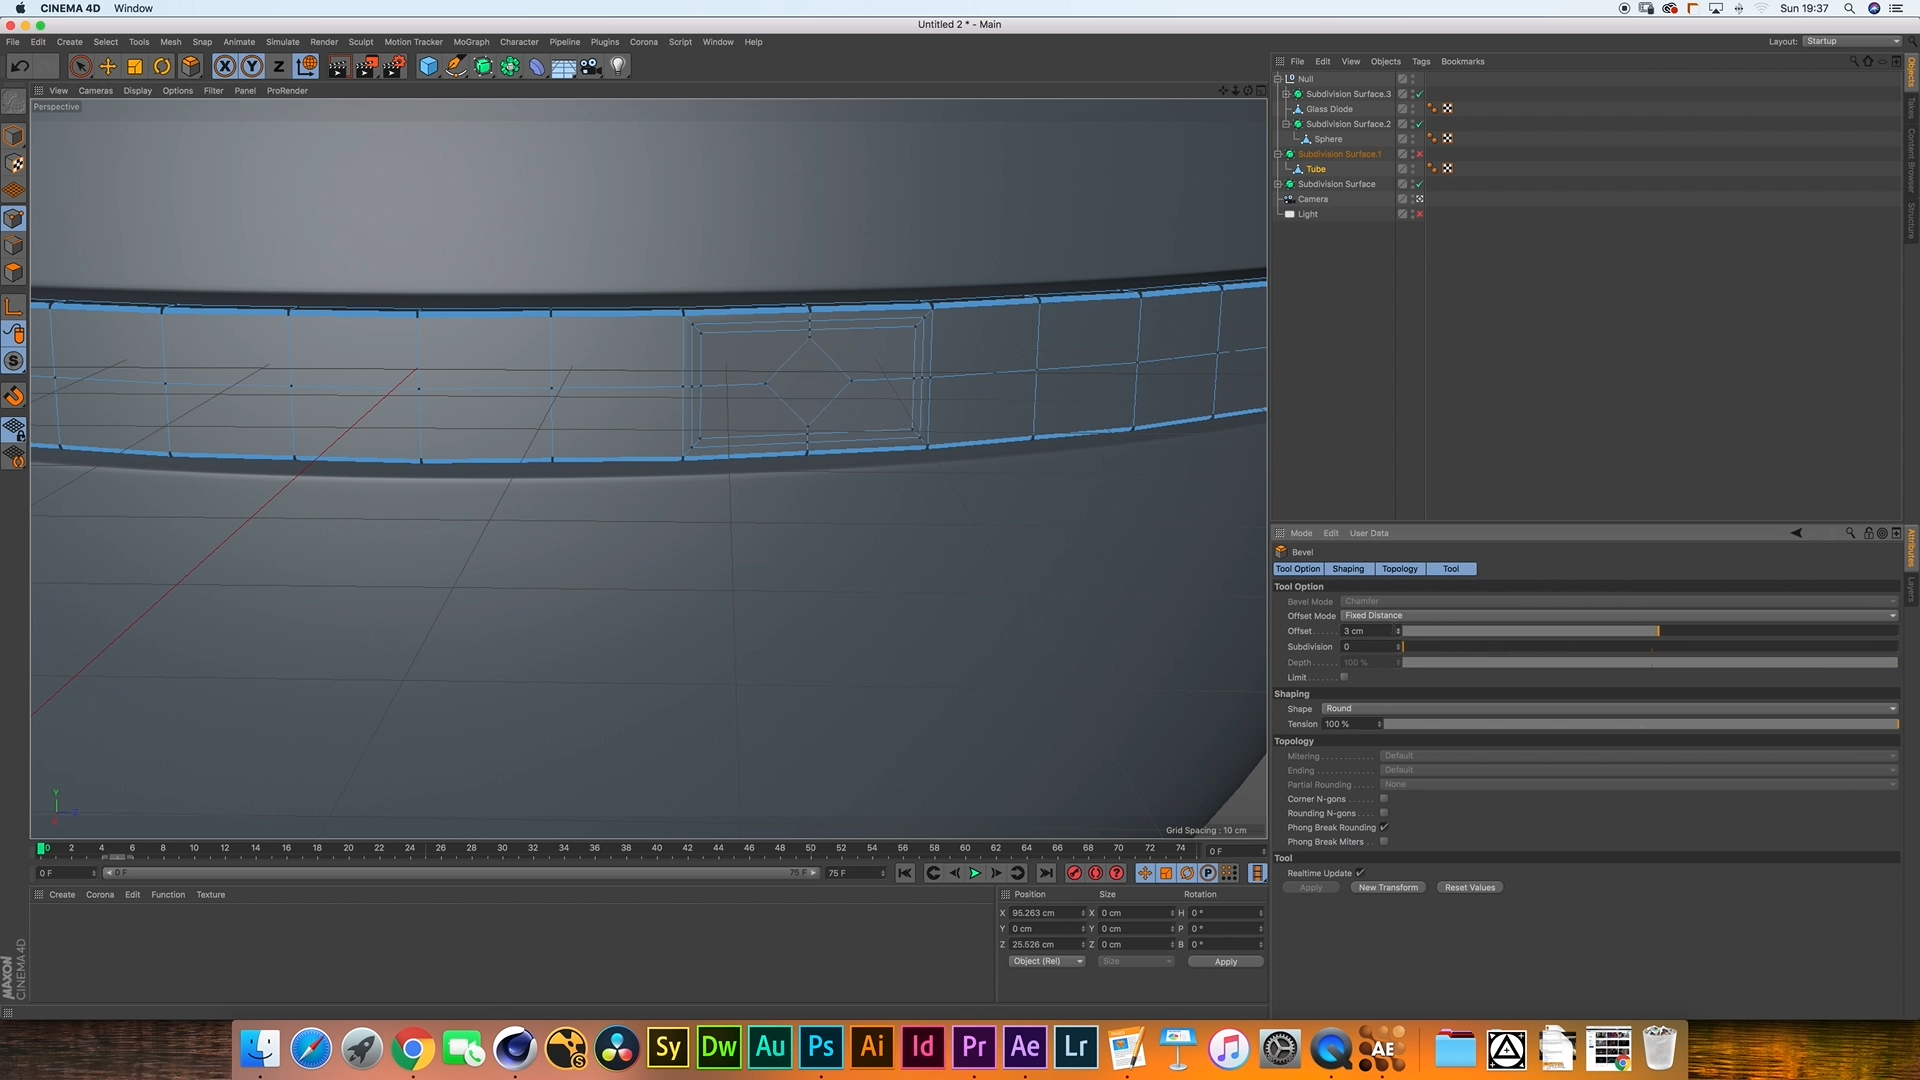
Adding Bevels to the Extrusion Edges
To refine the appearance of the extrusion, select the edges that were created during the extrusion process.
Go to "Mesh" -> "Modeling" -> "Bevel" in the top menu and adjust the bevel settings in the Attribute Manager to achieve the desired effect.
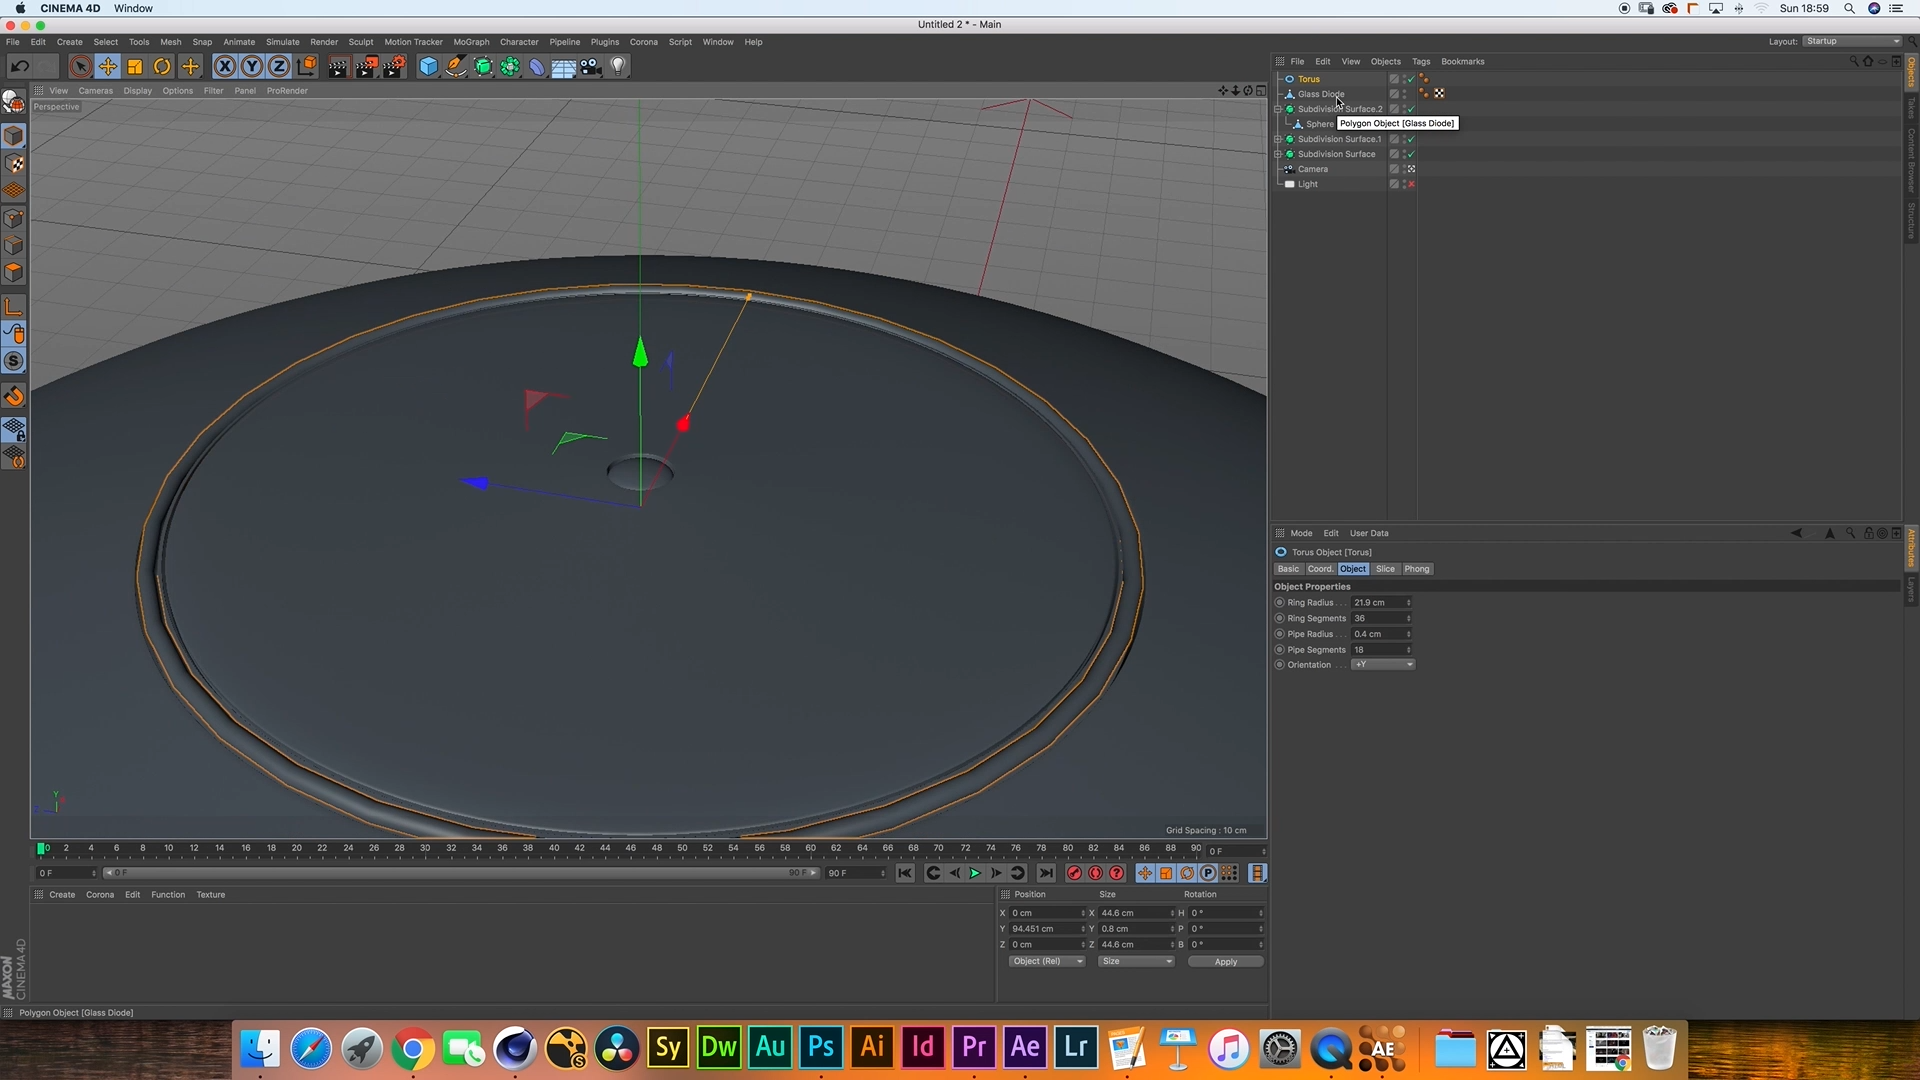
Inserting a Torus Primitive
From the "Create" menu, choose "Primitives" and select "Torus."
Scale the torus to fit inside the gate of the Pokéball, adjusting its dimensions in the Attribute Manager.
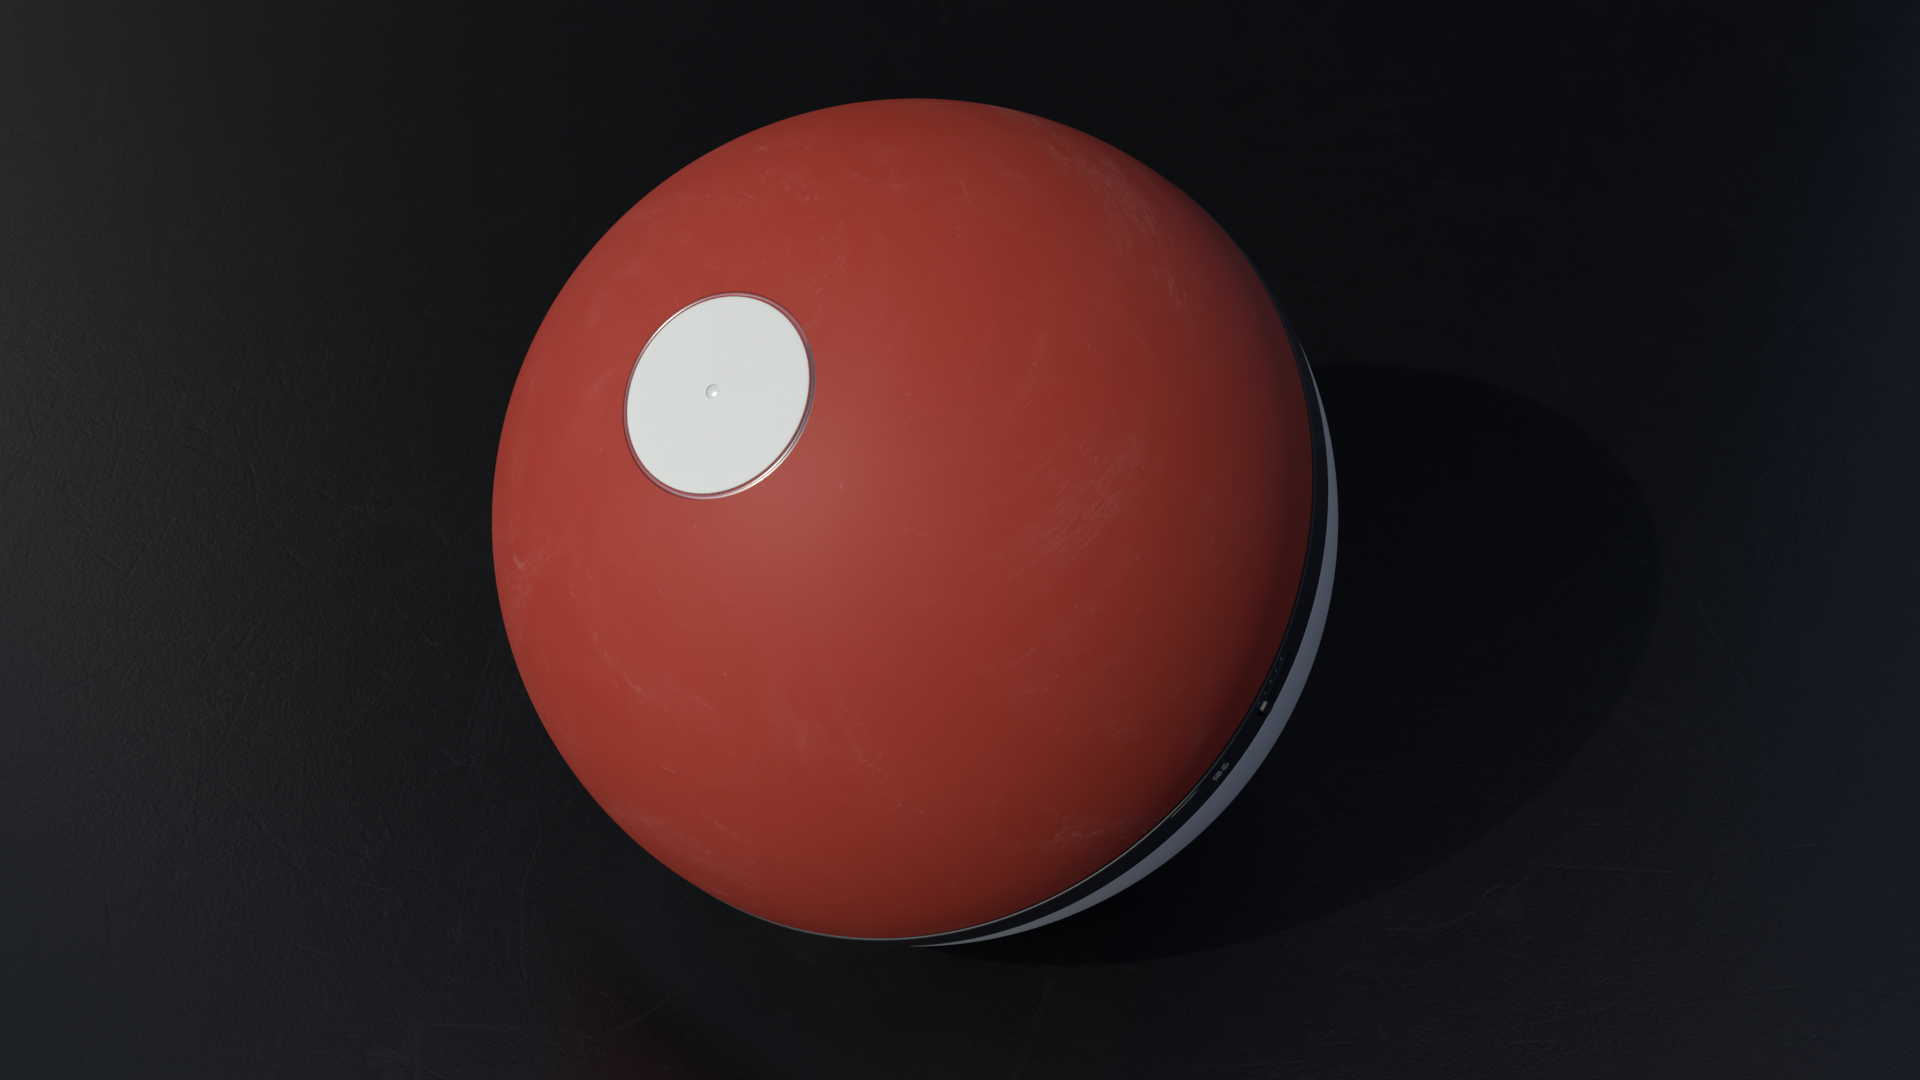
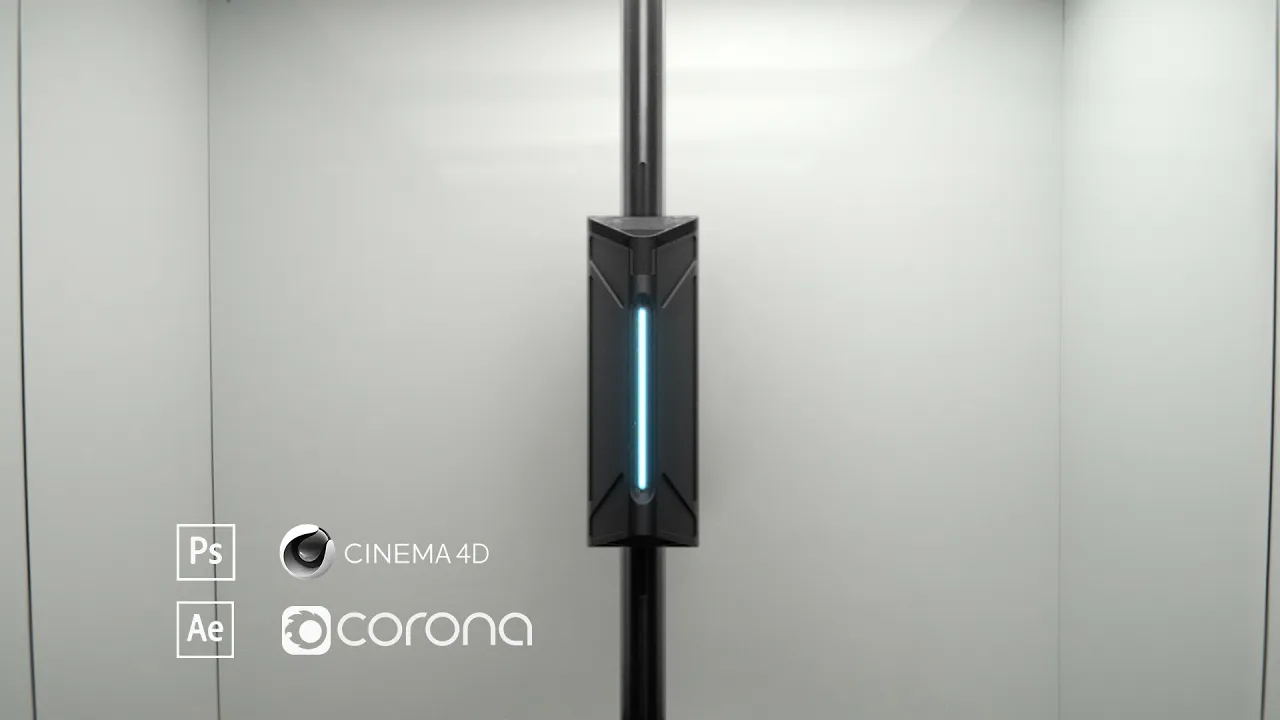
Adding an LED with a Small Sphere
Create a small sphere primitive using the "Create" menu and position it within a small extrusion in the top polygons of the Pokéball.
Adjust its size and position until it resembles an LED.
Modeling Buttons into the Ring Topology
Enter "Point" mode and select a single point located in the middle of four polygons on the Pokéball's middle ring.
Use the "Bevel" tool from the toolbar, adjusting the bevel strength in the Attribute Manager until a circular shape is formed.
Repeat this process for all desired buttons.
Extruding and Modeling Design Elements
Following the same techniques mentioned earlier, extrude and model all the buttons or additional design elements on the Pokéball, ensuring they align with the desired design.


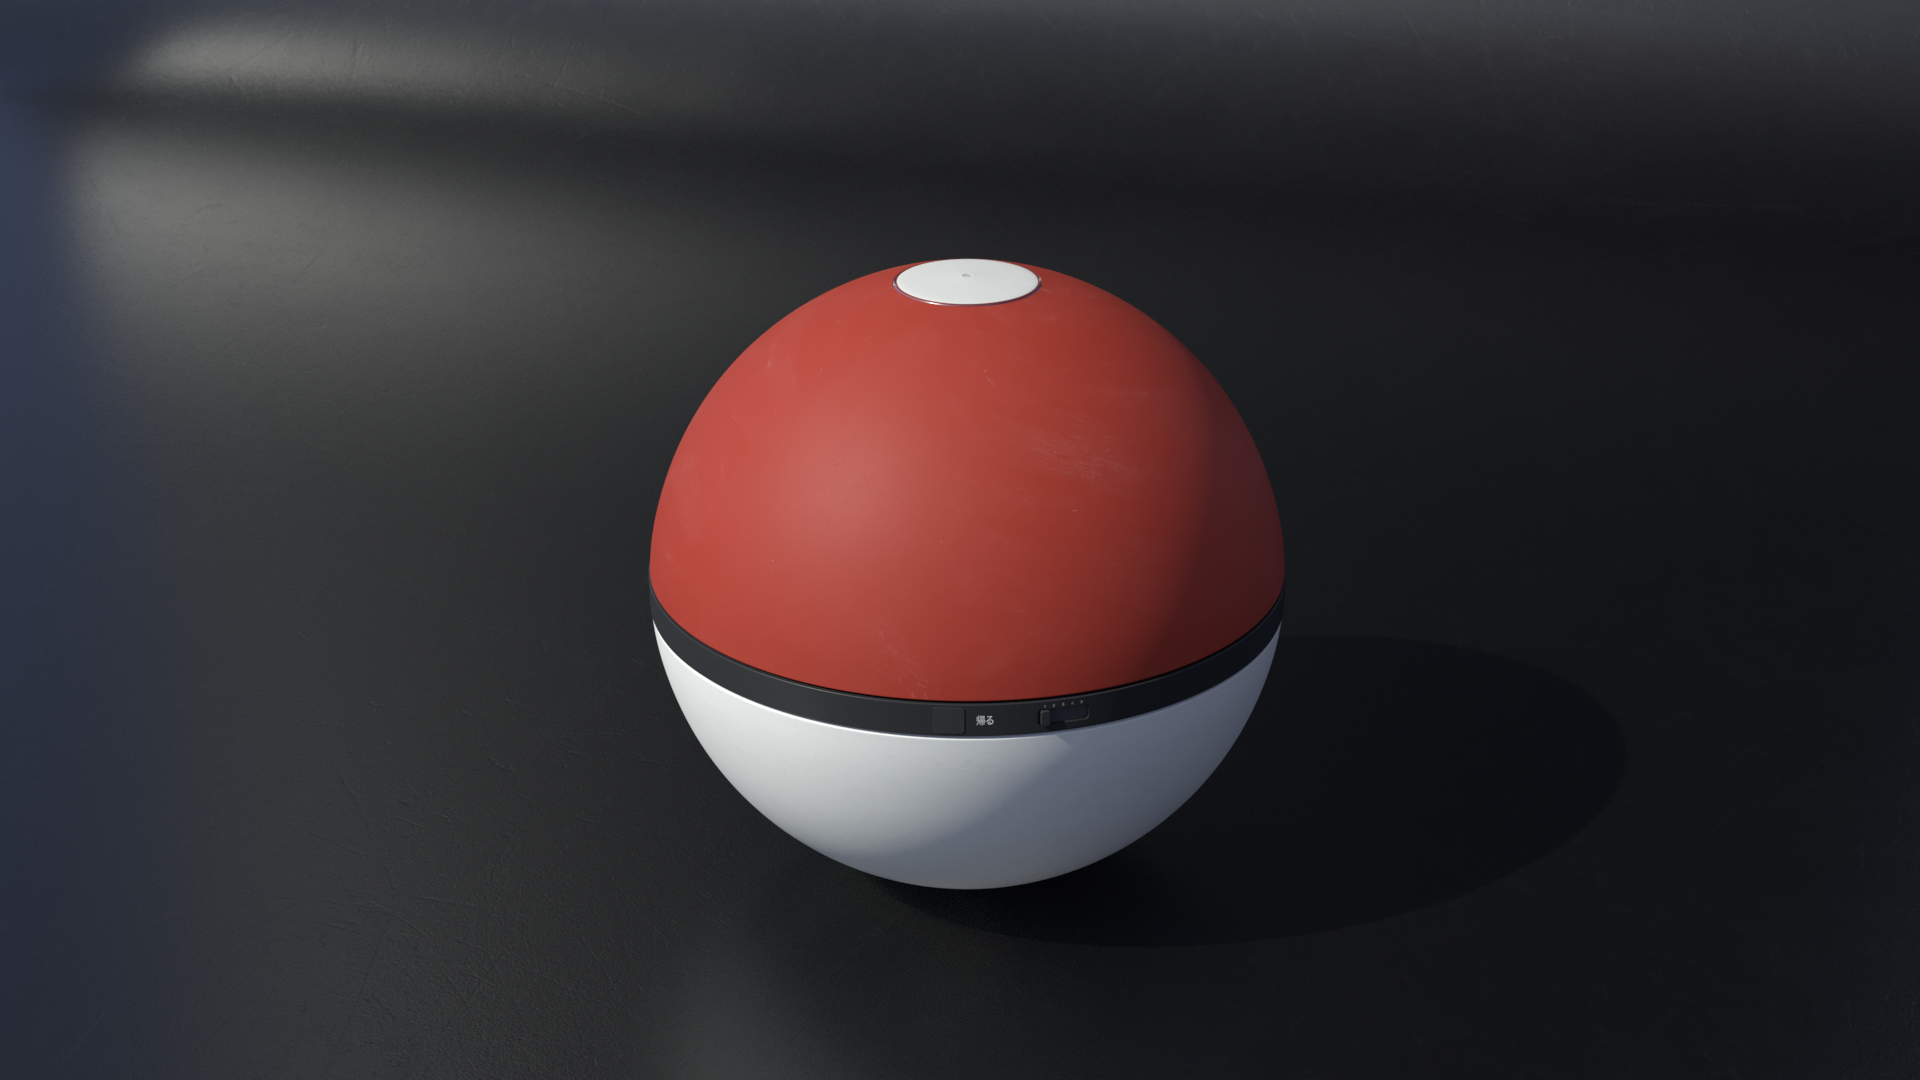
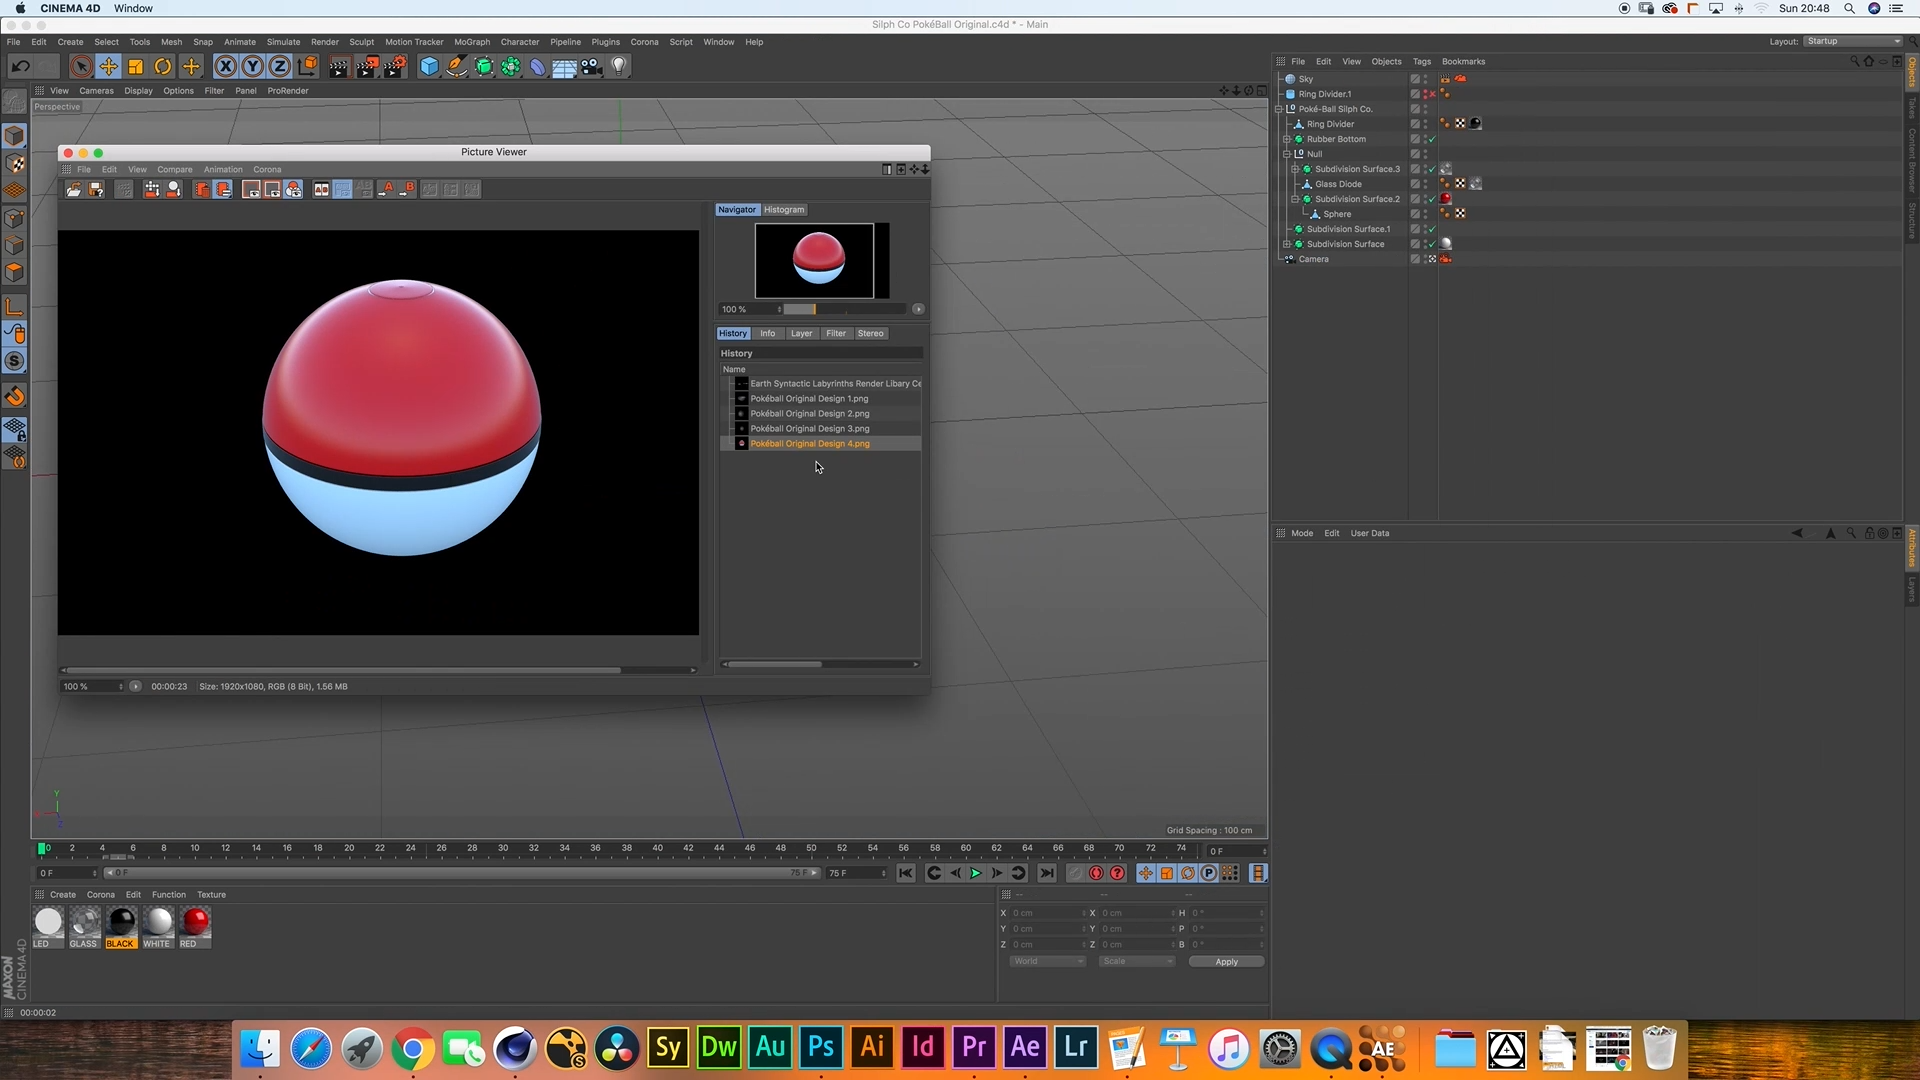
Applying Materials
To enhance the visual appearance of the Pokéball, it's essential to assign appropriate materials to different parts.
Select a component, such as the outer shell, inner shell, buttons, or LED, and navigate to the Material Manager.
Create new materials or modify existing ones to achieve the desired look.
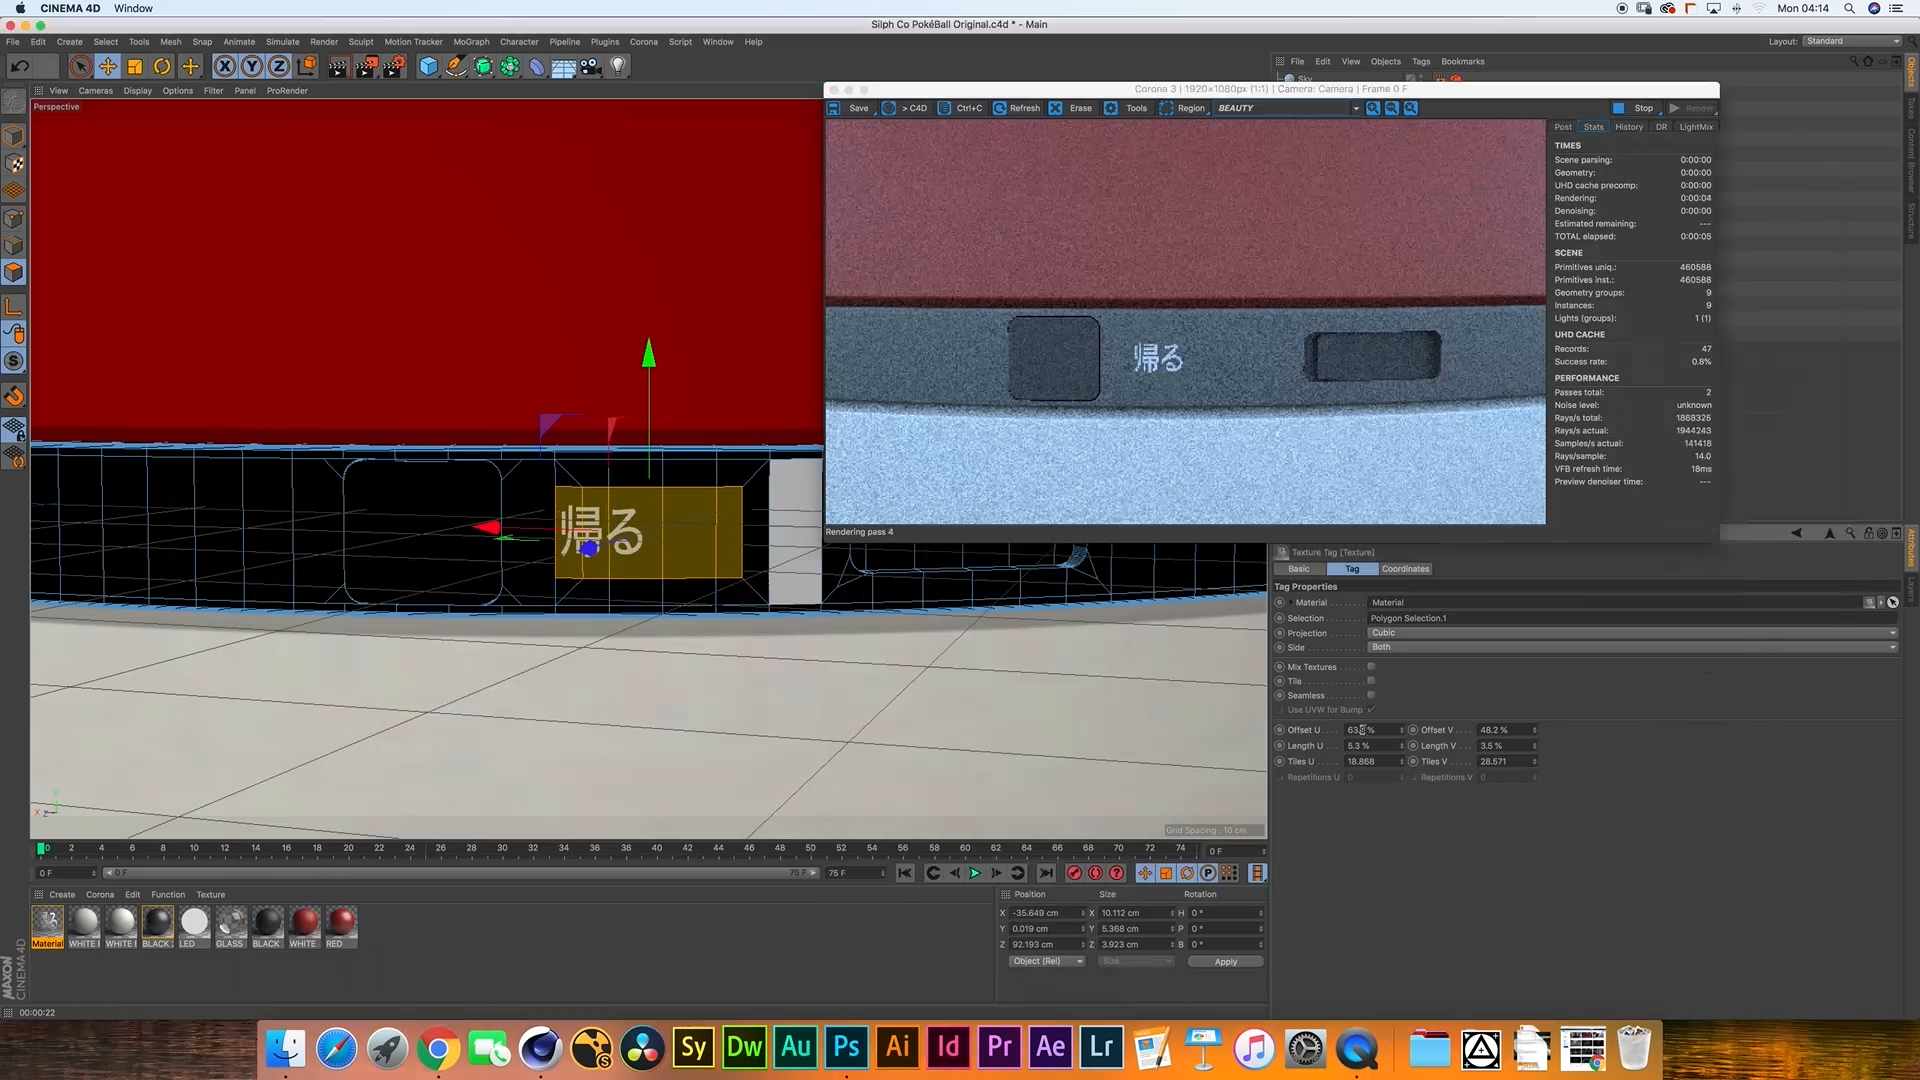
Adding Decals
To add realistic details or graphics to the Pokéball, utilize the decal feature in Cinema 4D.
You can easily apply decals using techniques such as projection mapping or the Corona Decals feature, which simplifies the process.
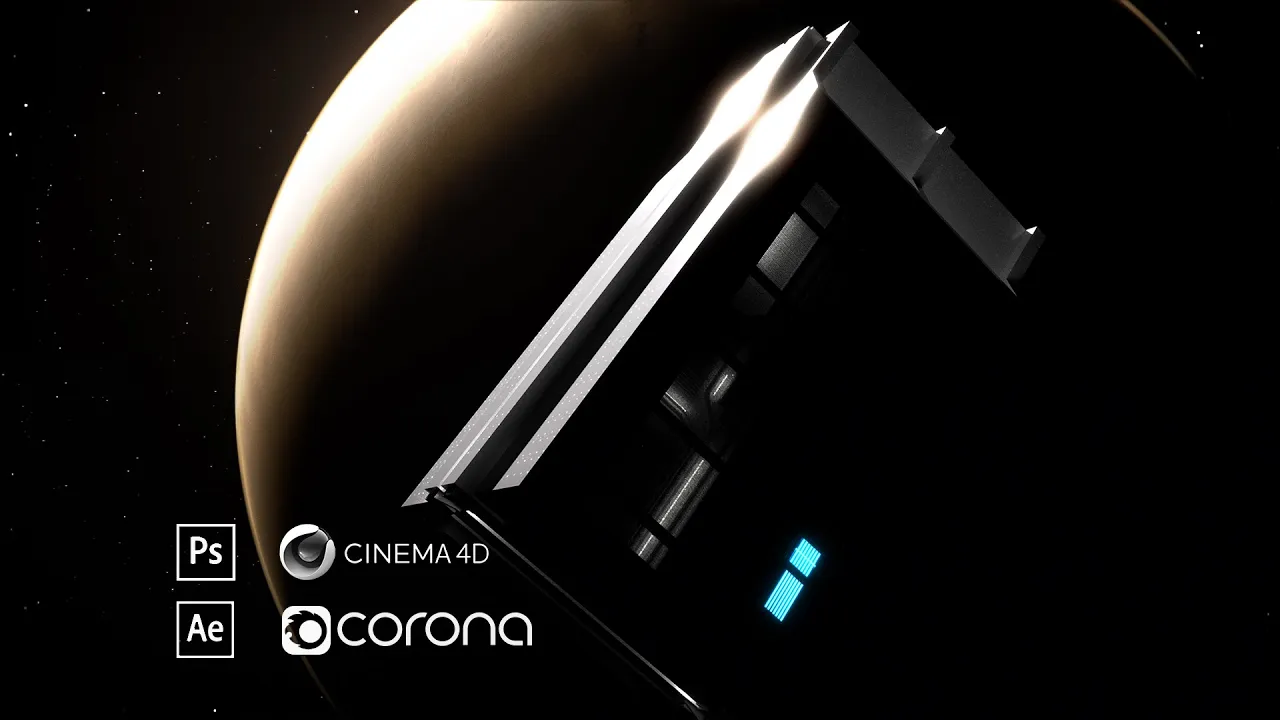
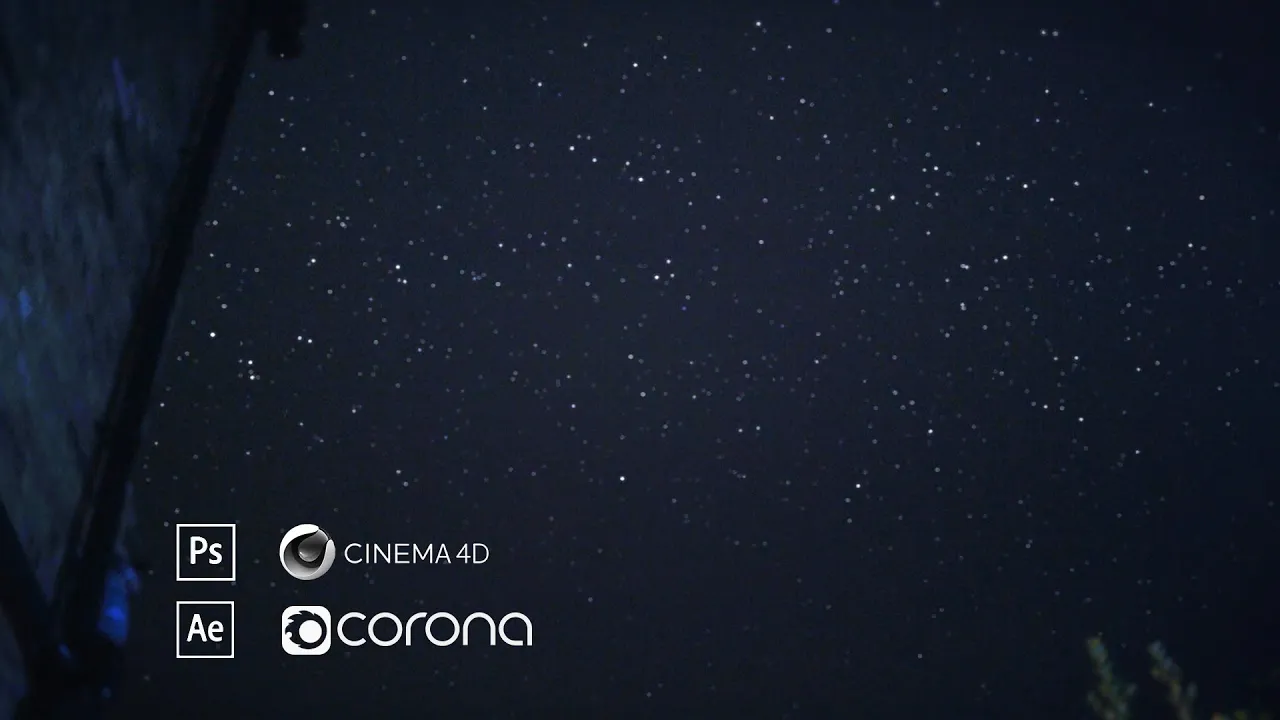
Creating a Scene (Optional)
If you wish to showcase the Pokéball in a more immersive environment, create a scene by adding additional objects, lighting, and camera angles.
Utilize the various tools and features available in Cinema 4D to compose a visually appealing and engaging scene.
Congratulations! You've successfully learned how to create a 3D Pokéball from scratch using Cinema 4D.