7 Steps to make Realistic Earth Shots
Details to Consider when making CGI Space
Earth Digital


Planet Earth is not a perfect sphere.
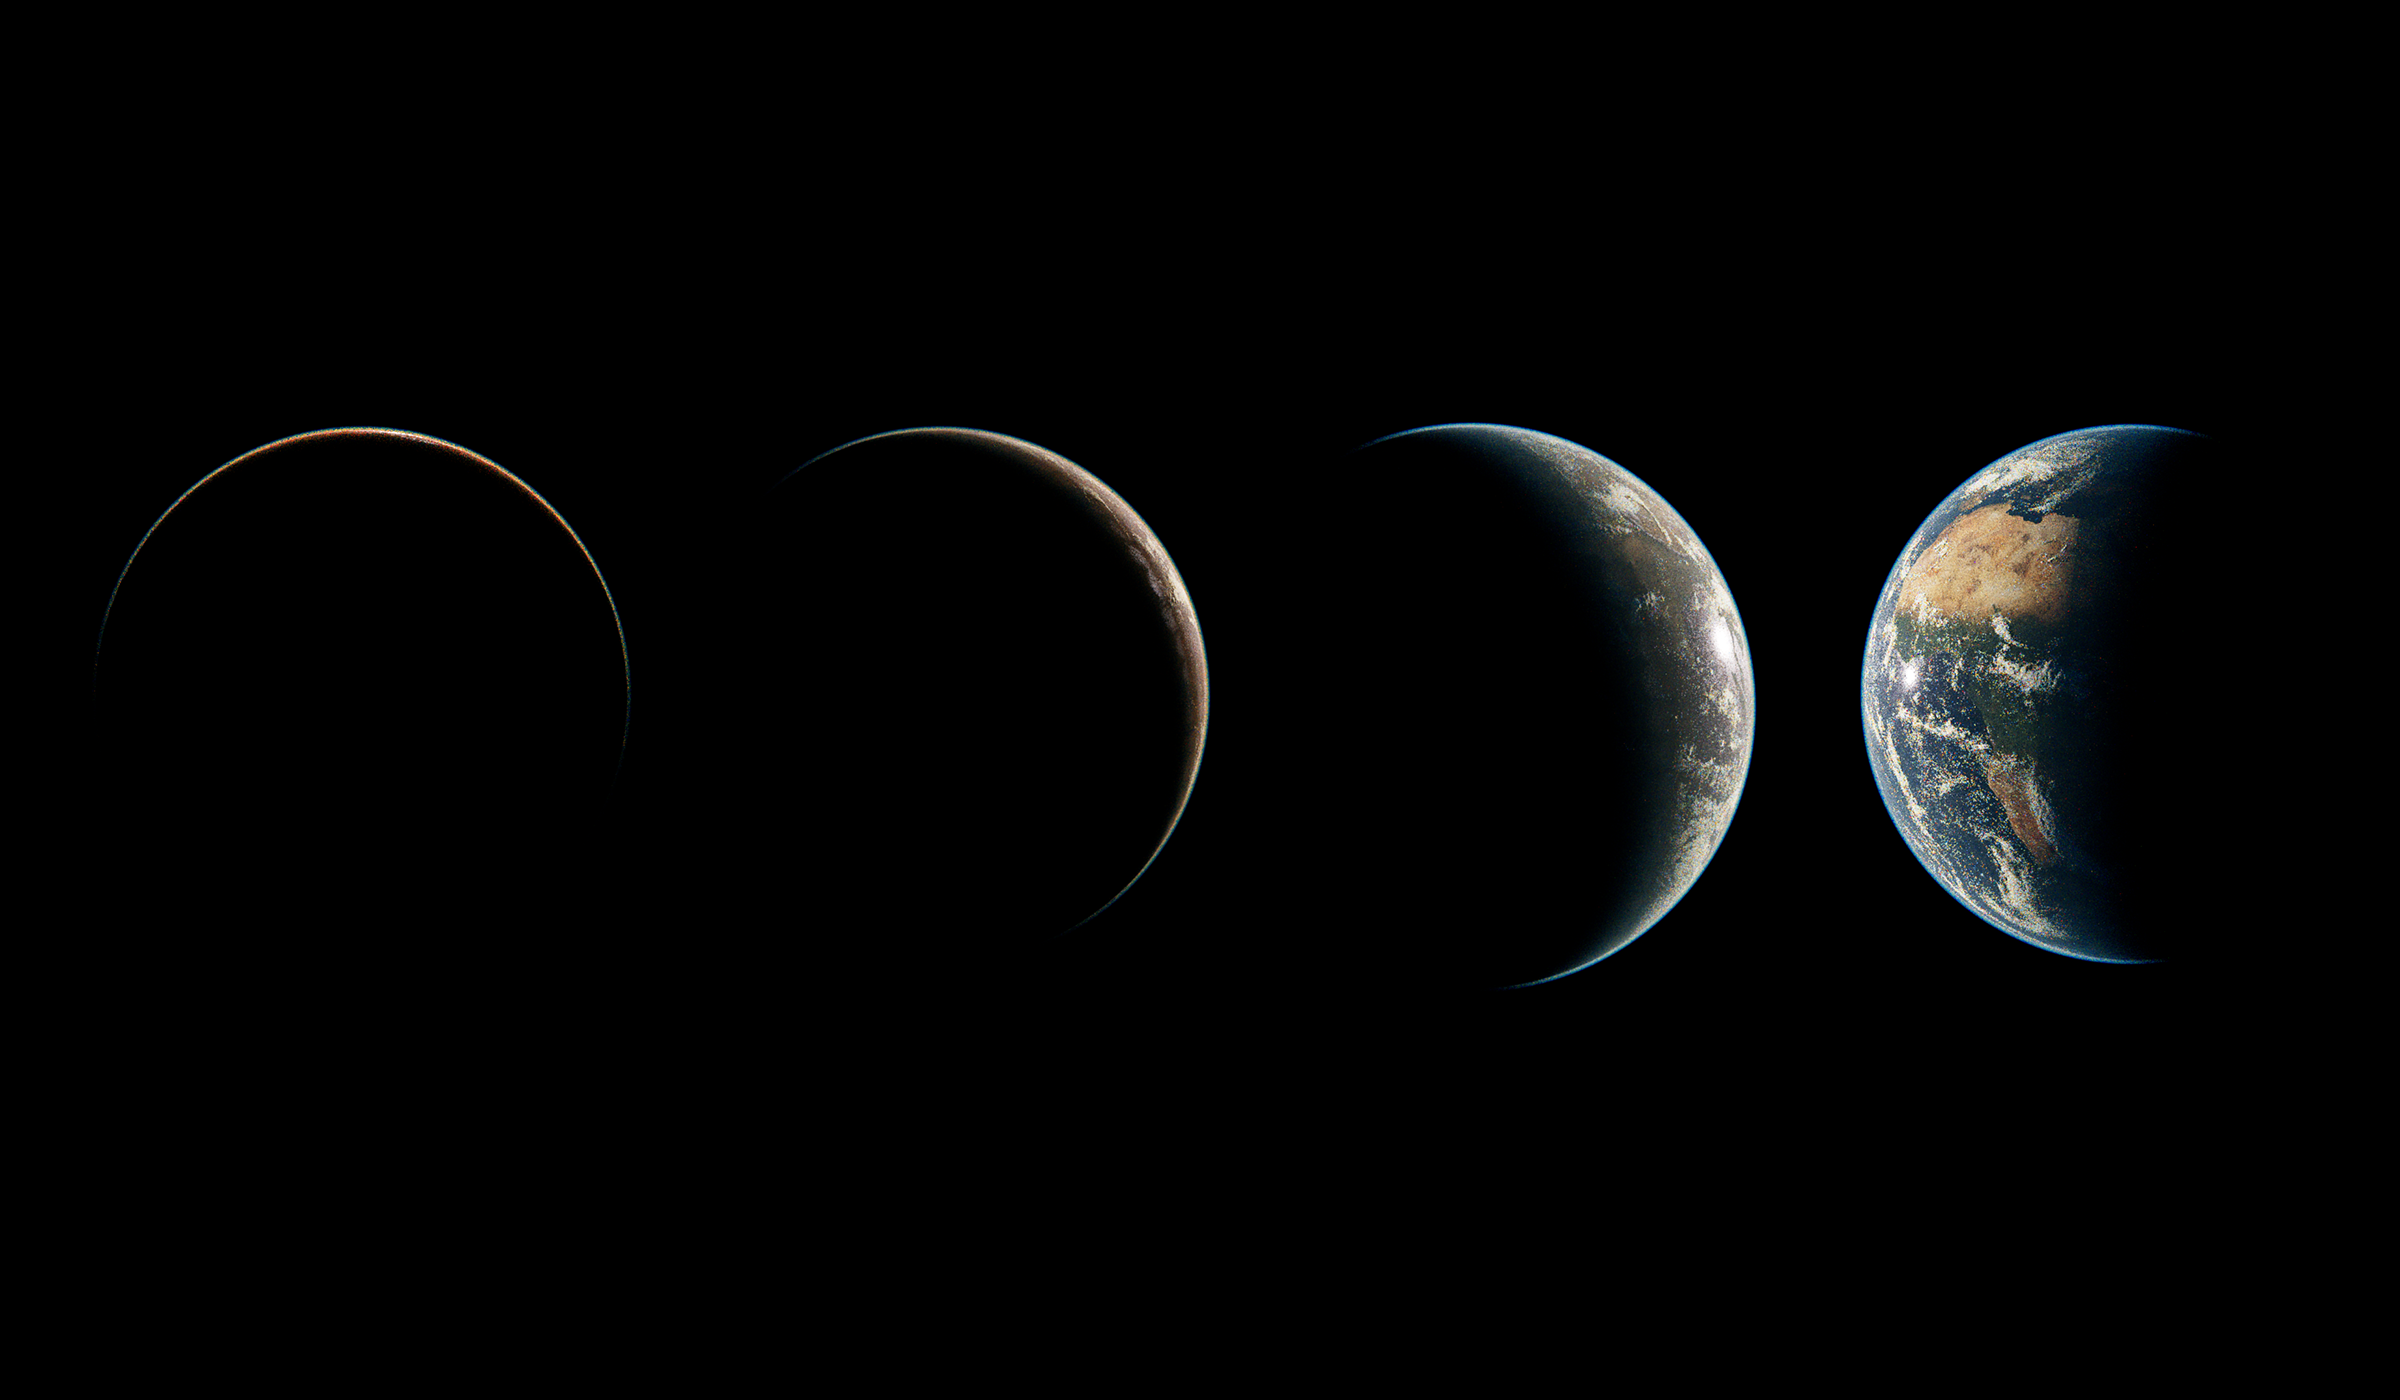
Its immense scale is so overwhelming that for the longest time while we move into space the sphere will continue filling our field of view.
Creating a realistic planet render in 3D comes down to having a strong foundation to work from. The larger in scale you can make your scene while maintaining performance steady, the better sense of scale you will have. At these scales, pretty much every aspect of the sphere will remain in focus. Even when placing the camera up close to the surface you can use any aperture size you’d like and still get large scale focus all across the image.
1. Creating a Digital Celestial Body
The scale of your planet scene is also important for all the density based layers that will go on top. Our planet is in essence a bio-dome filled with activity. The section of the planet surface is made up of diverse substances, each with their slight variation in reflectivity, height and volumetric layers above it.
We want to make sure that the large spheroid is our base-line (constant) for every parameter we define afterwards. It’s a good idea to start linking values to the Radius of your planet, or to the Bounding Box size of your planet asset. I use Xpresso in Cinema 4D to build both the shaders and subsequent layers proportionally.

2. High Fidelity Textures
This is where making renders of Earth becomes quite heavy on your computer. Depending on the distance from the camera you want to render your shot at, you will need different fidelity texture maps. Building on top of a setup that is reliable can save you days of work of clean-up and combining satellite imagery.
For Syntactic Labyrinths we needed a Medium-shot of a continent. A shot like that defines the continent as the point of interest. Low-fidelity texture maps will start showing artifacts at this distance.
Unfortunately this can have a very distracting effect for the viewer who is guided to look at a low-detail “hero” section of the image.
The viewer has little to explore in the image when it is presented to them in a sequence. The glimpses the viewer catches won’t have enough detail that allows them to experience layers of beauty. A shot of planet Earth is an important moment in your sequence.
Give the viewer a rich image made up of subtle variations that allows the eyes to wander. Looking at one detail, then moving to the next beautiful element, and then on to the next before we cut.
3. Layered Atmosphere
From the surface of Earth up we go through for and water vapor, followed by clouds and the different layers of the atmosphere. Each layer absorbs and scatters light.
Clouds are reflective pockets of water vapor.
They are characterized by how they let light through at equal strengths, thus having that vibrant white color and a silver lining of light around the volume. Both the water vapor and fog layers adhere to these same principles.
The atmospheric layers is where it becomes a little bit more mathematical.
To give a true sense of depth of the planet, we want the atmosphere to scatter light at different intensities for the different wavelengths. That gives your Earth render a sunset effect at certain angles, as well as a bright and vibrant atmosphere in direct sunlight.
To achieve an atmosphere that behaves according to Rayleigh Scattering, there are a few alternative methods. I’m using Cinema 4D with Chaos Corona, so I’ve opted for using different Volume materials for each color wavelength that needs to be scattered.
I’m combining this with an Xpresso node that uses the Rayleigh Scattering formula to define the intensity of the volume scatter based on the density of the atmosphere layer.
You want to have the Red wavelengths scatter towards the camera (an anisotropic value of 0.7 for example), while the Blue wavelengths scatter away from the camera (for example -0.4 anisotropy). If you gradually change the anisotropic values, you will create a 3-Dimensional falloff effect that gradually fades out into space.
Finally, it’s important to add additional variation in the atmosphere density by using a density map. This will create subtle variations in the scattering values for additional realism.

4. The Water from Space
After setting up the correct values for the land, we want to introduce the water. The oceans are just as complex, if not more complex that the landmass in how many subtle variations there are. Technically speaking the global oceans are a volume that both reflect light as they absorb light. Unfiltered sunlight that hits the ocean from space is first slightly filtered through the atmosphere, but not enough for that to have any visible effect on the ocean surface. The albedo value of our oceans is very dark, especially around the deepest areas of the ocean.
The surface of the ocean reflects light both directly and indirectly through the rippled waves on the surface. Waves in the ocean actually catch so much sunlight that astronauts can visibly see the waves on the surface.
These small surface details such as waves is what breaks up the ocean reflection into a much more diffused specular, all while maintaining the high reflectivity of water.
But that is not all, the ocean also absorbs white light and scatters it around just underneath the surface. Within a range of 0 to 300m of depth, the sunlight illuminates the underwater ocean. Due to its density it primarily scatters blue light, which gives the ocean its blue color. This blue light is scattered throughout the volume and some of that reflects back out of the water into space. We can replicate this with the use of Sub Surface Scattering. Both the intensity at which the SSS happens and the color variation in the ocean can be defined by a Chlorophyll map.
5. Camera Settings for Space
With a working setup for the planet you can start placing your camera and defining your shots. One thing I’ve learned while analyzing and researching shots of Earth is that nature is difficult to capture. The planet is continuously moving at about 8km per second. In 3D setup that accounts to about x degrees in rotation per second.
That means there is only a small window of time to capture one point of interest from a stationary point of view in space. This brings us to the creative part of space cinematography. As the planet is always in motion and the camera is always floating, it’s good to add subtle motion keyframes to your scene. This is not only for rendering out an animation. As even for stills it is good to have a subtle layer of motion-blur affecting your composition. I’d also like to say that due to the fast movement of the planet, as well as the incredibly bright sunlight, you’ll often want to work with a shutter speed of 1/1000.
That will ensure you have sharp images even with the added motion blur. If you however would like motion blur to be present in your image you can of course lower the shutter speed. And remember that you will then have to compensate for the added light by either decreasing the sensitivity of your camera or filtering through exposure correction.
You can also use the motion blur and slower shutter speed to your advantage when rendering out the dark side of the planet with only city-lights and stars.
For the stars you’ll want to use a high dynamic range star map that has enough lighting values to not start clipping in your render.
6. The City Lights
Even though in most instances you won’t be able to see a bright city-scape across your planet due to camera settings, under the right low sunlight conditions and a wide enough aperture, you will see a beautiful gradation of small lights. The city lights are often a give-away that an Earth render is 3D. There are not many texture maps available that have a wide range of values within the city lights. If your city light map is not high resolution enough, most bright values will cluster together into small patches of light.
If you use a texture map like that in your 3D render the entire path of light will be illuminated at the same intensity.We want to have a difference in luminosity from the center of capital cities out to the edges of that same city. Ideally your texture map has enough detail for the highways and geometric arrangement of buildings to be visible as a light pattern. The next step is layering diverse colors onto the city light map to define the look you are going for. Balancing the light values is mostly a trial and error process.
You can use mathematical values of how bright city lights are when observed from space. And then it’s important to find the correct proportion of that value to your sunlight intensity. With city lights your planet will have an additional level of detail that scatters light through your layered atmosphere. All doing its part to making your render look very realistic.
7. Lighting your Planet
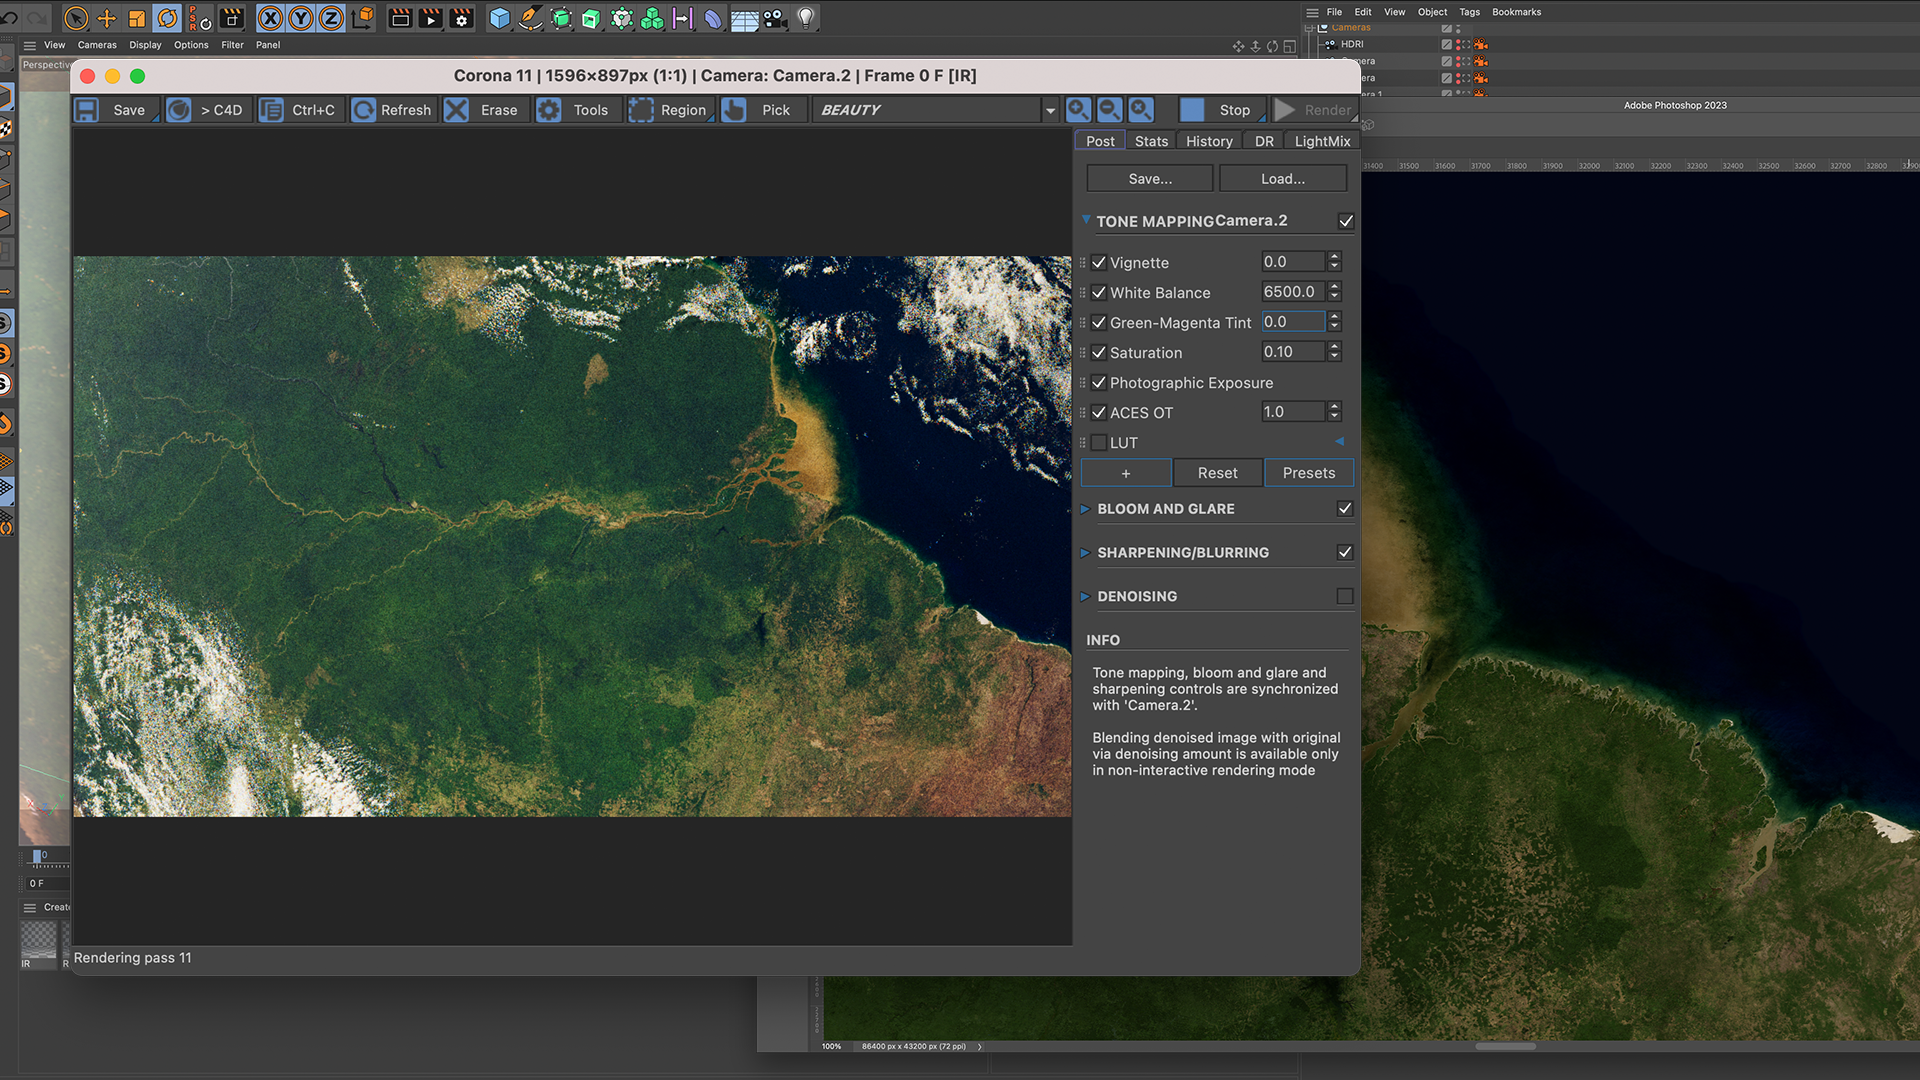
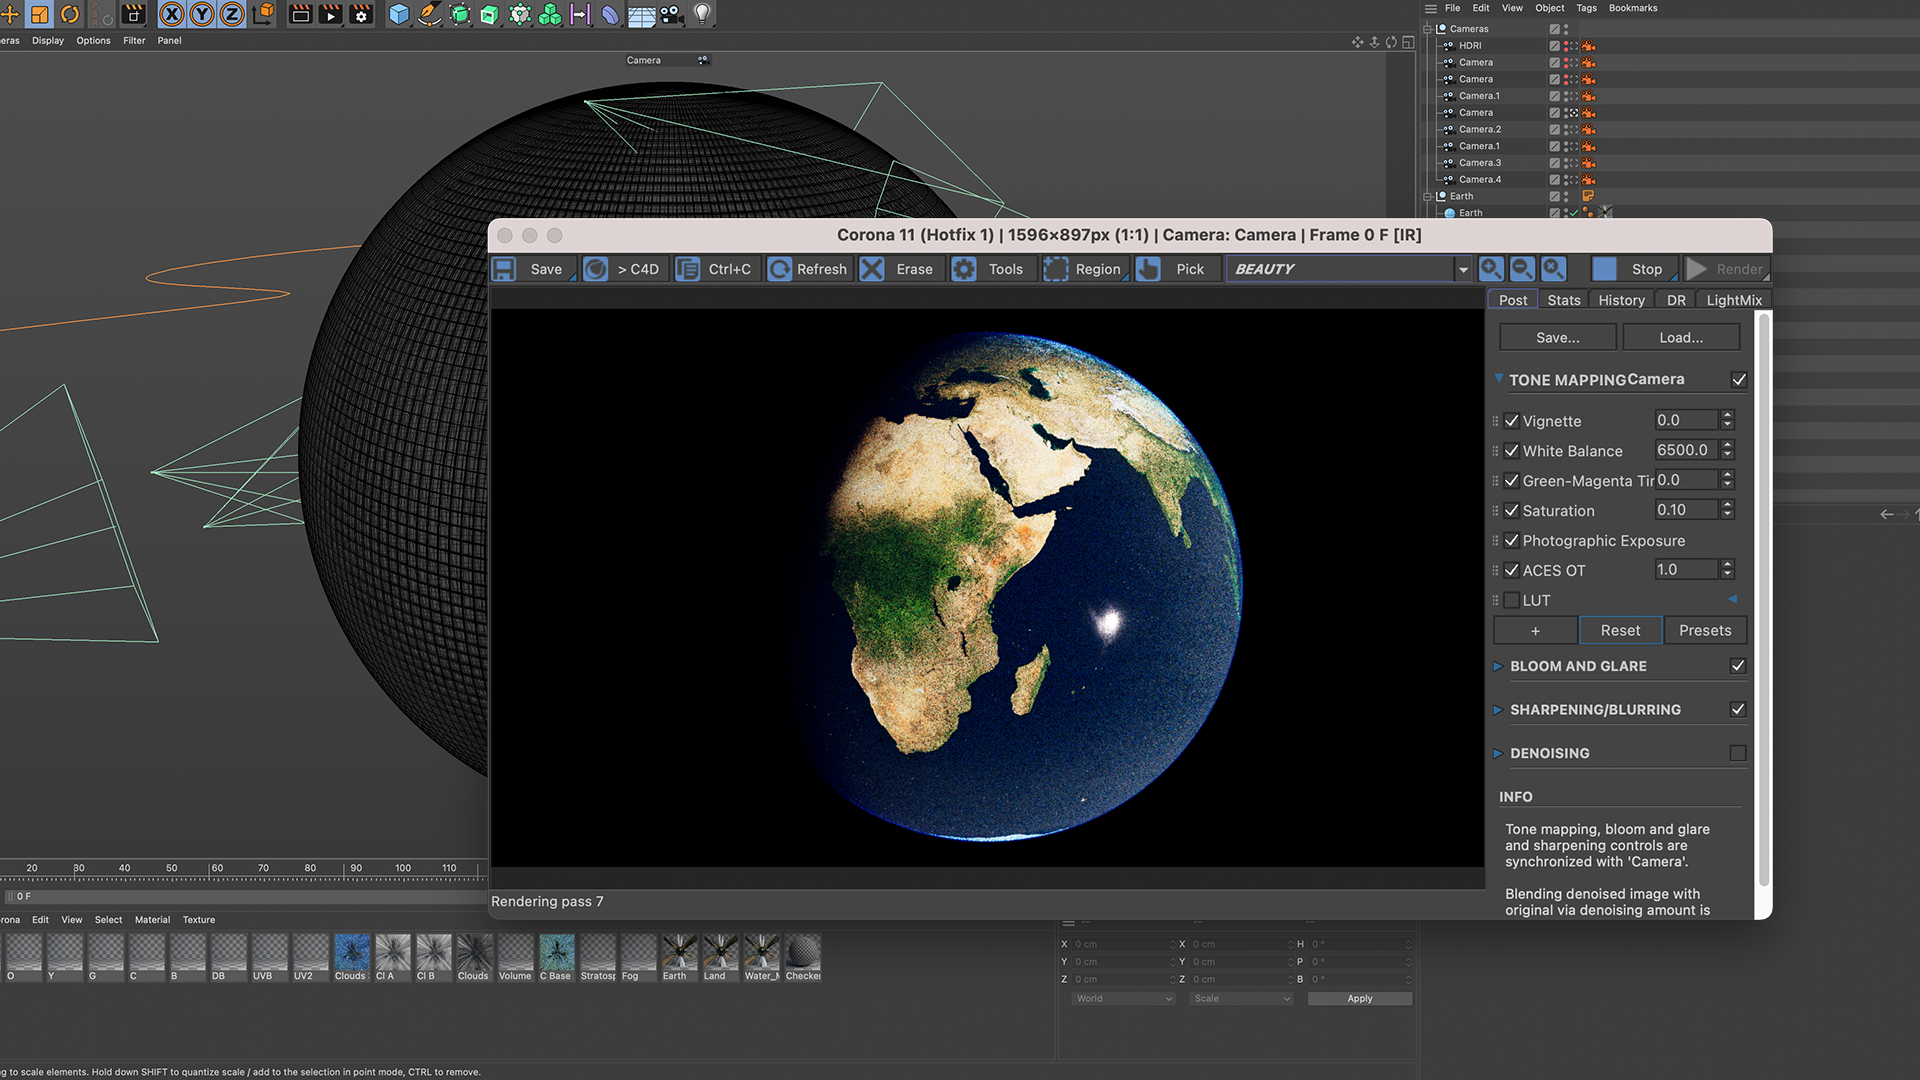
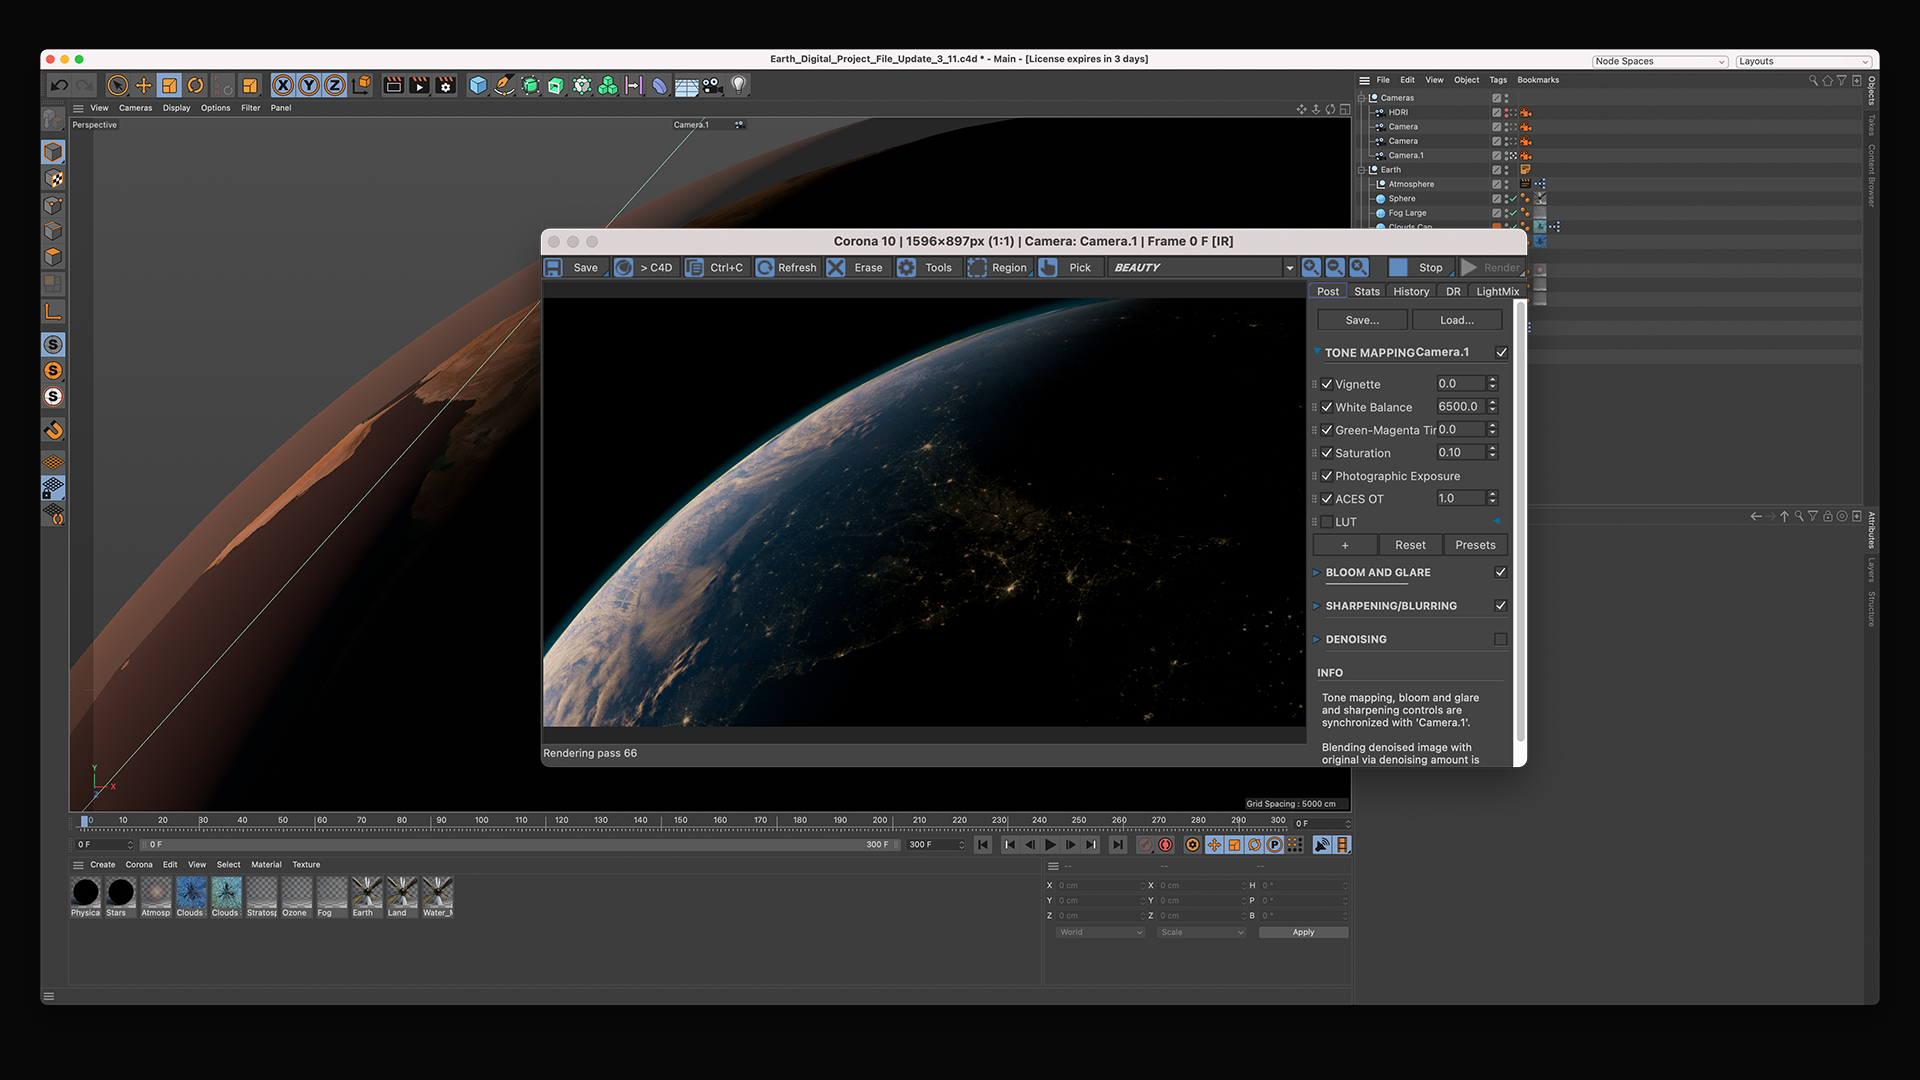
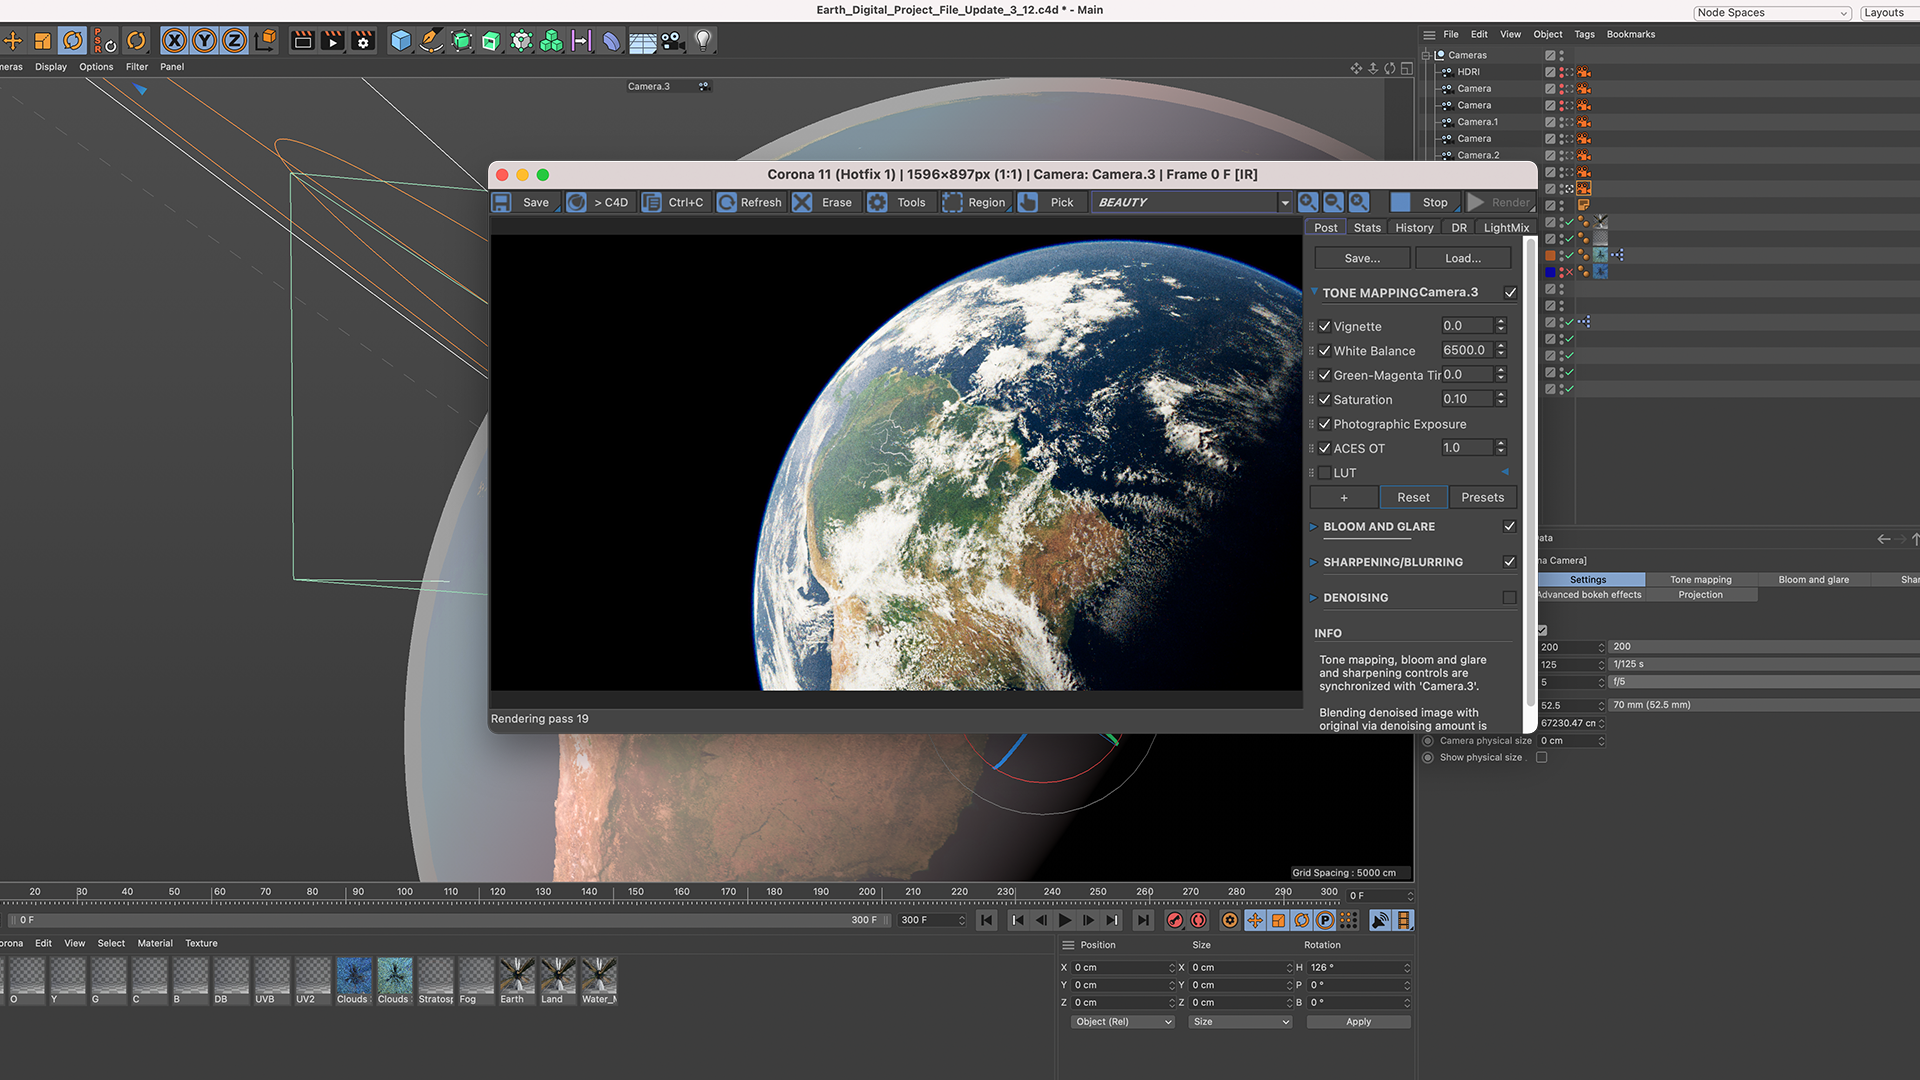
For this we’re using a sun. As I’m rendering this in Chaos Corona I’m using a Corona Sun. I’ve duplicated the sun, one set to visible directly and one set to not visible.
The directly visible sun will be the Flare sunlight. We can then customize the size and intensity of this sunlight separately so that we get our Bloom and Glare settings to look how we want them. The second sun will act as our scene light. The sun should have pure white light as this is what will scatter all the colors throughout our volumes and SSS effects. Balancing how strong you want your sun to be can be challenging as well. If you want to learn more in-depth techniques on lens flares read this blog on how to create photorealistic lens flares in Chaos Corona.
You want to get enough sunlight for it to brighten up the atmosphere and ocean at 1/1000 shutter speed. If you want you can use the amount of Lumens of light provided by the sun (127.000) as a constant and use that to define a value that proportionally matches your scene and render engine.
Lighting is an essential element of how your scene will look and feel.
After placing the camera I like to define the time of day that the scene will take place on.
Then I rotate the sun around its axis until I have the general lighting direction in place.
As the Earth is spherical, any small adjustments on the rotation of the sun will drastically change the way the surface is lit. If you take Fresnelling into consideration, you’ll quickly see how moving and turning the camera a few degrees will result in quite a different image. What’s important is knowing what you are looking for and then slowly adjusting from a base position until you see what you want.
Conclusion
With years of experience creating 3D renders of planet Earth, and still not having reached a truly satisfying result: I have many thoughts to share on what you should focus on :)
I hope the 7 tips have been valuable to you in creating your own planet renders. If you end up making your own renders, feel free to send them over to me at leo@blauwfilms.com or through DM on Instagram. I'm always up to speaking with other planet artists!


Reading List
References


%20by%20Ivan%20Aivazovsky.jpg)


0 Comments