How Camera Aperture affects Bokeh in CGI
The Impact of Bokeh on Photorealism in 3D
Blauw Films


Since the beginning of Blauw Films we have been in the process of achieving photo-realistic results in our 3D-renders. And due to our background in live-action filmmaking, the personality and artifacts of a camera-lens were always extremely important to us.
When I started using Chaos Corona as a render engine for Syntactic Labyrinths, and subsequently our other films — I became obsessed with understanding the Corona Camera tool.
How could we replicate the details of real camera lenses in CGI?
To achieve that we built the Bokeh Builder.

A Simple Look-Dev Test
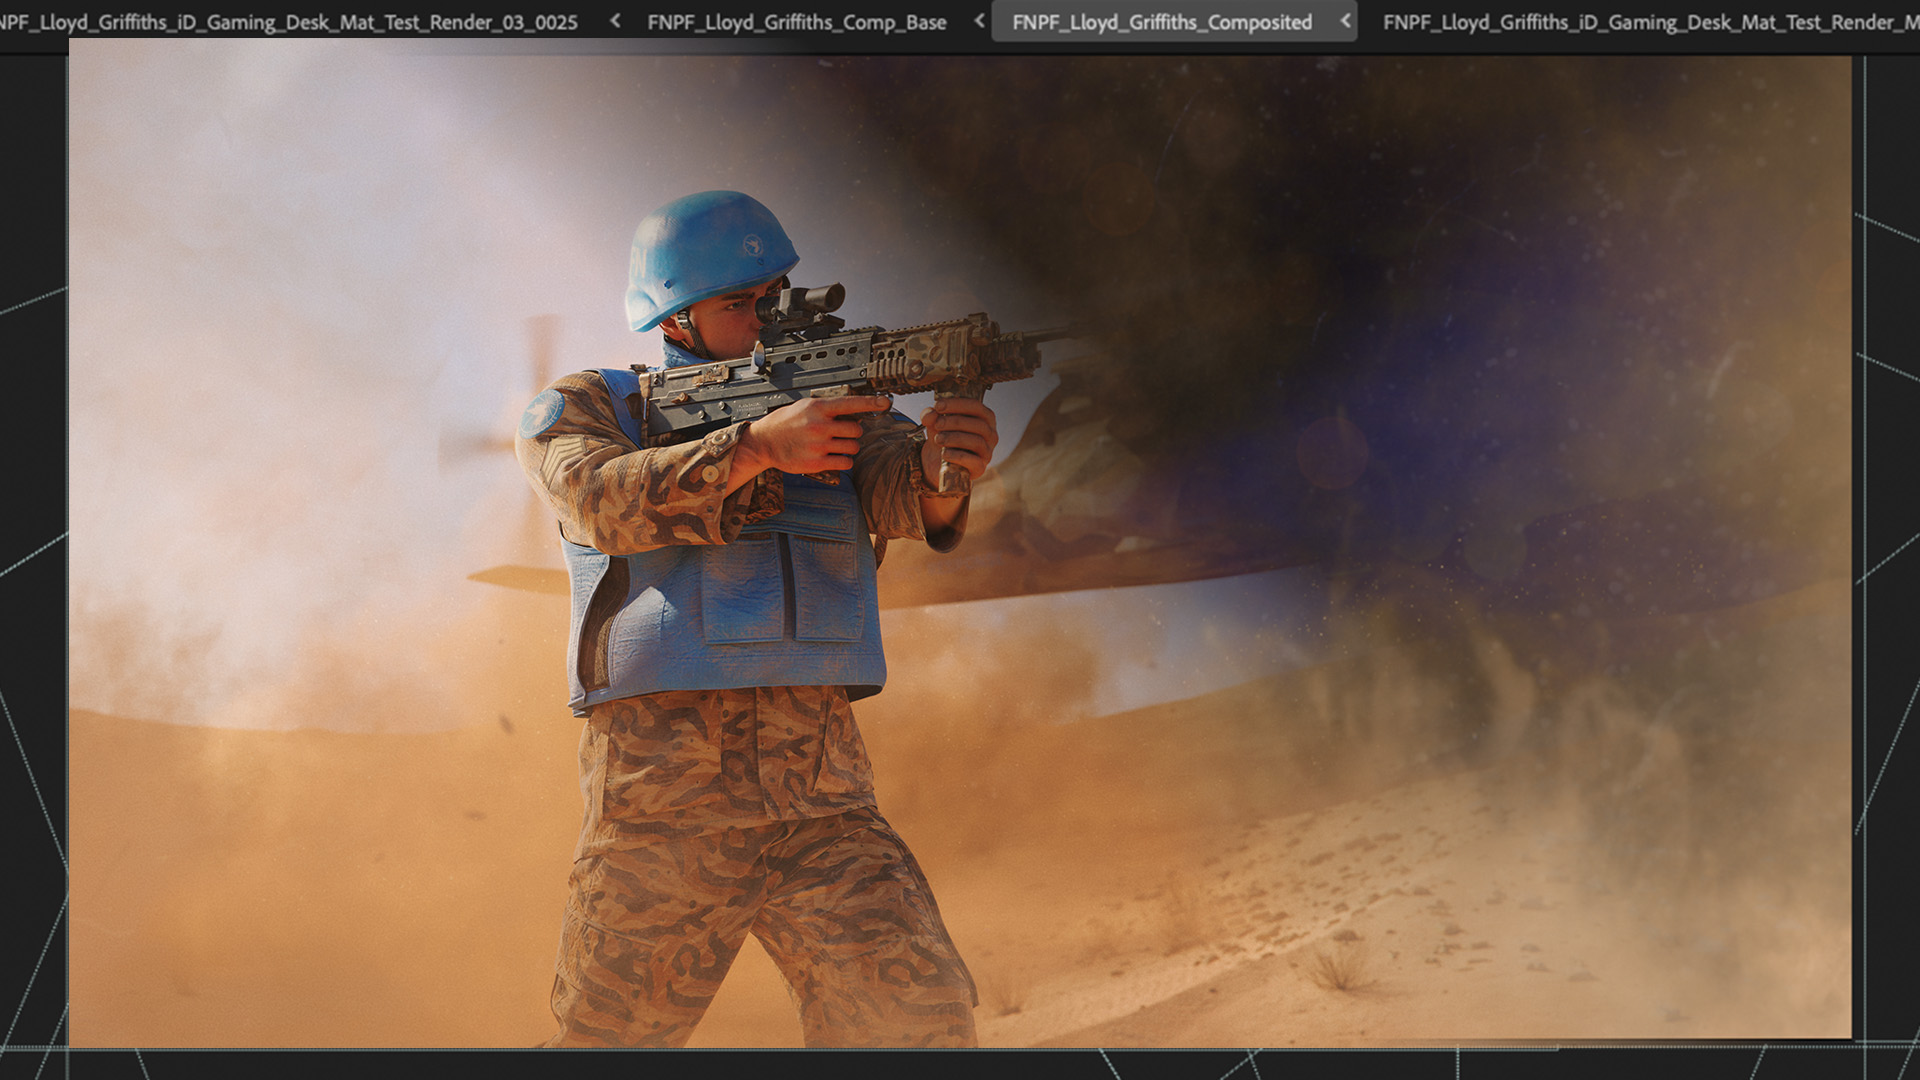
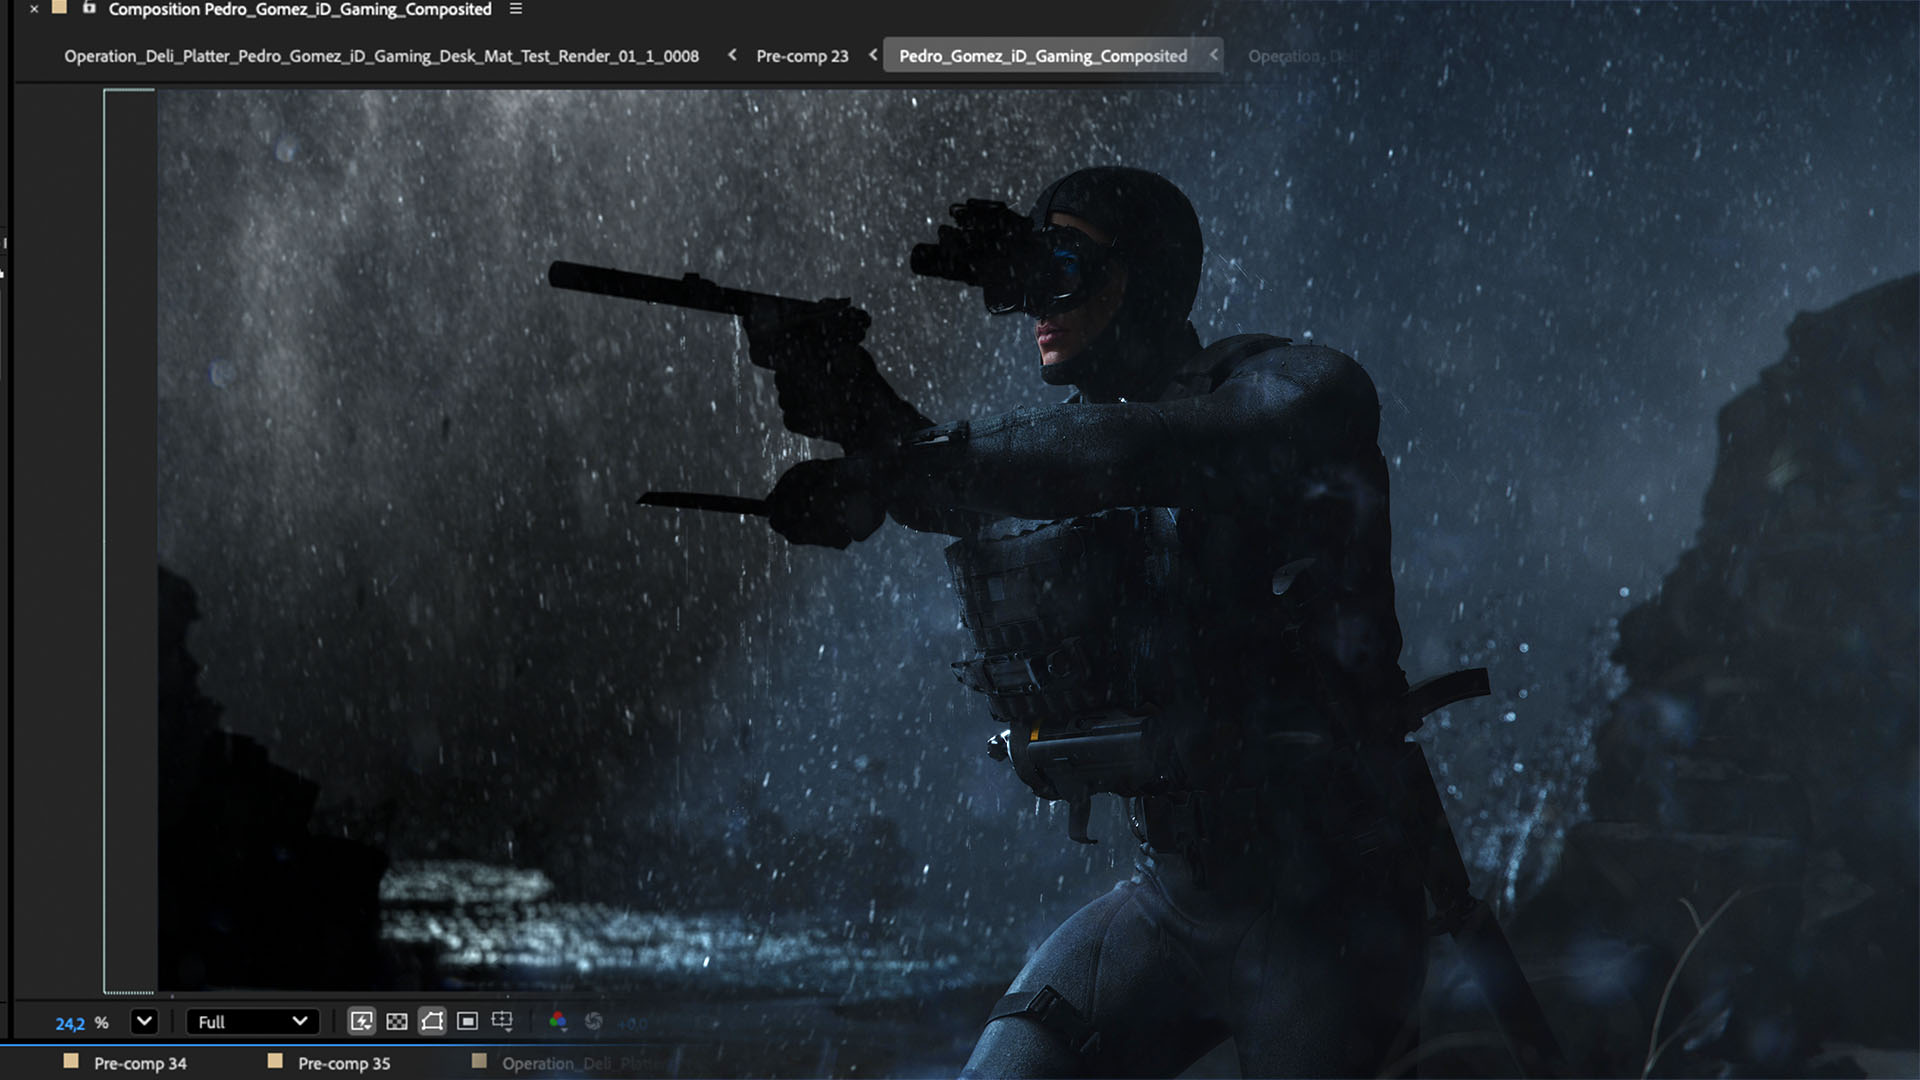
To truly experiment what a camera aperture is doing to a rendered image, we will be experimenting with a simple test-scene. A cube, a sphere and a backdrop with a grid. As each of these elements are unique, yet simple enough to understand, we will be able to tell what is happening to the depth of field.
*Notice the green frame on the right. That is for the close-up renders to have a better look at the bokeh.


As you can see above there are no blurred out areas. This is the scene straight out of the box. I'm using our UV-Checkerboard to clearly see how the depth of field affects the shot.
Let's pay attention to the colored crosses, as well as the cross-sections between the checkerboard squares. That is where the bokeh artifacts will become most obvious.

After turning on the Depth of Field in the Corona camera settings we start seeing a focal point and a plane of focus. As we are focused on the foreground, the background fades into a blur. Notice how the depth of field "grows" each pocket of light until it blends with the next.

As you can see, each out of focus area overlaps its neighbor in the shape of the aperture. Do you notice the circular magnification of light? It's honestly so cool to see! :)
The following graph explains the effect with a single focus-cross:

How a Camera Aperture Focuses Light
Light travels into the lens and hits "all over the place". Most of the light is nicely focused onto the image sensor through a variety of lens-elements inside your camera lens.
Each lens is made up of different lens-elements. Thus delivering different results at different planes of focus, as well as having different levels of light-distribution.
Meaning, how the light is distributed within the cone of light.


Depending on the lens you choose, you will get drastically different results in your blurry areas.
Summarised your bokeh is primarily affected by:
- Aperture Shape
- Light-compensation
- Blur Disk
- Surface imperfections
The same is true in 3D-rendering. If you change the aperture shape of your 3D-camera for a custom map, your depth of field will behave accordingly.
Below are a few examples of using different aperture maps, with different levels of light-compensation:


Isn't that cool?
Now let's have a look at how that impacts the feel of our test scene:


The difference between balanced, under-compensated and over-compensated bokeh is how much your want your blur to direct attention to itself.
Using an under-compensated aperture map will give you the smoothest "invisible" bokeh. In a lot of use-cases, for example a portrait in which the subject is most important and should look smooth, it's good to use this bokeh.
Over-compensated aperture maps give a much stronger effect, creating a halo around every highlight in your blur. This can be useful as well if you want your bokeh to be more obvious or have stronger characteristics.
Below is an example of the same test scene but with some candles scattered around:

To clearly showcase an over-compensated aperture map, you can see how every highlight becomes a circular halo. The blur has become a subject of the shot in its own and unique way.
Creating Custom Aperture Maps
Creating your own aperture maps is a fun challenge and can give you an infinite number of variations on your shot.
Both for when you are deciding on the look of your film as when you have to realistically composite a 3D-asset into live-action footage:
It's great to use textured aperture maps for that extra level of detail.

To accelerate our workflow in creating 3D-renders (and to allow us to quickly iterate on the look of the blur) we've created the Bokeh Builder.
This product is both a collection of pre-made aperture maps, as well as a fully customizable After Effects setup to make your own maps.


Conclusion
The subject of bokeh, aperture maps and depth-of-field is extremely vast and filled with technical information. However, step by step, you can start to delve deeper into its nuances and infinitely improve the look and feel of your 3D renders!
Honestly, I feel like there was me the 3D-artist before I knew bokeh, and after... There is no going back!
So to you, who is either reading up on this subject again or stepping foot into it for the first time — I would love to hear your thoughts on bokeh and how you will use it for your own project. Feel free to contact us with your art and examples of what your did using the Bokeh Builder :)

Reading List
References
- What is Bokeh? — Wikipedia
- Discussion on common misinformation around Bokeh — DP Review
- Does the human eye's field of view change based on light or dark? — Quora
- Eye Aberrations — Telescope Optics
- Corona Camera Settings in 3Ds Max — Chaos Docs
- Corona Camera Settings in Cinema 4D — Chaos Docs
- Corona VFB in 3Ds Max — Chaos Docs
- Corona VFB in Cinema 4D — Chaos Docs


.jpg)


%20by%20Ivan%20Aivazovsky.jpg)


0 Comments